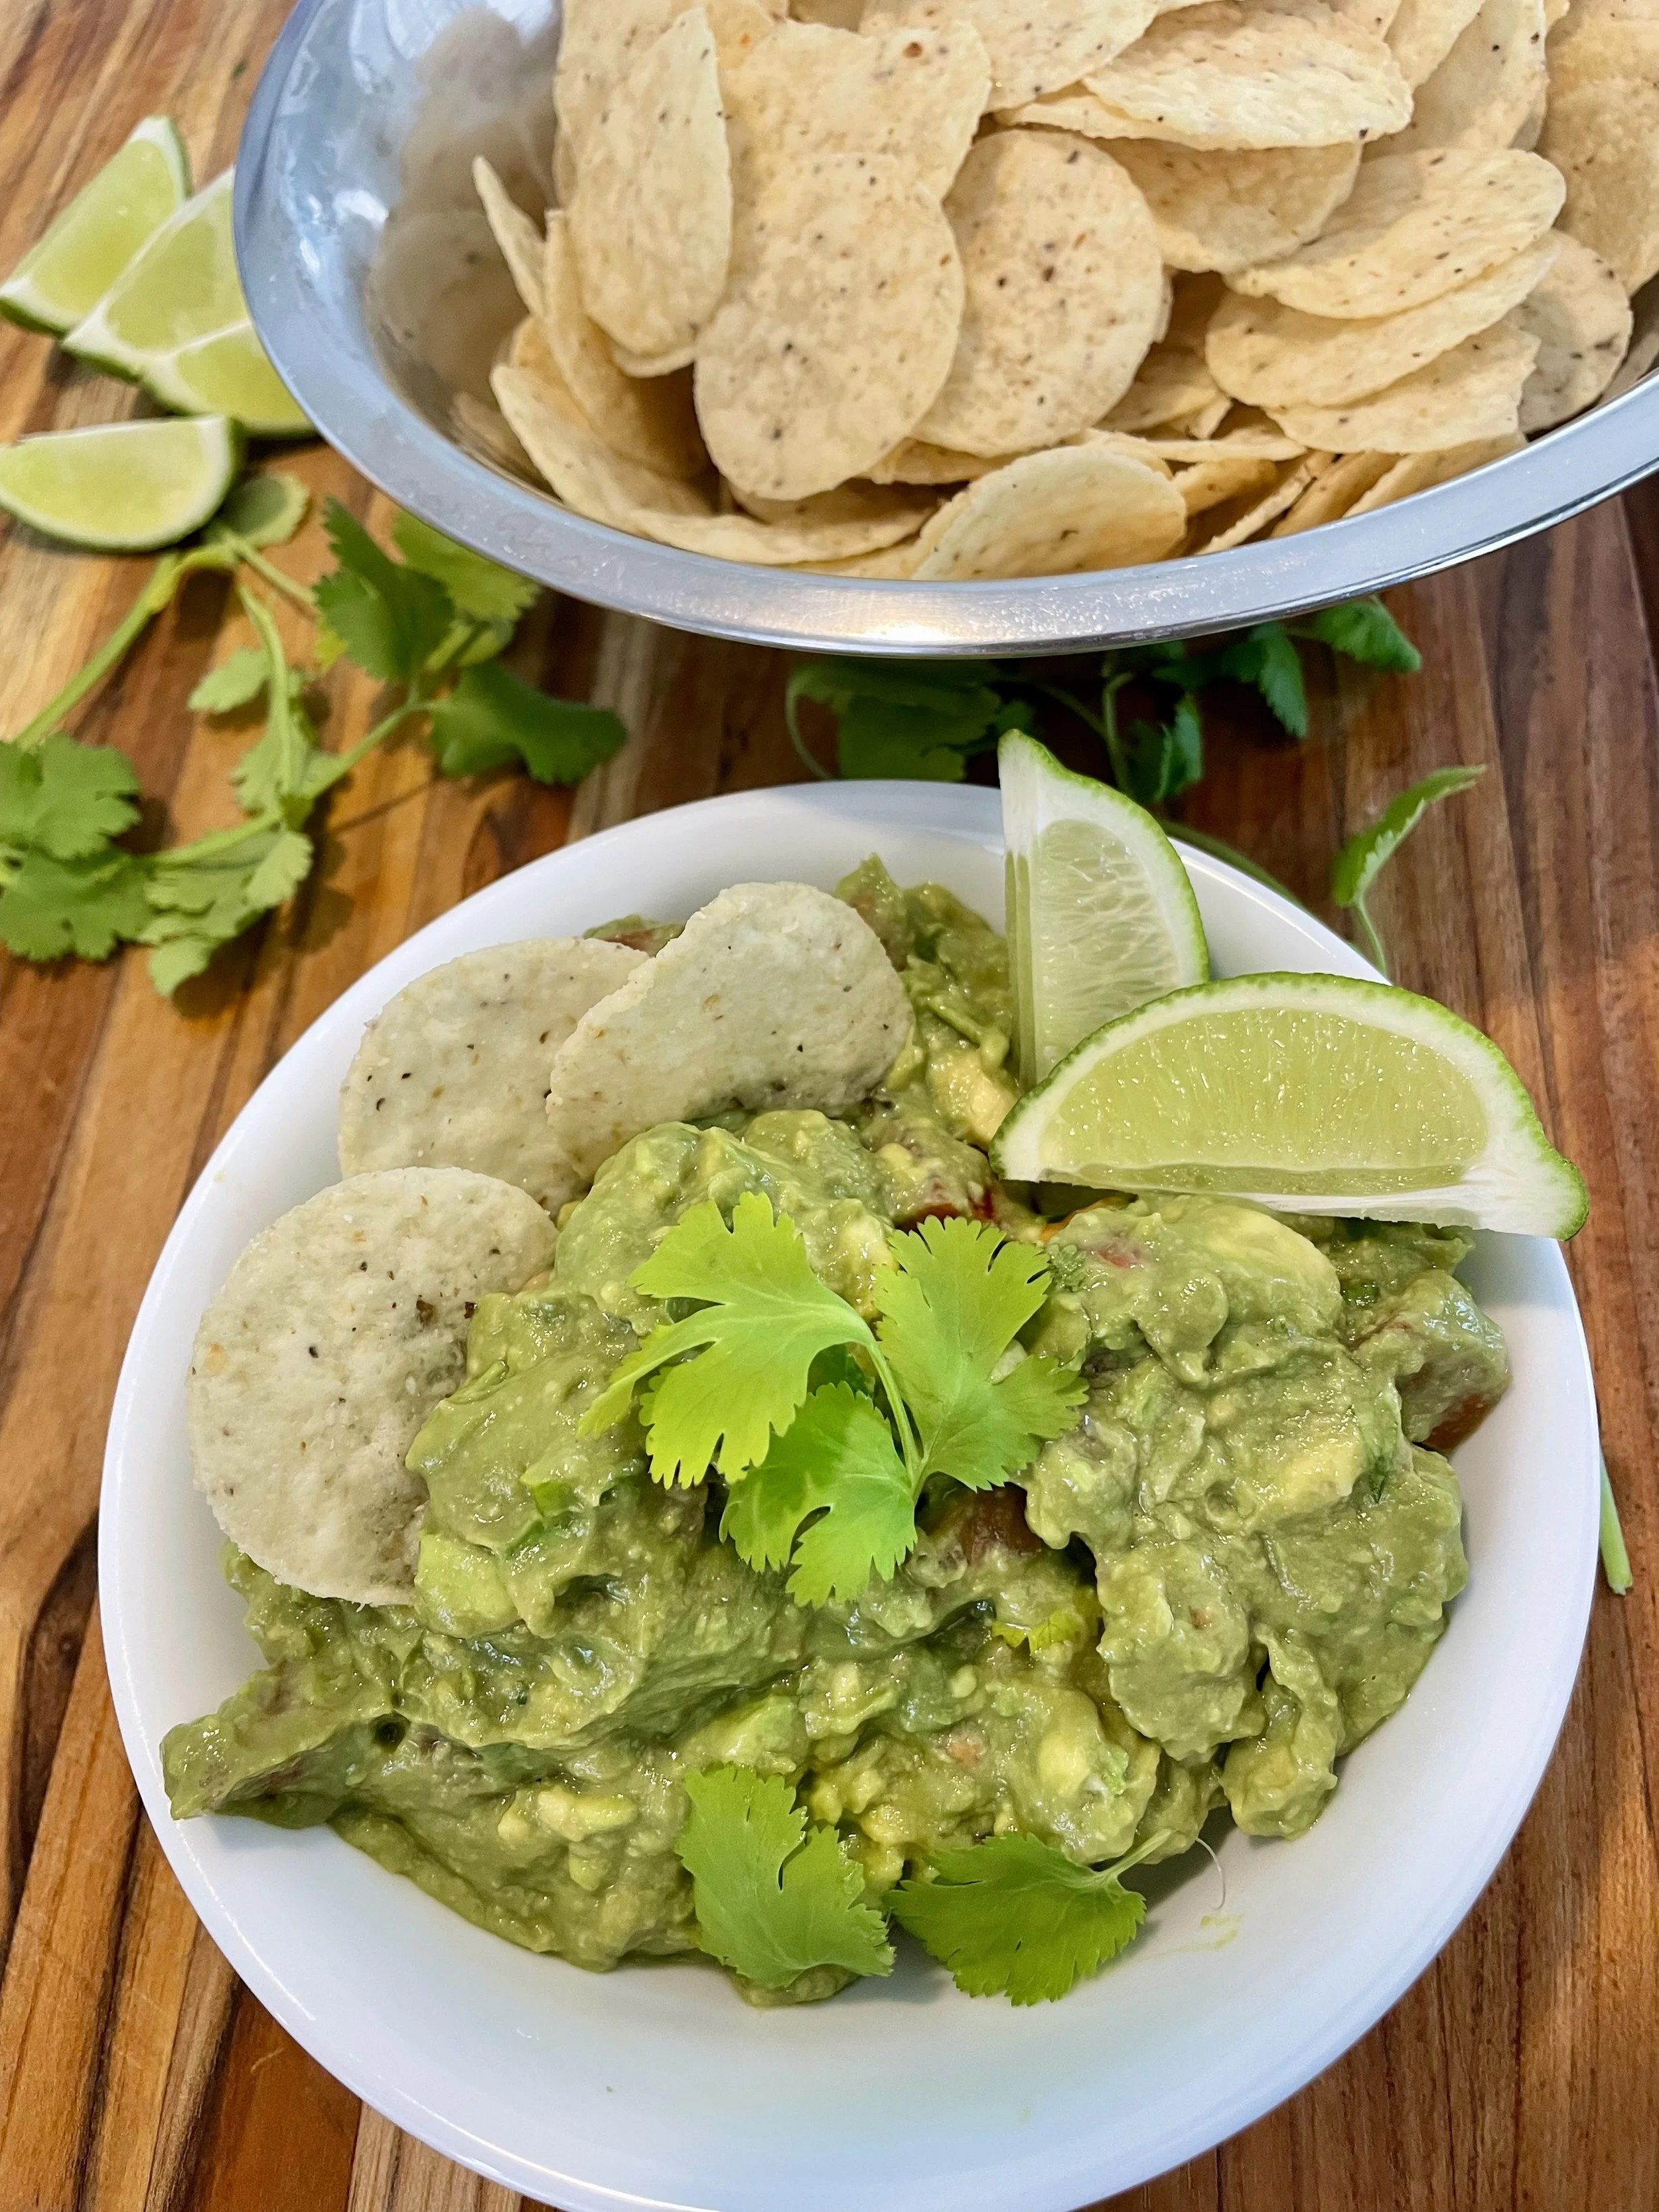
The Best Homemade Guacamole Recipe (With One Secret Ingredient That Changes Everything)
Make the best, creamy, homemade guacamole with just 7 ingredients — avocado, lime, cilantro, garlic, tomato, salt, and one game-changing secret: balsamic vinegar. Best of all, its ready in 10 minutes!
Published: 5 May 2026 | Category: Appetizers & Sides
The secret ingredient
Most guacamole recipes are almost great. They hit the creamy avocado, the bright lime, the herby cilantro but something is missing. That elusive depth. That thing that makes you put the chip down and say, "Wait, what's in this?"
That something is balsamic vinegar. Just one teaspoon. And it will ruin every other guacamole for you forever.
Why balsamic works
Aged balsamic vinegar carries both acidity and natural grape sugars, a combination that cuts through avocado fat and bridges the sharpness of garlic and lime. The result is guacamole with roundness, not just brightness. Start with 1 tsp; add more to taste.
How to make it!
Choose ripe avocados. Squeeze gently they should yield slightly. Halve, remove the pit, and scoop the flesh into a wide bowl.
Mash to your texture. Use a fork for chunky, a potato masher for creamy. Stop before it turns into paste texture is everything.
Season the base. Add the salt, freshly squeezed lime juice, minced garlic, and the balsamic vinegar. Stir and taste.
Fold in the fresh ingredients. Add diced tomatoes and chopped cilantro last, folding gently to keep the texture alive.
Taste, adjust, serve immediately. More lime for brightness, more salt to lift it. Serve right away or press plastic wrap directly on the surface and store it in the fridge.
Pro tips for the best results
Use Hass avocados their fat content is higher than some other varieties, giving a creamier result.
Mince garlic and rest it in the lime juice for 2 minutes before mixing it mellows the rawness.
Dice tomatoes, salt them lightly, and drain on a paper towel first to avoid watery guacamole.
Use aged balsamic, not cheap balsamic. Aged balsamic adds so much more depth. In my books, its totally worth the splurge!
To prevent browning: pit on top + plastic wrap pressed directly to surface = no air = no oxidation. Store it in the fridge.
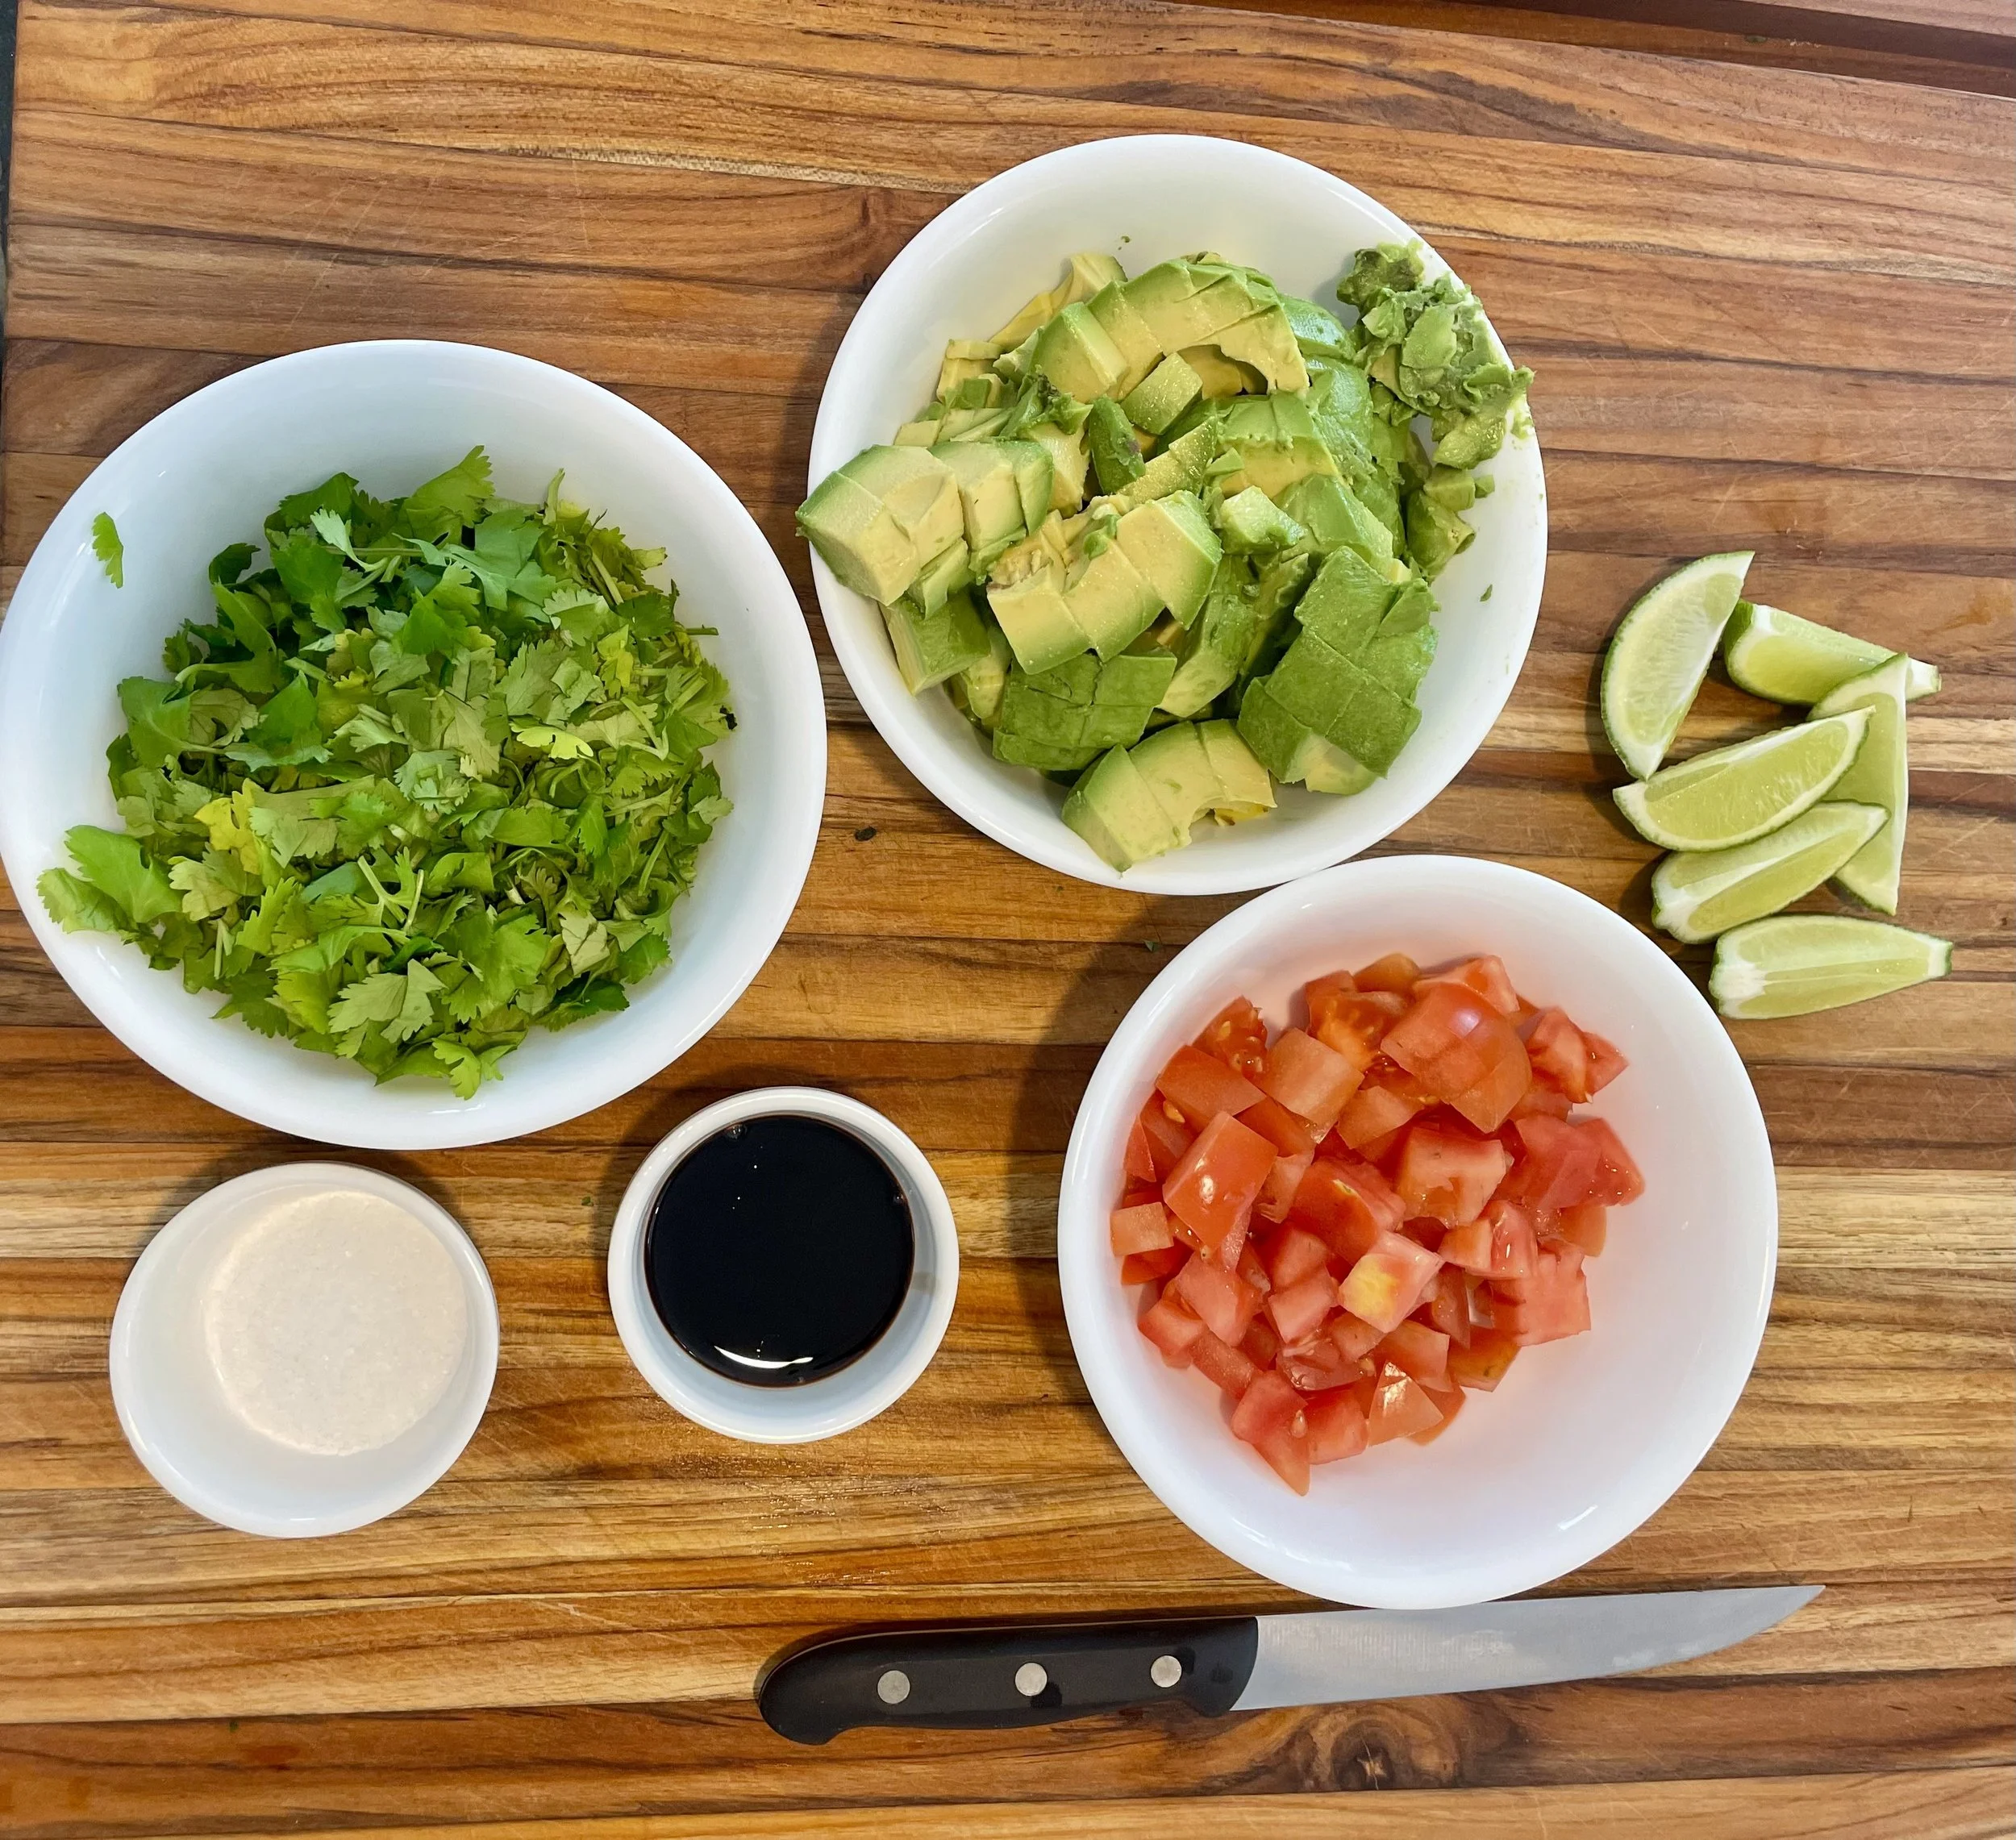
what i need to make guacamole
Ingredients:
2-3 hass avocados, peeled and pitted
1 tbsp aged balsamic vinegar
1 tsp salt, I like using kosher salt or sea salt for this recipe
3 tbsp fresh lime juice
2 cloves of garlic, finely diced
½ cup roma tomatoes, chopped
½ cup chopped fresh cilantro
optional: 2-3 tbsp finely diced red onion
How to make guacamole
a step-by-step guide
This is honestly the easiest side to make. Here's how:
Step 1: Choose ripe avocados
Squeeze gently they should yield slightly. Halve, remove the pit, and scoop the flesh into a wide bowl.
step 2: Mash to your texture
Use a fork for chunky, a potato masher for creamy. Stop before it turns into paste texture is everything.
step 3: Season the base
Add the salt, freshly squeezed lime juice, minced garlic, and the balsamic vinegar. Stir and taste.
step 4: Fold in the fresh ingredients
Add diced tomatoes and chopped cilantro last, folding gently to keep the texture alive. If you’d like to add red onions, this would be the optimal time to fold them in, along with the chopped tomatoes and cilantro.
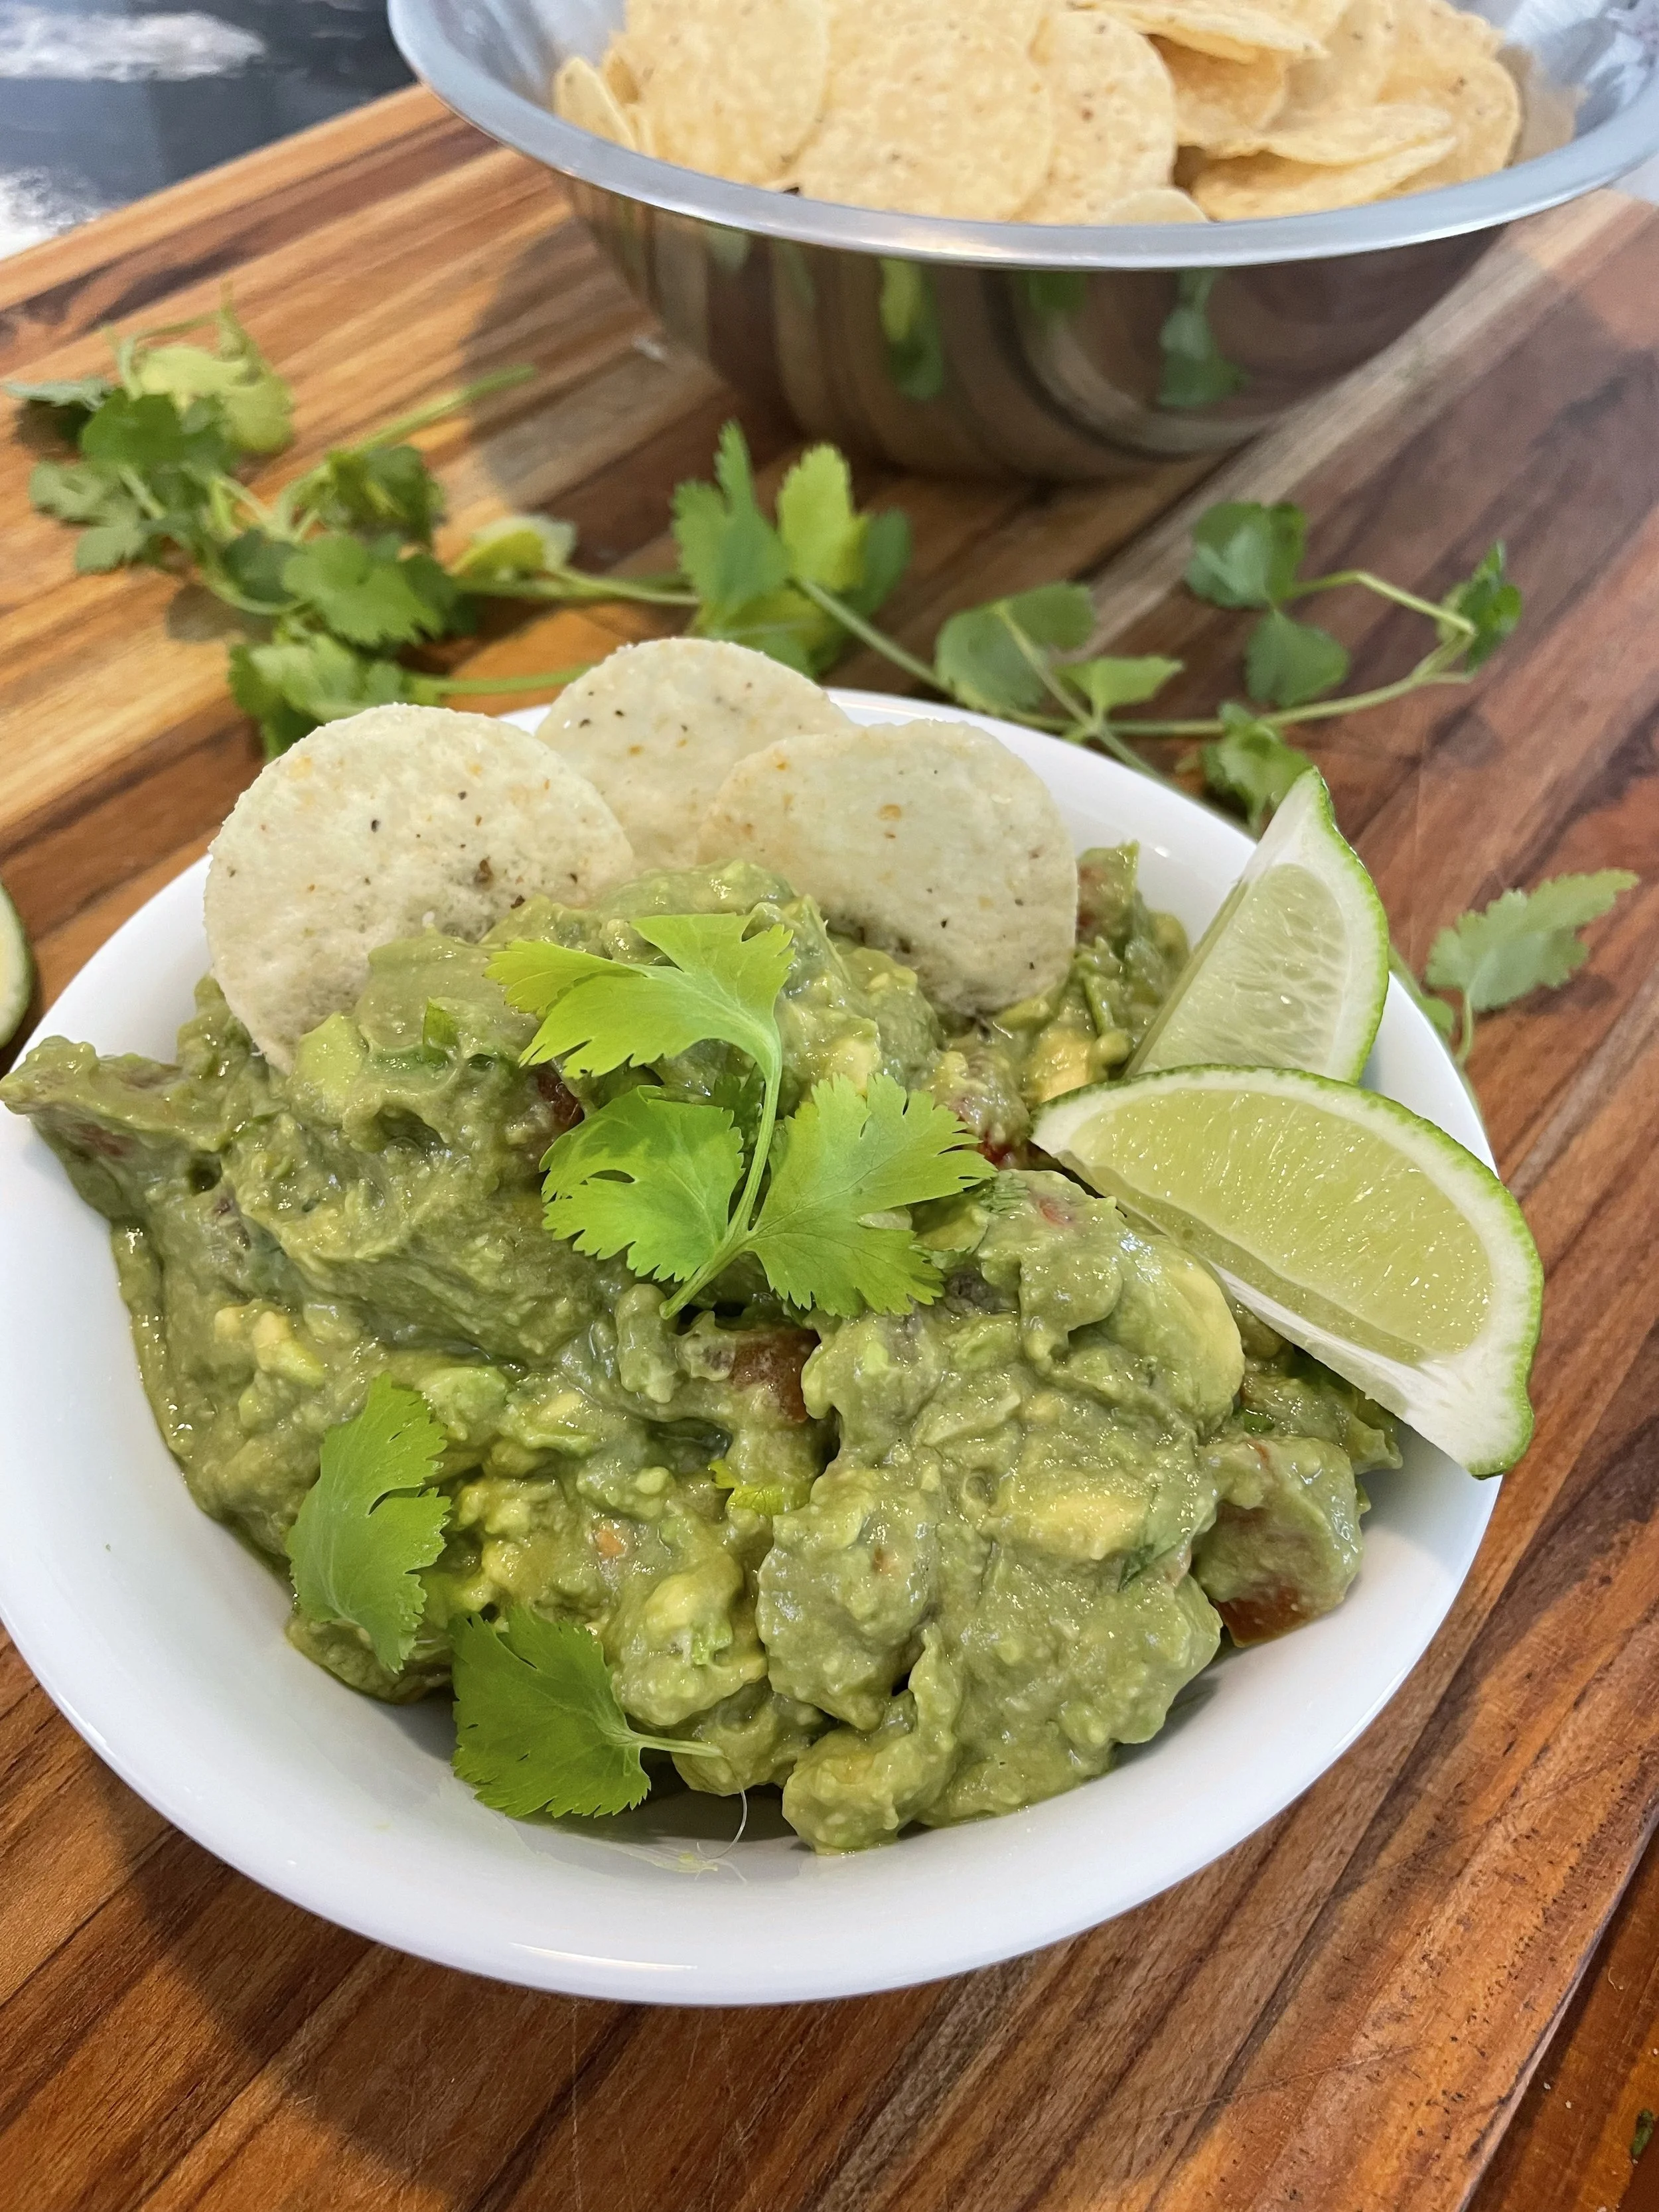
Taste, adjust, serve immediately. More lime for brightness, more salt to lift it. Serve right away or press plastic wrap directly on the surface and store it in the fridge for up to 2 days.
Common Questions
Q: "What is the secret ingredient in the best guacamole?"
A: A small amount of balsamic vinegar - about 1 teaspoon - adds sweet acidity and depth that rounds out the avocado's fat and bridges the lime and garlic.
Q: "How do you make guacamole from scratch?"
A: Mash 3 ripe avocados with salt, lime juice, minced garlic, balsamic vinegar, then fold in diced tomatoes and cilantro. Ready in under 10 minutes.
Q: "Can you put balsamic vinegar in guacamole?"
A: Yes - 1 tsp of aged balsamic vinegar is the secret ingredient that adds depth and sweet acidity without overpowering the fresh flavors.
Frequently asked questions
Why does my guacamole taste bland?
Usually under-salted or under-acidic. Add more lime juice first, then salt to taste. The balsamic vinegar also closes this gap - it adds perceived depth that makes every other flavour pop.
How long does homemade guacamole last?
Up to 2 days in the fridge when stored with plastic wrap pressed directly against the surface to prevent oxidation (browning). The lime juice also slows this browning process.
Can I make guacamole without cilantro?
Yes. Substitute flat-leaf parsley for a similar herby note, or omit entirely for a simpler version. The balsamic and garlic still carry the flavour.
What does balsamic vinegar do in guacamole?
It contributes sweet acidity and caramel depth the natural grape sugars in aged balsamic interact with avocado's fat differently than citrus, creating a richer, more complex dip without adding heat or sharpness.
Can I add onions?
Yes! If you’re an onion lover, I highly recommend it. Start by adding 2-3 tbsp of red onion, finely minced, and adjust to taste.
RElated Recipes:
DID YOU MAKE THIS RECIPE? I WANT TO SEE IT!
Leave a photo and a ⭐ star rating and comment below to let us know how your muffins turned out. Did you make any substitutions or additions? Share your tips and photos with us!
Share this recipe: Help others discover this delicious recipe by sharing it on Pinterest, Facebook, or Instagram. Tag us @Sageandsimplicity so we can see your beautiful creations!
📌 Pin it for later: Save this recipe to your Pinterest boards for easy access.