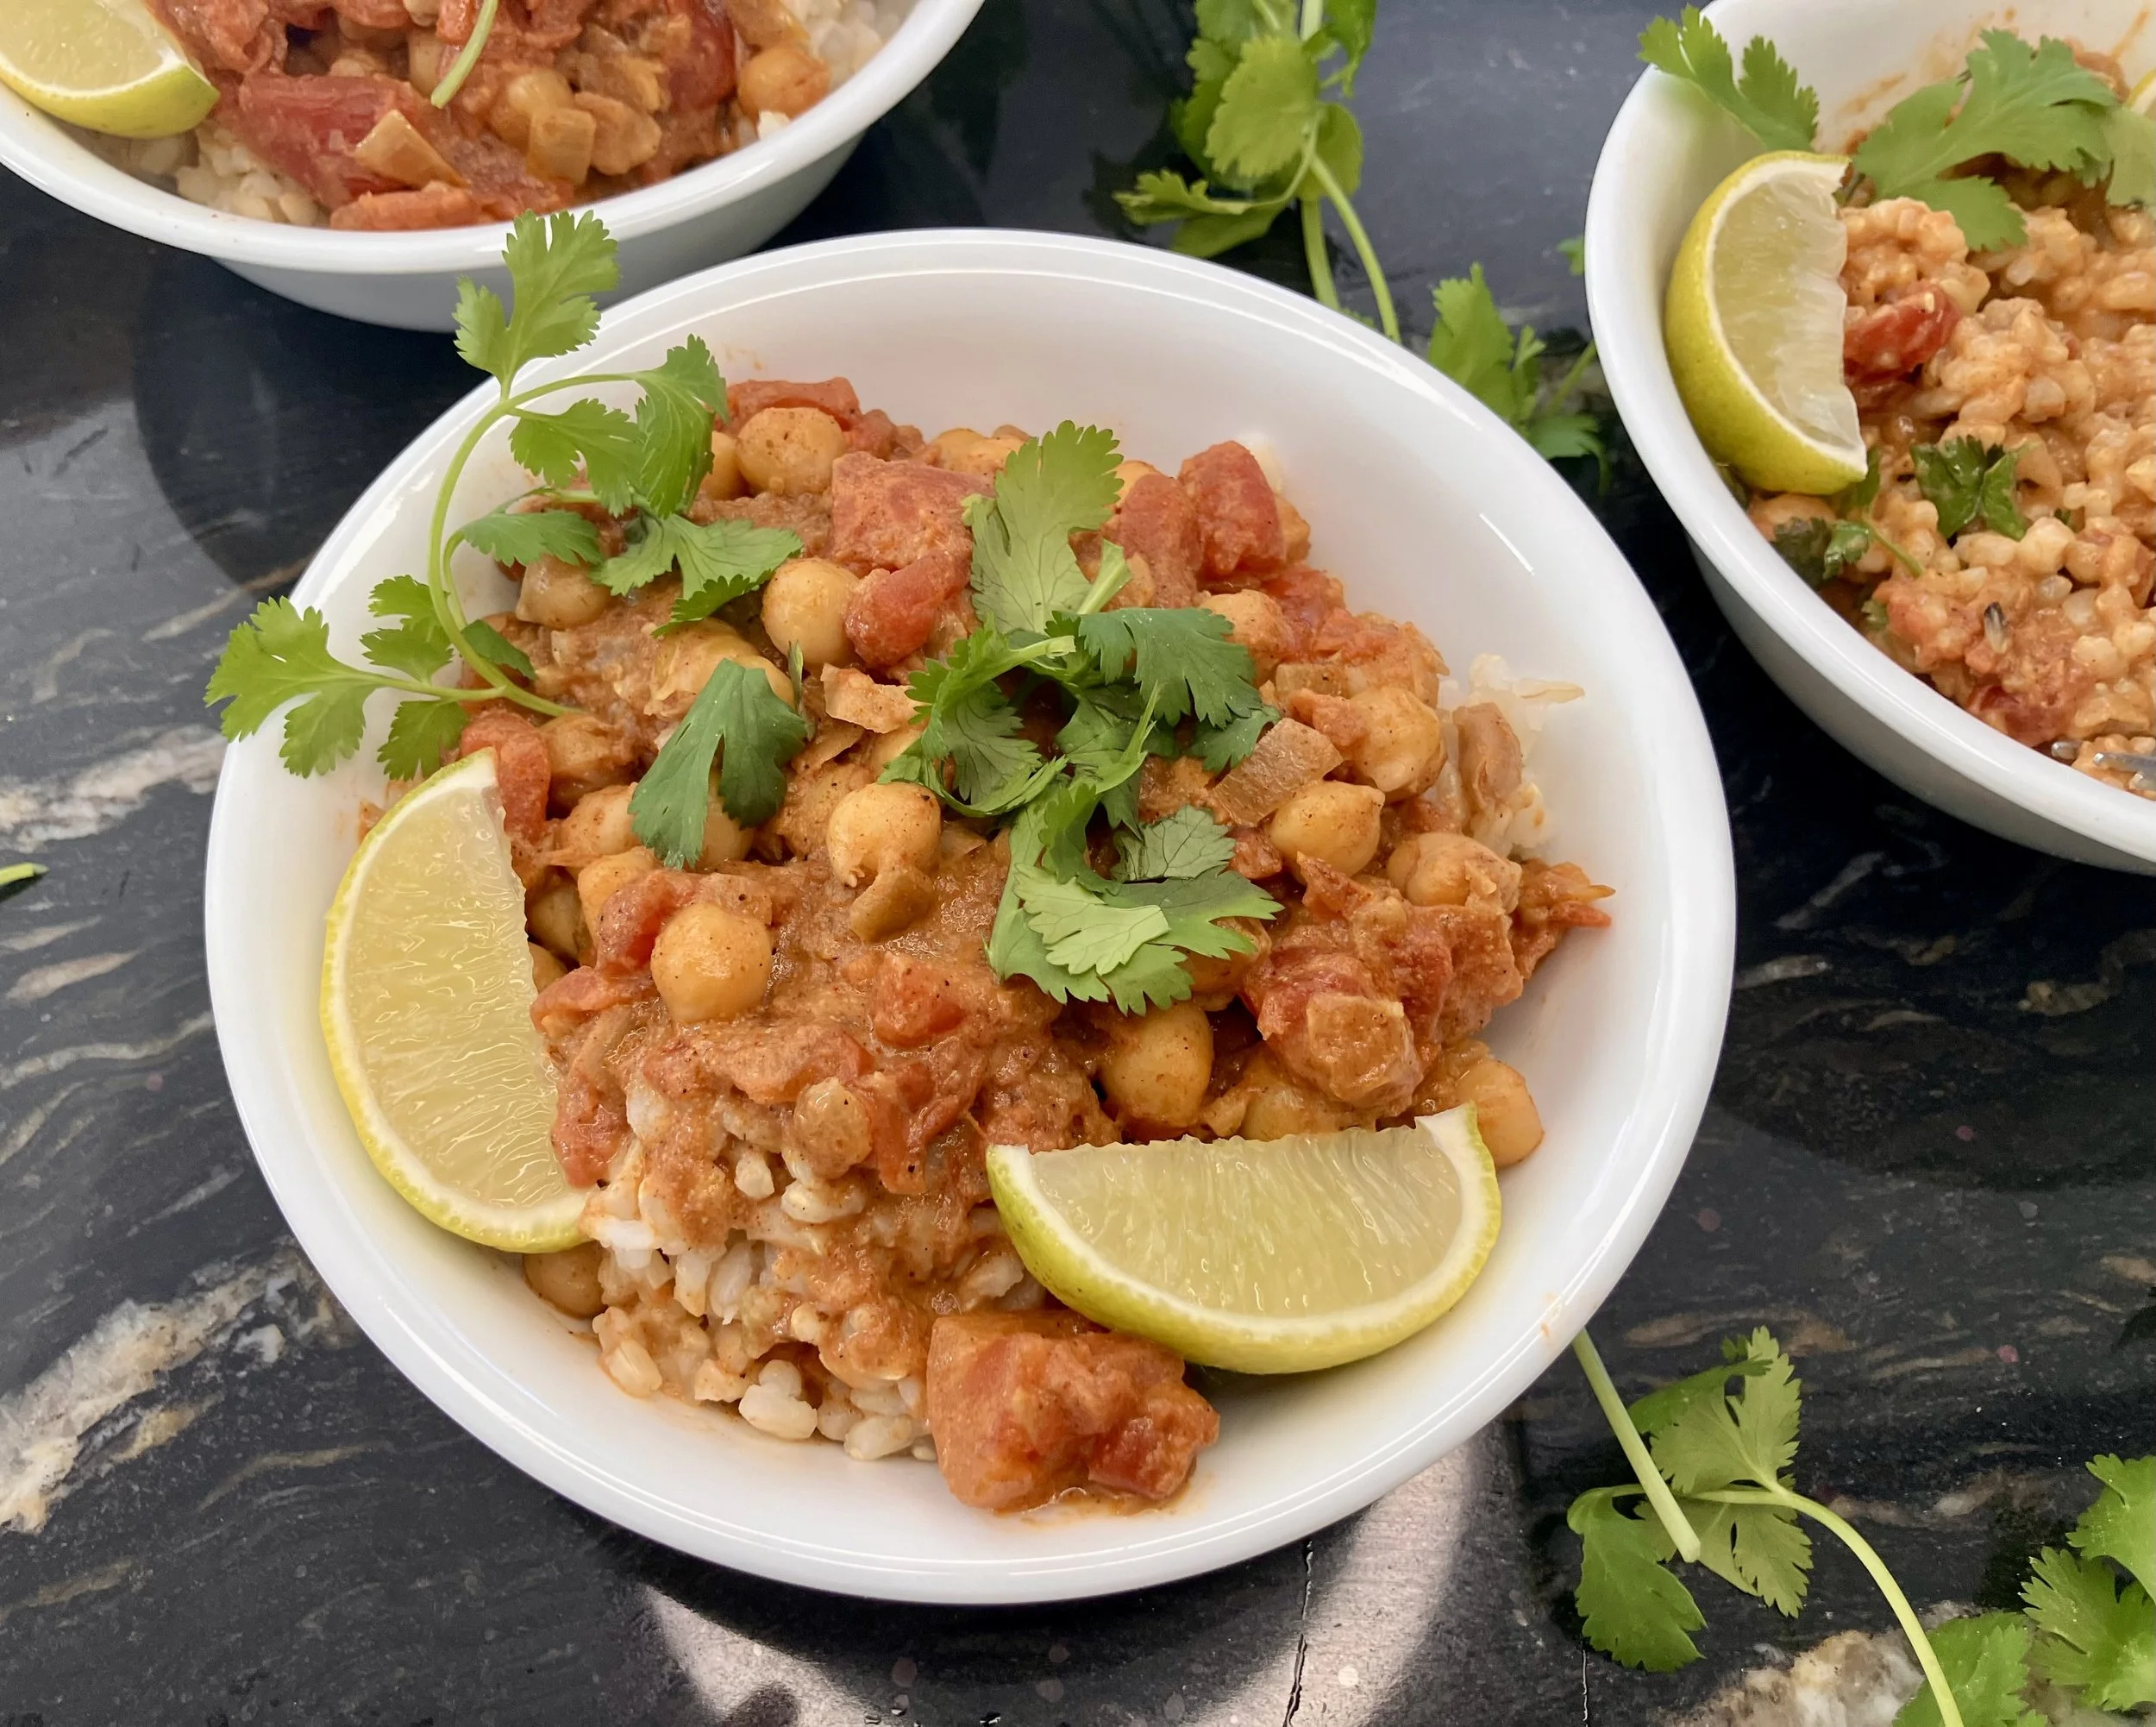
Easy One-Pan VEGETARIAN Tikka Masala (No Marinade Needed!)
This easy one-pan vegetarian tikka masala is a no-fuss weeknight dinner packed with bold spices, creamy tomato sauce — ready in under 45 minutes and no marinade required! Best of all, you likely already have everything to make this recipe right in your pantry.
This recipe easily doubles, and freezes well.
⏱ Prep: 10 mins | 🍳 Cook: 35 mins | 🍽 Serves: 6 | 🥘 One Pan | ⭐ Beginner Friendly
WEeknight hero!
Yes! You can make an absolutely incredible vegetarian tikka masala on a busy weeknight, in one pan, with no marinade and no fuss. This recipe is proof! Bold, warming spices coat the chickpeas and meld into a rich tomato-cream sauce that tastes like it simmered all day — but takes under 45 minutes start to finish.
What makes this version special? We skip the overnight marinade entirely by blooming the spices directly in butter with the cooked chickpeas — a technique that locks in deep, complex flavour without any waiting time. This is the weeknight Vegetarian Tikka Masala recipe you've been looking for!
Serve it over fluffy basmati rice or scoop it up with warm garlic naan, and finish with a squeeze of fresh lime and a handful of cilantro. Dinner is done, with ingredients you can feel good about. 🍛
Why You'll Love This Recipe
One pan — fewer dishes, less cleanup, more joy
No marinade required — weeknight-friendly without sacrificing flavour
Ready in under 45 minutes from fridge to table
Bold, restaurant-quality flavour from a simple, homemade spice blend
Family-friendly and easy to adjust for spice preference
Freezer-friendly — make a double batch and thank yourself later
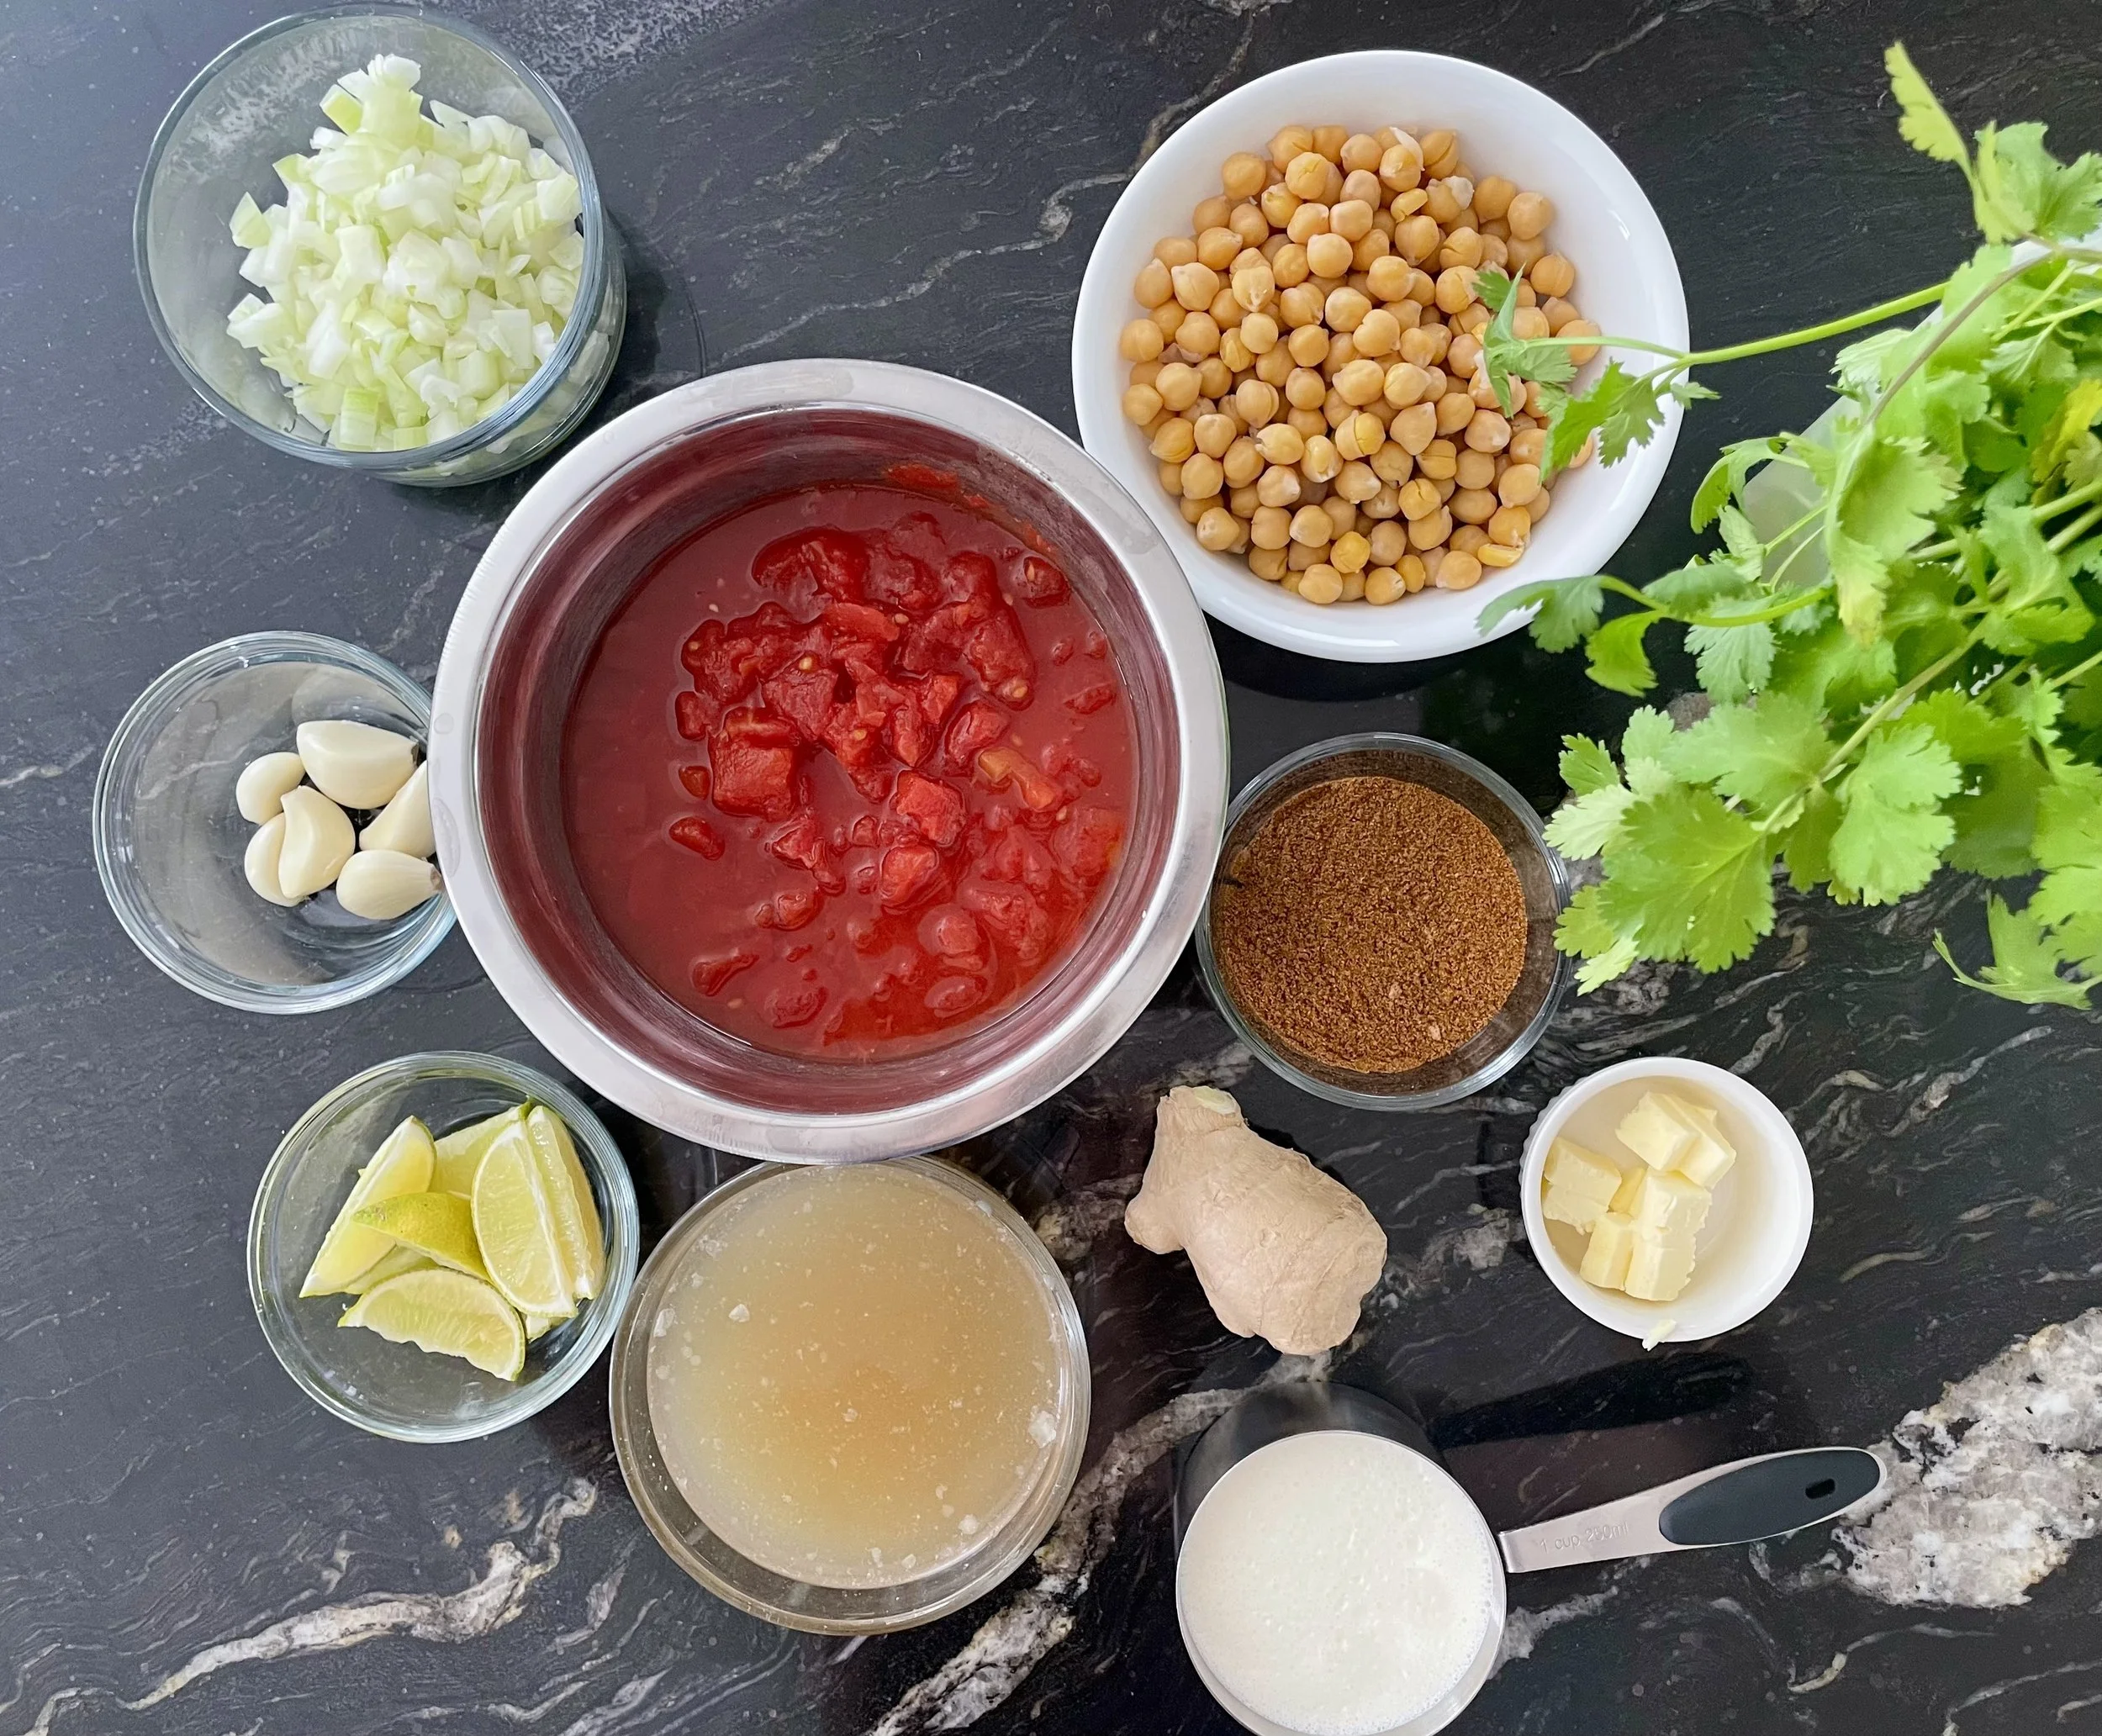
Ingredients
The Base
1 - 16oz can of chickpeas, drained and rinsed
2 tbsp extra virgin olive oil
2 tbsp butter, salted or unsalted, your choice!
1 large onion, chopped
6 cloves garlic, pressed
2 tbsp fresh ginger, grated, minced or pressed
The Sauce
1 large can (28 oz) diced tomatoes
1 cup broth, chicken or vegetable
1 cup heavy cream
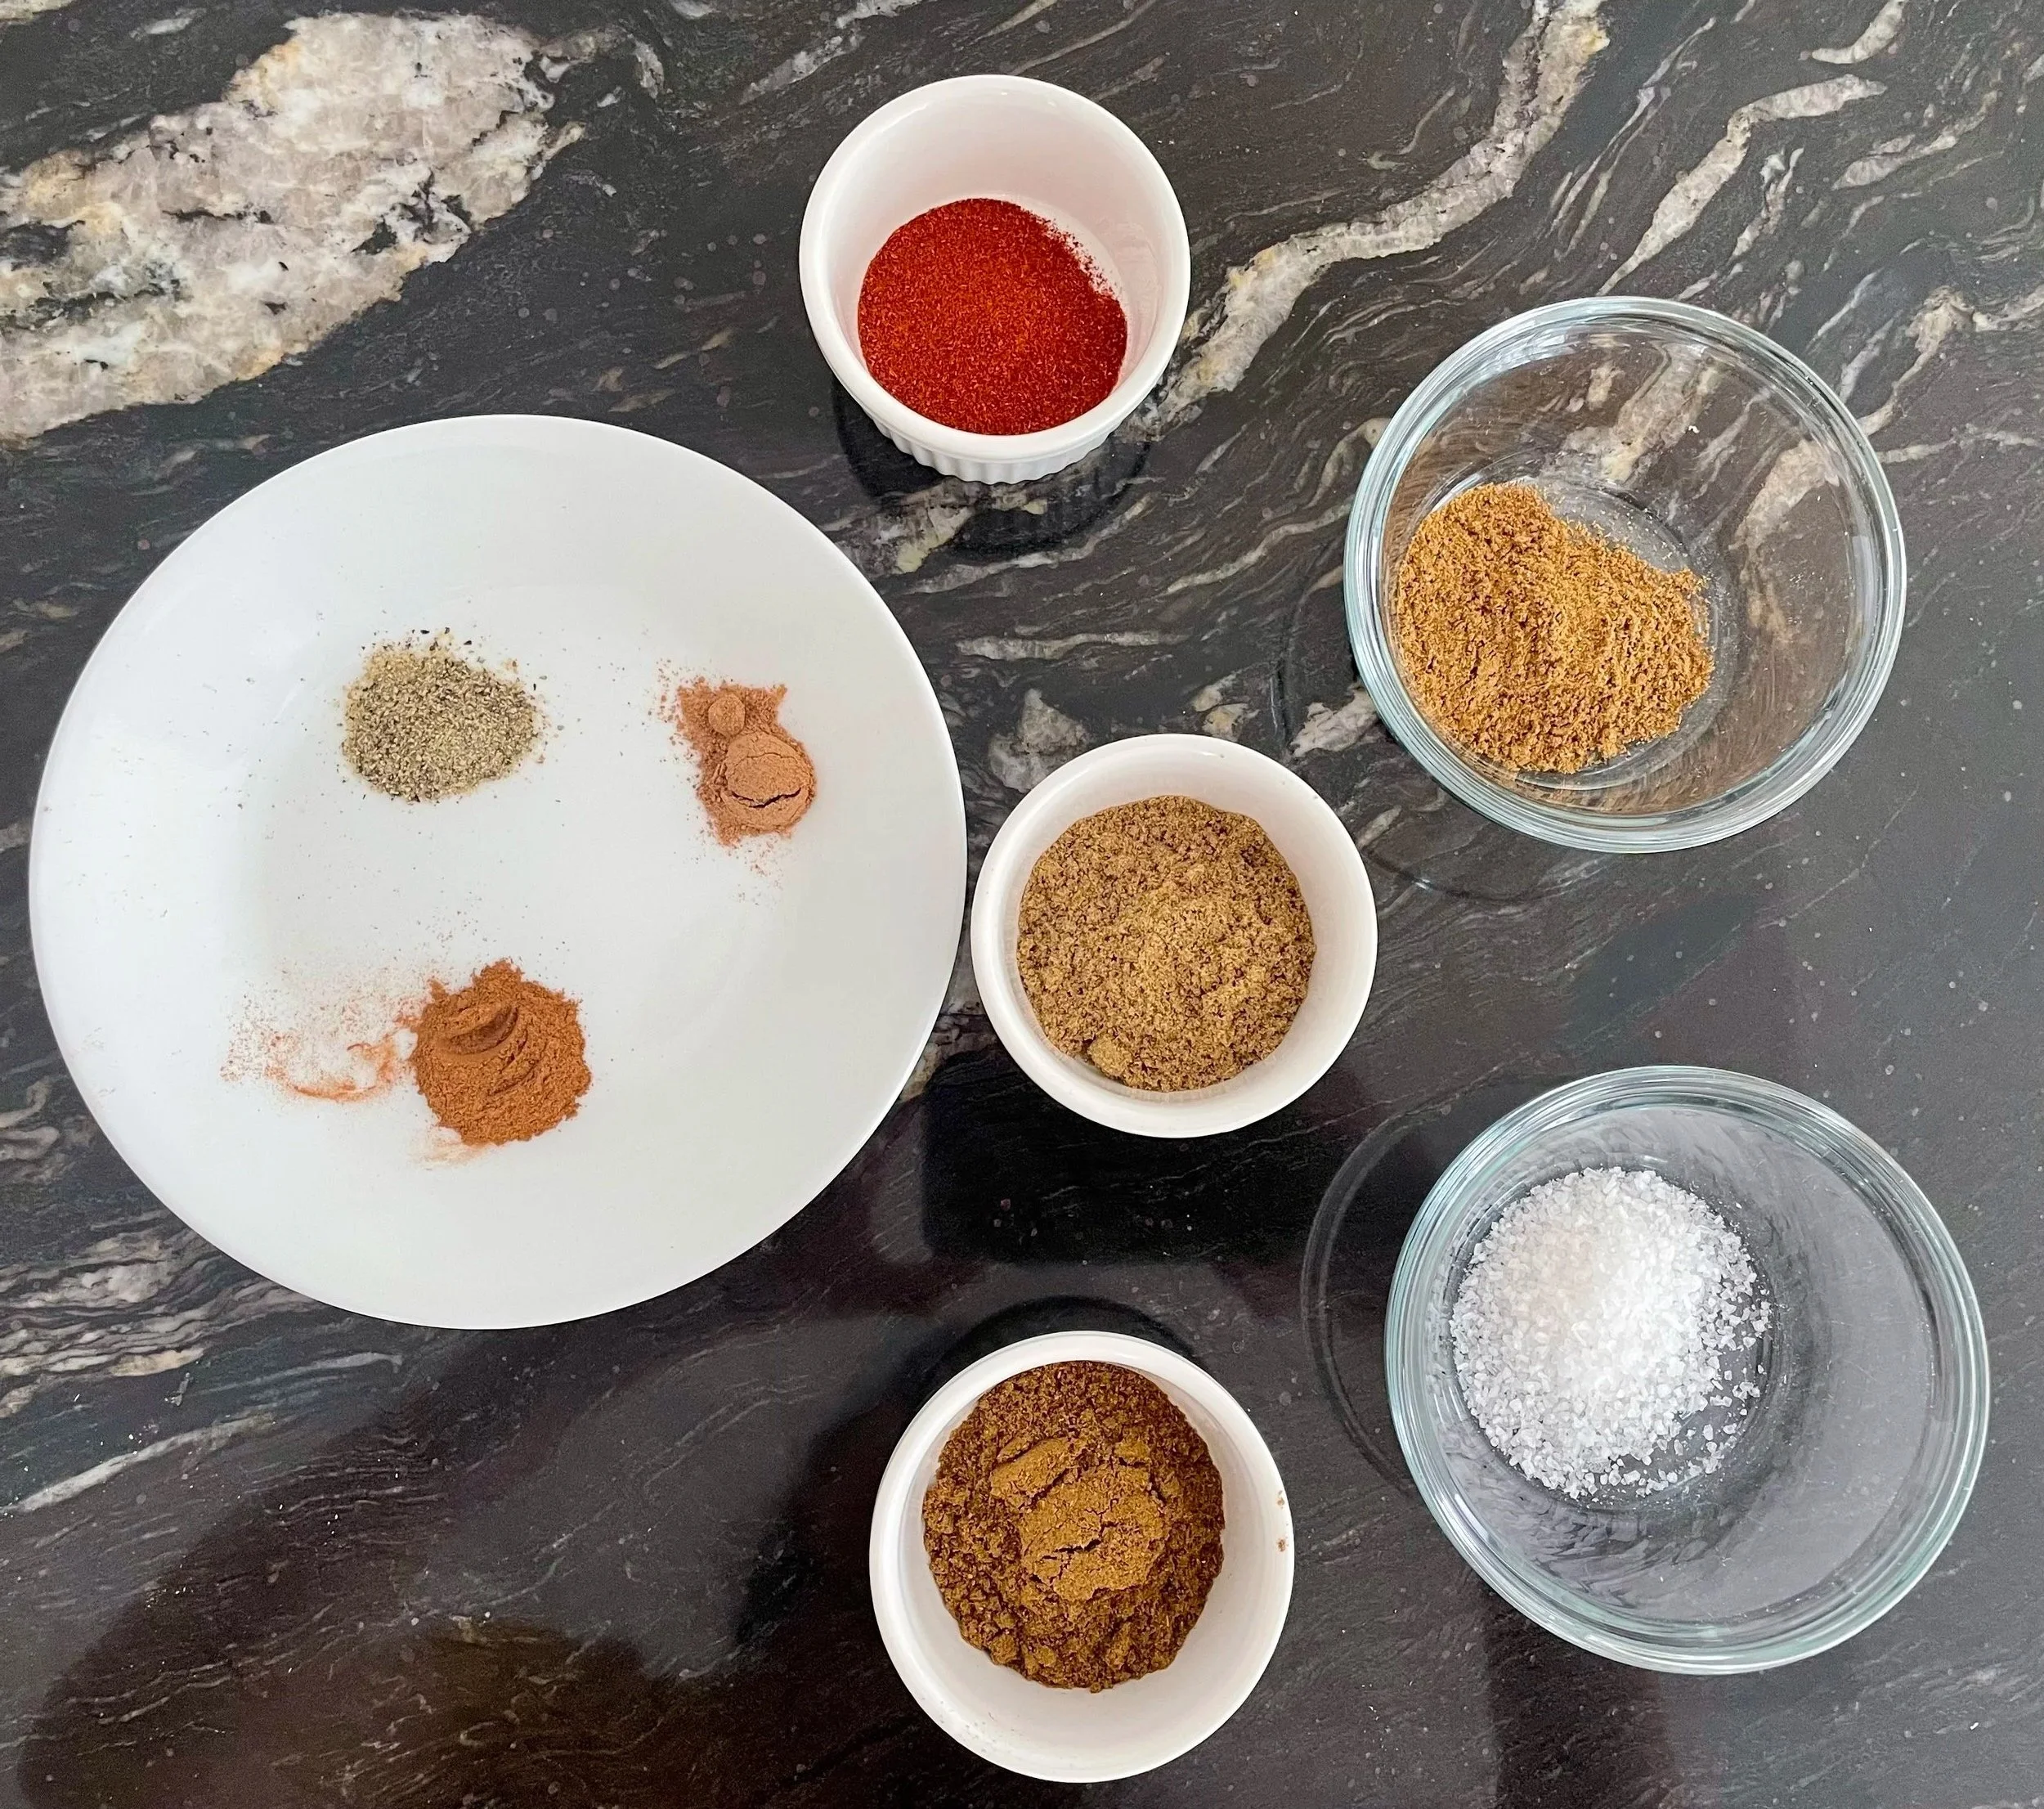
The Spice Blend (mix together ahead)
1 tbsp garam masala
1 tbsp ground coriander
1½ tsp kosher salt
1½ tsp smoked paprika
1½ tsp ground cumin
½ tsp ground cinnamon
½ tsp nutmeg
½ tsp black pepper
To Serve
Fresh limes, cut into wedges
Fresh cilantro, roughly chopped
Garlic naan bread and/or basmati rice
💡 Pro Tip: Double your recipe and keep it in freezer-safe container. This sauce freezes beautifully for up to 3 months.
How to Make One-Pan vegetarian Tikka Masala
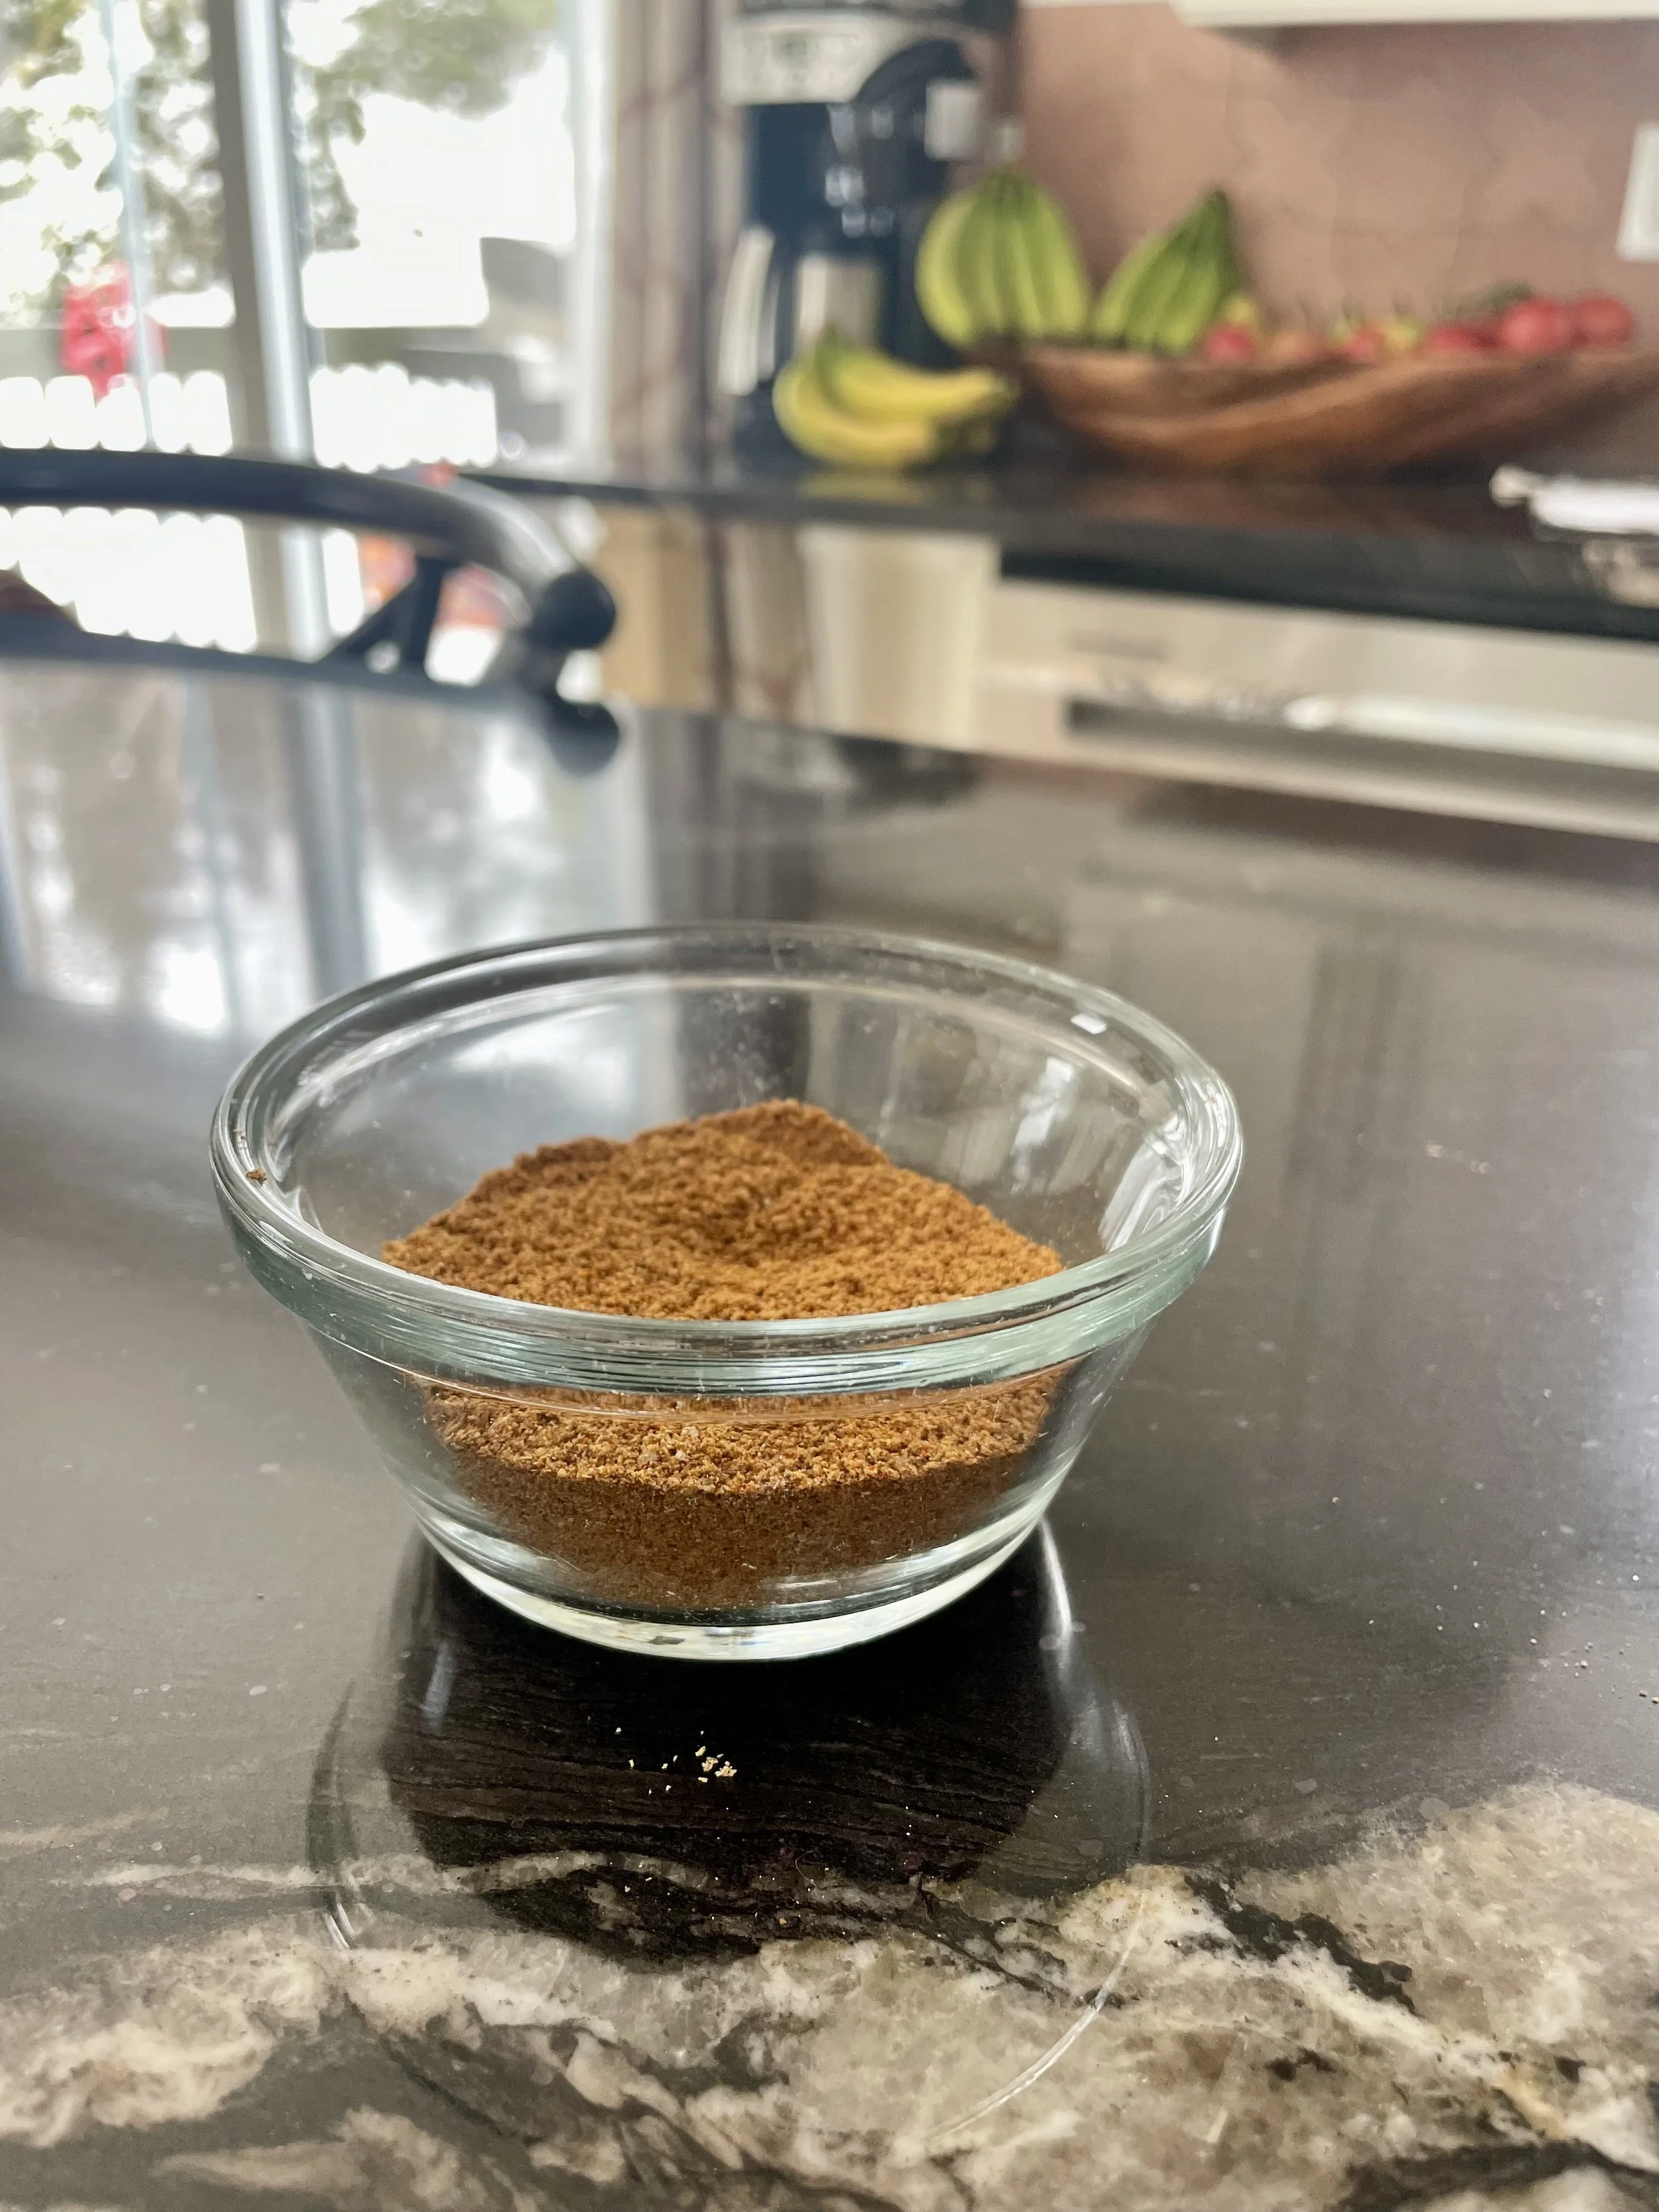
Step 1: Mix Your Spice Blend
Combine all spice mix ingredients — garam masala, coriander, salt, smoked paprika, cumin, cinnamon, nutmeg, and pepper — in a small bowl and mix well. Set aside. Having everything measured and ready before you start cooking makes this recipe even faster.
Step 2: Prep Your Ingredients
Drain and rinse the chickpeas. Chop the onion. Press or mince the garlic. Press, mince or grate the fresh ginger. With everything prepped, this dish comes together quickly once the heat is on.
Step 3: pan fry the Chickpeas & Aromatics
Preheat a large skillet over medium-high heat. Add the olive oil and let it warm up over medium high heat. Add the chickpeas, onion, and garlic to the pan all at once. Cook, stirring occasionally, for the chickpeas to brown and the onion is softened and beginning to turn golden.
Step 4: Bloom the Spices - Don’t Skip this CRUCIAL step
Reduce heat to medium. Push the onion-chickpea mixture to the edges of the pan, leaving a blank spot in the centre. Some of the onions, garlic and/or chickpeas may have stuck to the bottom of the pan. This is normal. Leave it there. It’ll quickly become extra flavour in just a few minutes.
Add the butter to the centre of the pan and let it melt, swirl it as it melts. Once the butter is melted and foamy, add the entire spice blend all at once. Stir constantly and blend it in the melted butter. The spice mix will become a darker colour. This step — blooming spices in butter — is the flavour secret of this recipe. Coating the chickpeas and onions with the spices with the butter-spice blend. Watch carefully and don't let the spices burn.
💡 Blooming spices in fat unlocks their oils and creates a far deeper, more complex flavor than just adding them to liquid. This is what makes this no-marinade recipe taste like it was slow-cooked all day.
Step 5: Making the sauce
First, add the can of diced tomatoes. using a wooden spatula, scrape the bottom of the pan. The acidity of the tomatoes will lift the stuck on onions garlic and spices and add them into the sauce. Then add the ginger. I highly recommend you press the ginger into the sauce, using a garlic press if you have one. If you don’t, no biggie, I recommend you finely dice the ginger. Next, add the broth to the pan, giving it a stir. Reduce heat to low, cover, and let simmer for 20 minutes, stirring once or twice. The sauce will thicken, deepen in color, and become incredibly fragrant.
Step 6: Add the Cream & Finish
Remove the lid and stir in the heavy cream. Let the sauce simmer uncovered for another 3–5 minutes until it reaches your desired consistency. Taste and adjust salt if needed. Garnish with fresh cilantro and a squeeze of fresh lime juice just before serving.
Step 7: Serve
Serve the vegetarian tikka masala over fluffy basmati rice or serve alongside warm garlic naan for scooping. Finish each bowl with extra lime wedges and a fresh cilantro garnish. Enjoy immediately — this is at its best fresh off the stove!
Recipe Tips & Tricks
Add a pinch of red pepper flakes or cayenne in Step 4 if you like heat
Coconut cream is a perfect dairy-free swap for the heavy cream — it adds a subtle sweetness too
Don't rush Step 4 (blooming spices) — this 90 seconds is what creates that deep, layered restaurant flavour
Add a spoonful of tomato paste along with the diced tomatoes for an even richer, more intense sauce
The sauce thickens as it cools — if reheating, add a splash of broth or water to loosen

Storage & Meal Prep
Refrigerator: Store in an airtight container for up to 4 days.
Freezer: Freeze in portion-sized containers for up to 3 months. Thaw overnight in the refrigerator.
Reheating: Warm gently on the stovetop over medium-low heat, adding a splash of broth or water to bring the sauce back to life
Meal prep: Double this recipe and freeze for a quick meal.
Frequently Asked Questions
1. Can I make vegetarian tikka masala without marinating ahead of time?
Yes! This recipe is specifically designed to skip the marinade entirely. By searing the chickpeas directly and then blooming the spices in butter you lock in all the bold flavour without any waiting time. It's perfect for busy weeknights when you need dinner on the table fast.
2. What is the best pan for making tikka masala?
A large, deep skillet or a wide Dutch oven works best. You need enough surface area to sear the chickpaes without overcrowding, and enough depth to hold the sauce. A 12-inch skillet or a 5–6 quart Dutch oven is ideal.
3. Can I use canned tomatoes for this vegetarian tikka masala?
Absolutely! — canned diced tomatoes are actually preferred in this recipe. They're consistent in flavour, always available year-round, and they break down into a perfect sauce base during the 20-minute simmer. A 28 oz can is exactly the right amount this recipe calls for.
4. What does garam masala taste like?
Garam masala is a warm, aromatic spice blend common in South Asian cooking. It typically contains a mix of cumin, coriander, cardamom, cinnamon, cloves, and black pepper. It smells deeply fragrant and tastes warm and slightly sweet — it's the signature spice that defines tikka masala's distinctive flavor.
5. Can I make this vegetarian tikka masala dairy-free?
Yes! Replace the butter with extra olive oil or a dairy-free butter substitute, and swap the heavy cream with full-fat coconut cream. The coconut cream adds a mild sweetness that pairs beautifully with the spices. The rest of the recipe remains exactly the same.
6. How do I make tikka masala less spicy?
This recipe is already mild enough for most palates. To reduce spice further, decrease or omit the black pepper and smoked paprika. Stirring in extra heavy cream at the end also mellows out any heat significantly. To increase the heat, add ¼–½ tsp cayenne pepper or red pepper flakes in Step 4.
7. Can I make this recipe in an Instant Pot?
Yes. Use the Sauté function to cook the chicken, onion, and garlic, then bloom the spices in butter as directed. Add the tomatoes and broth, seal the lid, and pressure cook on High for 8 minutes. Quick release, then stir in the cream and simmer on Sauté for 3–5 minutes until thickened.
8. What should I serve with tikka masala?
The classic pairings are basmati rice and garlic naan — perfect for scooping up the creamy sauce. Other great options include plain steamed rice, jeera (cumin) rice, or warm roti. For a complete meal, add a simple cucumber raita and mango chutney on the side.
9. Why is my tikka masala sauce too thin?
Remove the lid and continue simmering on medium heat for an additional 5–10 minutes — the sauce will naturally thicken as the liquid evaporates. You can also stir in 1–2 tablespoons of tomato paste to both thicken and deepen the flavour of the sauce.
10. I’m out of olive oil. Can I use canola or vegetable oil instead?
Yes! A neutral oil such as canola oil or vegetable oil works just as well. Be sure to swap 1:1 portions for this recipe.
Final Thoughts
This easy one-pan Vegetarian Tikka Masala is the weeknight dinner that'll earn you the most compliments with the least amount of effort. Rich, spiced, creamy, and completely satisfying — all from a single pan in under 45 minutes.
If you make this recipe, we'd love to hear from you! Leave a comment, rate the recipe, and share a photo. Don't forget to pin this for your next weeknight dinner rescue. 🍛❤️

DID YOU MAKE THIS RECIPE?
We'd love to hear from you! Please leave a ⭐ star rating and comment below to let us know how your muffins turned out. Did you make any substitutions or additions? Share your tips and photos with us!
Share this recipe: Help others discover this delicious recipe by sharing it on Pinterest, Facebook, or Instagram. Tag us @Sageandsimplicity so we can see your beautiful creations!
📌 Pin it for later: Save this recipe to your Pinterest boards for easy access.
You Might Also Like:


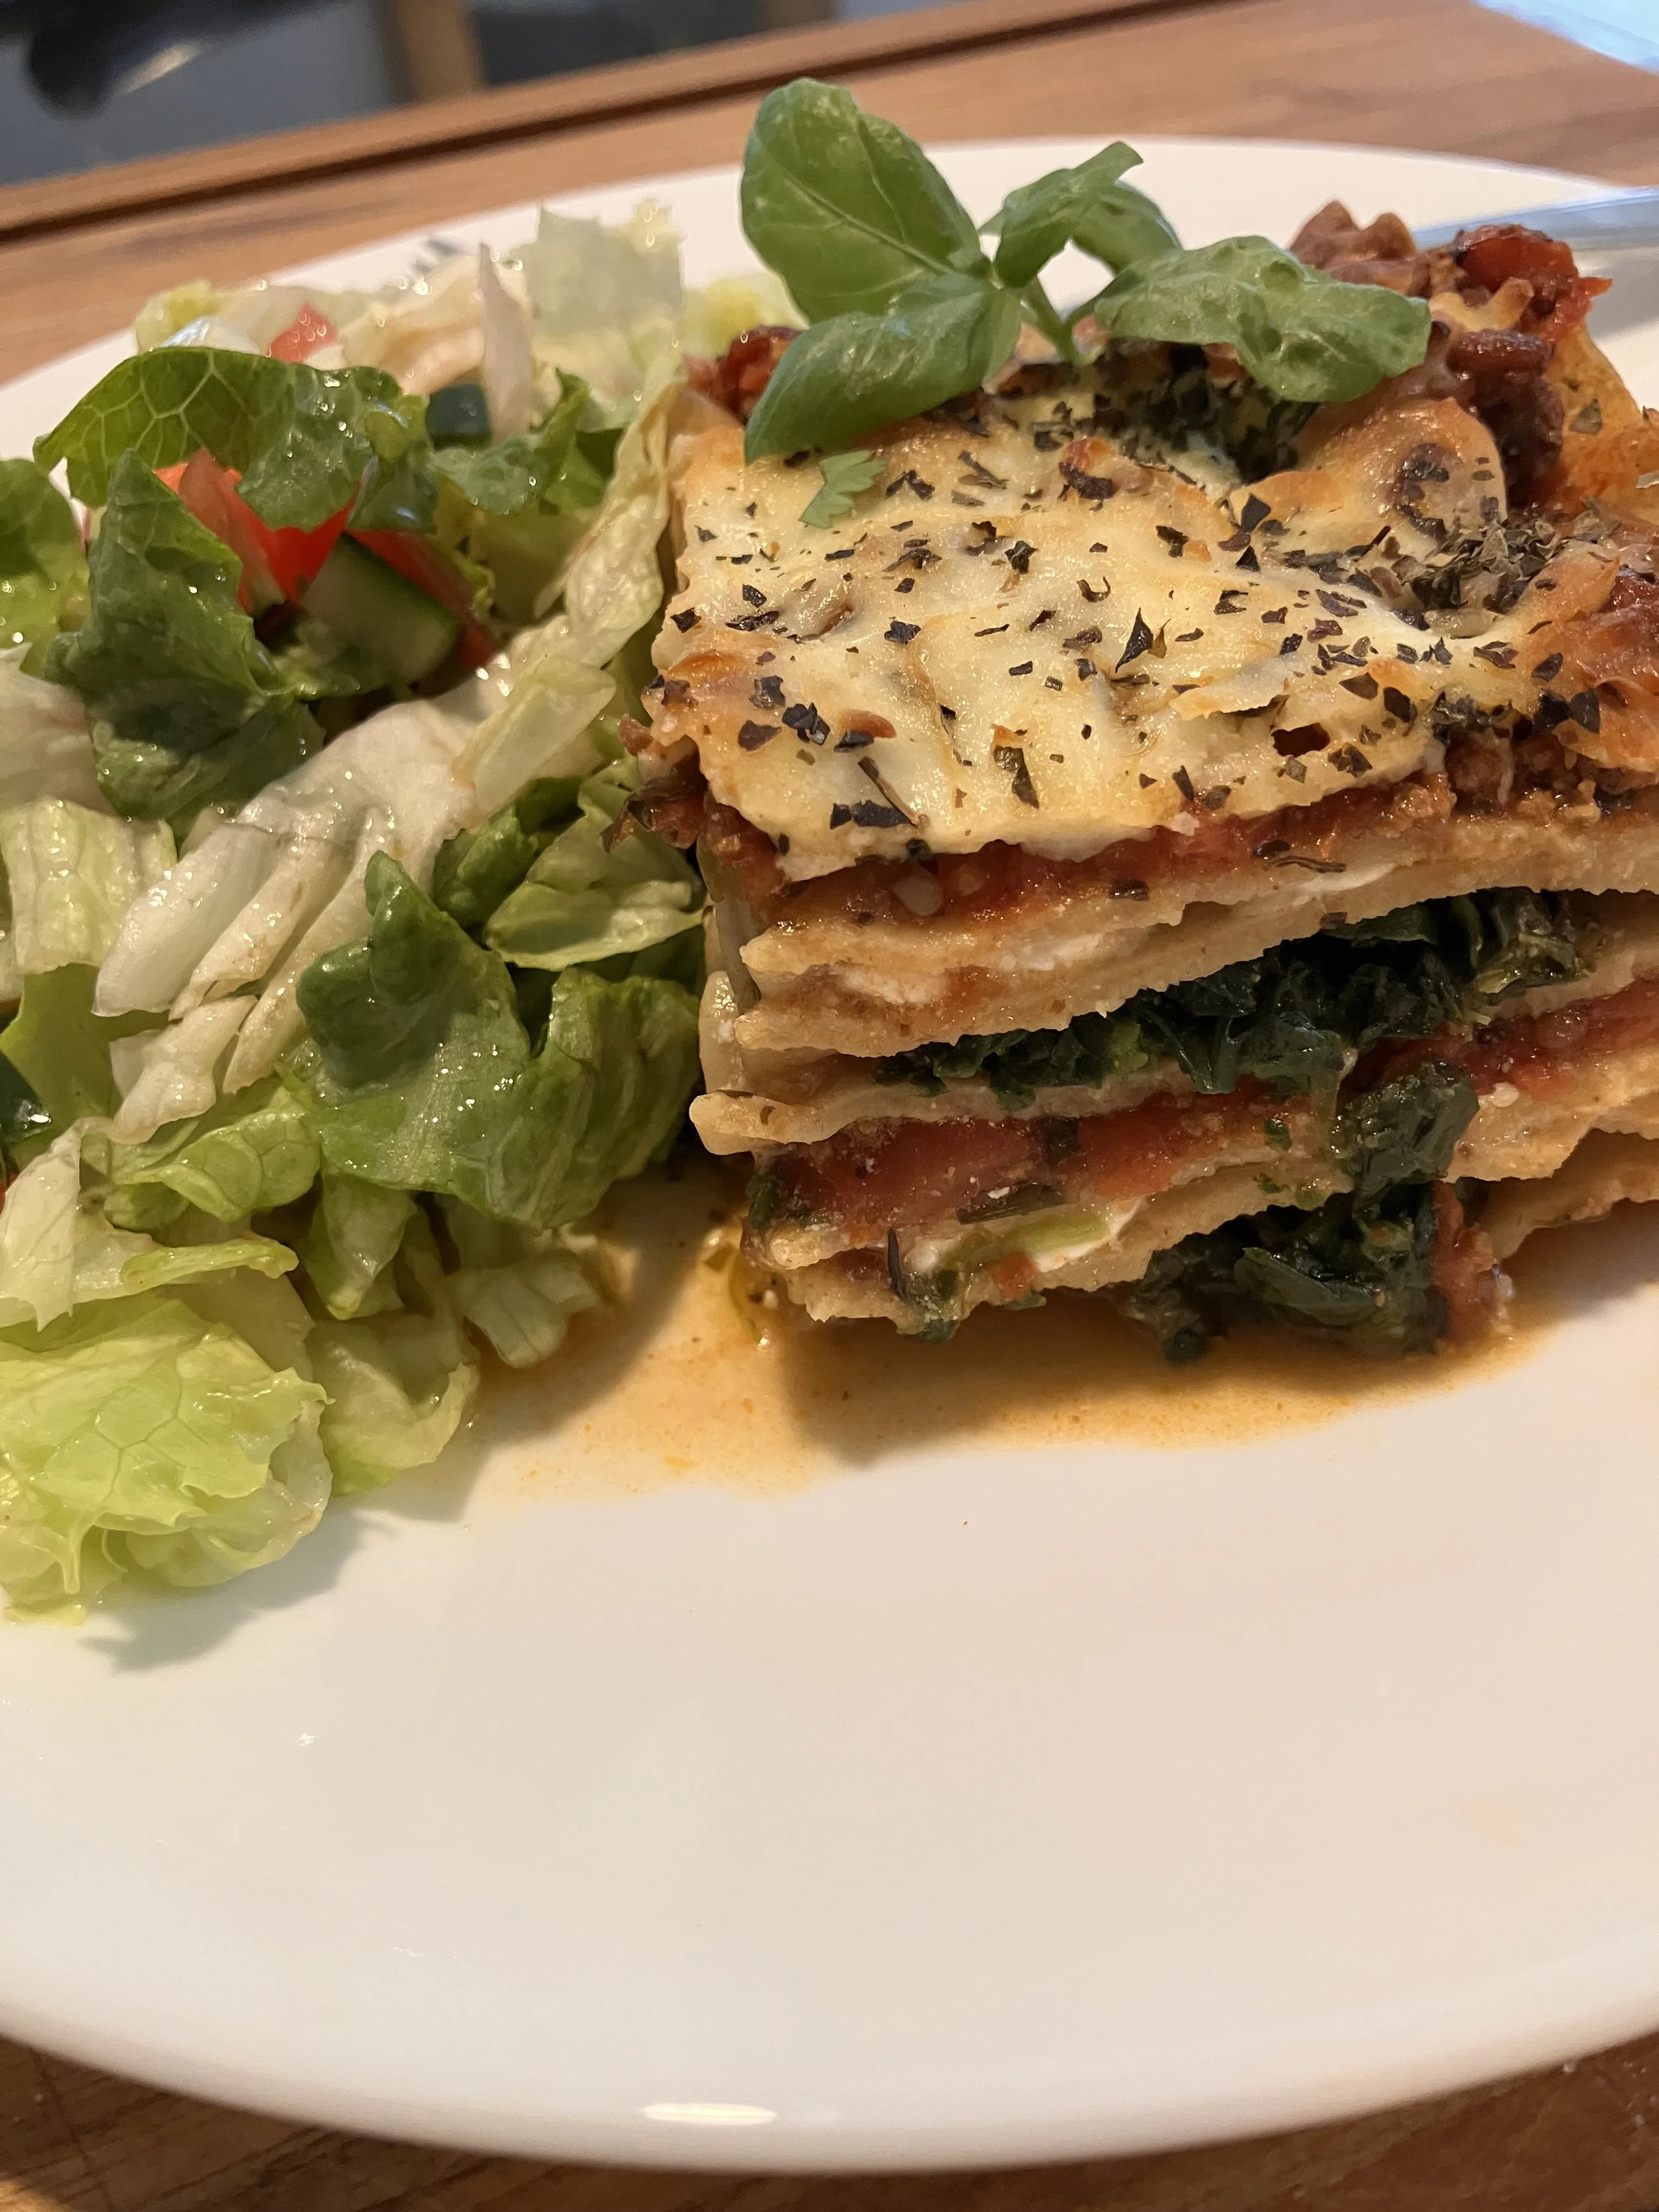
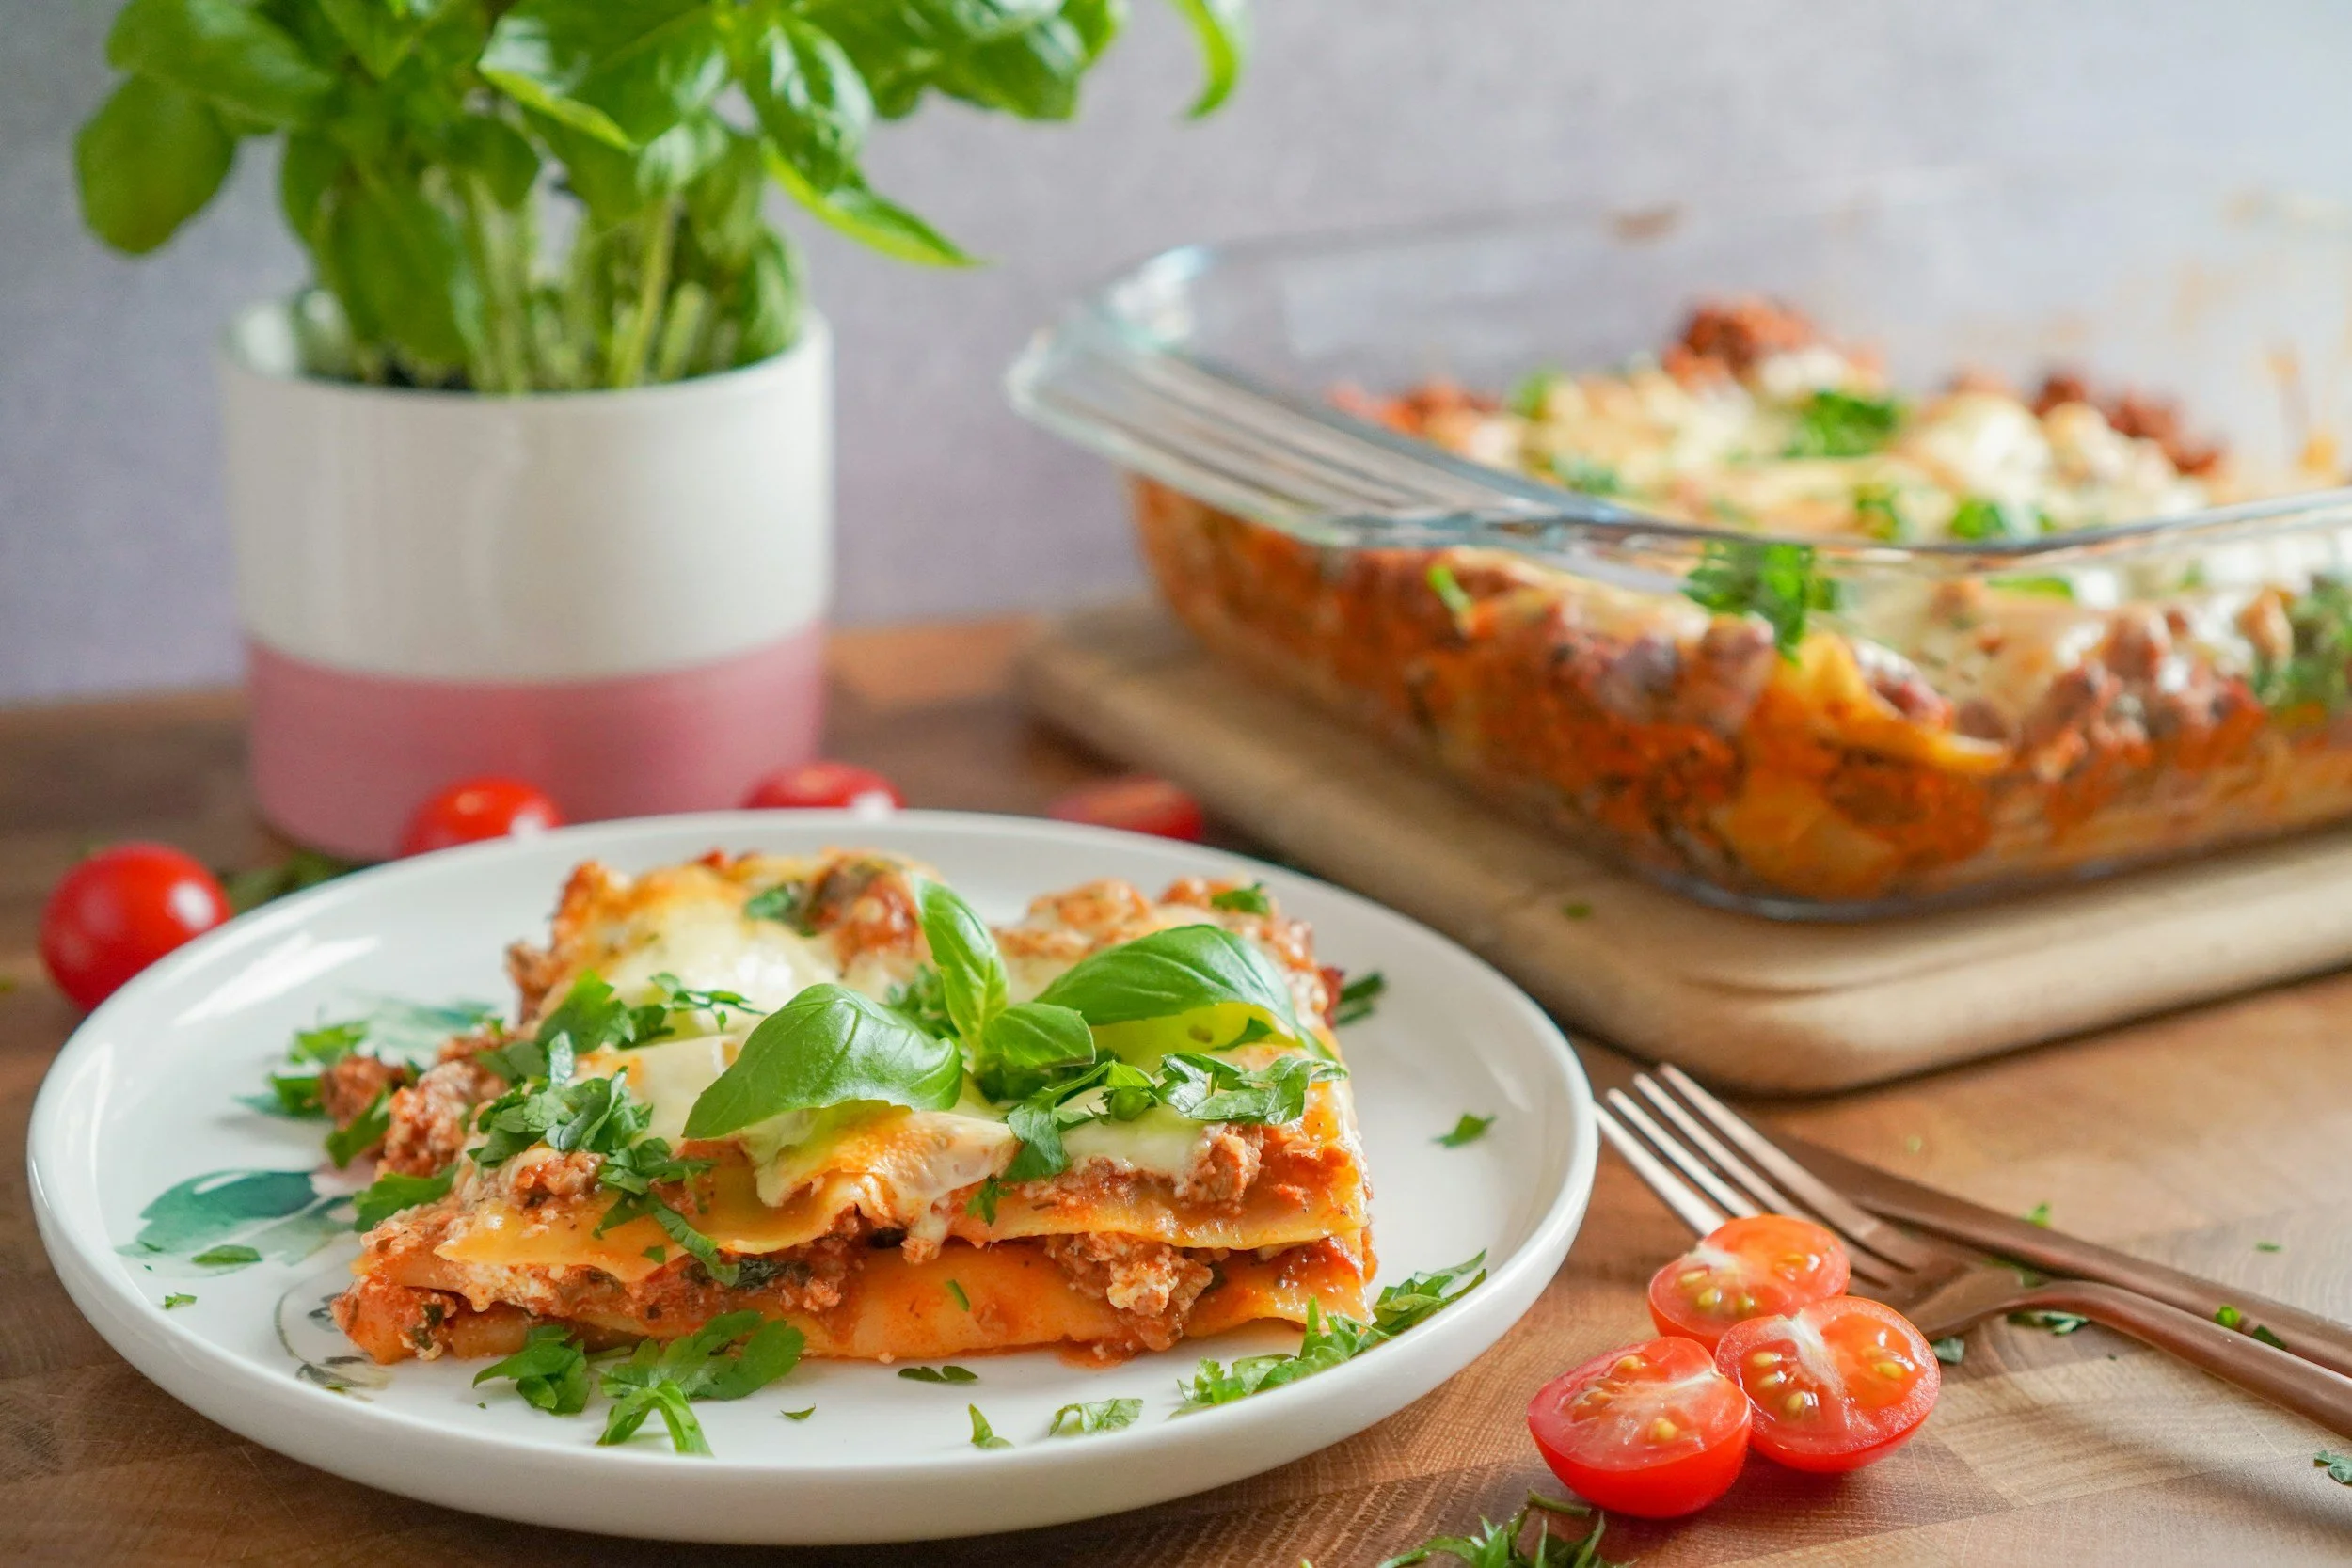
The Best Spinach and Cottage Cheese Lasagna Recipe (Lasagne à Danielle)
This spinach and cottage cheese lasagna is the one your family will ask for by name. In our house, my daughter requests it every month and it's the first thing my husband asks for after a work trip. Hearty layers, simple ingredients, and a golden cheesy top — this is what home tastes like."
Prep Time: 30 minutes | Cook Time: 45 minutes | Total Time: 1 hour 15 minutes | Serves: 8–10
📖 Jump to Recipe | 💬 Jump to FAQs | 🖨️ Print Recipe

Some recipes are just recipes. And then there are the ones that become yours — the ones your family calls by name, the ones that mark a homecoming, the ones that mean something. Lasagne à Danielle (French for “Danielles’ lasagna recipe”) is that recipe in our house. My daughter asks for it every single month, without fail, even in the hot summer months (!). As for my husband, the moment he walks through the door after a work trip, will ask: "Is there any chance you made your lasagna recipe?” There usually is.
This is the dish that lives at the centre of our table — a hearty, layered spinach and cottage cheese lasagna that has earned its place not just in our recipe rotation, but in our family's story. In my home, it's the taste of home. I hope it becomes that for yours too.
Whether you're feeding a crowd, prepping a weeknight dinner, or looking for the perfect dish to bring to a potluck, this recipe delivers every single time. It's comforting, it's satisfying, and it's far simpler to pull together than it looks. ;)
What Makes This Lasagna Special?

What sets Lasagne à Danielle apart is its beautiful simplicity. Instead of a heavy meat filling, this recipe leans into spinach and cottage cheese — a classic pairing that keeps things lighter without skimping on flavour or comfort. The cottage cheese melts into creamy, pillowy layers, the spinach adds colour and nutrition, and the golden mozzarella on top? Absolutely irresistible.
It's also wonderfully flexible: use homemade lasagna sauce if you have it, or reach for your favourite jar from the store. No judgment here — we're all about making great food work for your real life.
Frequently Asked Questions
Can I use ricotta instead of cottage cheese in lasagna?
Absolutely! Ricotta is a popular substitute, but cottage cheese creates a slightly lighter, creamier texture. Both work beautifully in this recipe.
Can I make lasagna ahead of time?
Yes! You can assemble this lasagna the night before, cover it, and refrigerate until you're ready to bake. Add 5-10 extra minutes to the cook time if baking from cold.
How do I prevent lasagna from being watery?
Make sure to strain your cooked spinach well before assembling. Squeezing out excess moisture is the key to a lasagna that holds its layers perfectly.
I’ve also had success either putting uncooked lasagna noodles with my homemade sauce. The noodles cooked in the sauce. The lasagna was a little bit more pasty, but still delicious. I would not try this ion you’re using pasta sauce bought at the store.
Can I freeze this lasagna?
Yes! This lasagna freezes wonderfully. Let it cool completely, cut into portions, wrap tightly, and freeze for up to 3 months.
What temperature should I bake lasagna at?
Bake this lasagna uncovered at 350°F (175°C) for about 45 minutes, until the cheese is golden and bubbly.
Ingredients
Makes one 9×13 pan — approximately 8–10 servings
1/2 batch of homemade Danielle lasagna sauce, or 1 jar of your favourite store-bought pasta sauce
750g (about 1.5 containers) cottage cheese
2 × 300g packs of chopped frozen spinach
18 lasagna noodles
1 tbsp kosher salt
250g shredded mozzarella cheese
2 tsp dried basil
2 tsp granulated garlic, dried
Step-by-Step Instructions
The Night Before
Thaw your frozen lasagna sauce in the fridge overnight so it's ready to go. This small bit of planning makes assembly day so much smoother!
When You're Ready to Cook
Step 1: Preheat and prep.
Preheat your oven to 350°F (175°C). Fill a large stockpot with water and bring it to a boil over high heat.
Step 2: Cook the noodles.
Once the water is boiling, add all 18 lasagna noodles and a pinch of salt (I like kosher salt) and reduce to a soft boil. Cook until fully tender, then drain, cover with a bit of olive oil. This will prevent the cooked noodles from sticking to each other as they cool, and while you prep the rest of the ingredients. Set aside.
Step 3: Cook the spinach.
While the noodles cook, plate your frozen spinach and microwave according to the package directions. Give it a good squeeze or strain to remove excess water — this step really matters for the texture of your final lasagna!
Step 4: Prep the cottage cheese.
Open your cottage cheese. You'll typically use about one and a half 500g containers, leaving roughly half a container left over.
Step 5: Assemble the lasagna.
This is where the magic happens! Using a 9×13 lasagna pan, build your layers in the following order:
Sauce layer — Ladle two scoops of sauce onto the bottom of the pan and spread it evenly.
Noodles — Lay 3 noodles side by side, lengthwise.
Spinach layer — Place 9 spoonfuls of spinach over the noodles (3 per noodle, spread from top, middle, and bottom), then smooth it out evenly.
Noodles — Lay 3 noodles side by side, lengthwise.
Cottage cheese layer — Spoon cottage cheese generously over each noodle, one spoonful at a time, covering all 3 noodles evenly.
Noodles — Lay 3 noodles side by side, lengthwise.
Sauce layer — Ladle sauce over the noodles and spread evenly.
Noodles — Lay 3 noodles side by side, lengthwise.
Spinach layer — Repeat: 9 spoonfuls of spinach (3 per noodle), spread evenly.
Noodles — Lay 3 noodles side by side, lengthwise.
Cottage cheese layer — Cover the noodles with cottage cheese, one spoonful at a time.
Noodles — Lay 3 noodles side by side, lengthwise.
Sauce layer — Ladle sauce over the top noodle layer.
Mozzarella — Cover generously with shredded mozzarella.
Season — Sprinkle the dried basil and granulated garlic over the cheese.
Step 6: Bake.
Place the pan in the oven, uncovered, and bake for approximately 45 minutes — until the cheese is a gorgeous golden colour and the edges are bubbling.
Step 7: Rest and serve.
This part requires patience, but it's worth it! Let the lasagna cool for at least 15 minutes before cutting. This helps the layers set so you get those beautiful, clean slices.

Serving Suggestions
Lasagne à Danielle is a complete meal on its own, but it shines alongside a simple garden salad or a classic Caesar salad. A warm piece of crusty garlic bread on the side? Now that's a dinner worth sitting down for.
Tips for Lasagna Success
Don't skip the rest time. We know it's tempting, but letting your lasagna sit for 15 minutes makes a real difference in how cleanly it slices and how the flavours come together.
Homemade sauce makes it special. If you have the time, a homemade marinara or meat sauce takes this dish to another level. But a good quality jar sauce works perfectly on a busy weeknight — and there's zero shame in that.
Make it your own. This recipe is wonderfully forgiving. Add a layer of sautéed mushrooms, add eggplant, swap in ricotta for the cottage cheese, or sprinkle in some red pepper flakes if you like a little heat.
Nutritional Overview (Approximate per serving)
This spinach and cottage cheese lasagna is a great source of protein (from cottage cheese and mozzarella), calcium, and iron (thanks to the spinach). It's a balanced, filling meal the whole family will love.
Why You'll Make This Again and Again
Lasagne à Danielle is the kind of recipe that becomes a family tradition. It's the dish people ask you to bring to every gathering. It's the thing you make when someone needs a meal delivered to their door. It's comfort food done right — made with love, and tasting every bit like it.
So go ahead, preheat that oven. You've got this. 💛
related recipes:
Recipe card
Makes one 9×13 pan — approximately 8–10 servings
Ingredients:
1/2 batch of homemade Danielle lasagna sauce, or 1 jar of your favourite store-bought pasta sauce
750 g (about 1.5 containers) cottage cheese
2 × 300g packs of chopped frozen spinach
18 lasagna noodles
1 tbsp kosher salt
300g shredded mozzarella cheese
2 tsp dried basil
2 tsp granulated garlic, dried
Instructions:
THE NIGHT BEFORE Thaw lasagna sauce in the fridge overnight.
STEPS
Preheat oven to 350°F. Bring a large pot of water to a boil.
Cook 18 lasagna noodles until tender. Drain, toss with a little olive oil, and set aside.
Microwave frozen spinach per package directions. Strain well to remove excess water.
Open cottage cheese (you'll use about 1½ containers).
Assemble in a 9×13 pan, layering in this order:
2 ladles of sauce
3 noodles
Spinach (9 spoonfuls, 3 per noodle)
3 noodles
Cottage cheese (cover noodles evenly)
3 noodles
Sauce
3 noodles
Spinach (9 spoonfuls, 3 per noodle)
3 noodles
Cottage cheese (cover noodles evenly)
3 noodles
Sauce
Mozzarella
Sprinkle dried basil & garlic powder
Bake uncovered for 45 minutes, until cheese is golden and bubbling.
Rest 15 minutes before cutting.
Bon appétit!
*Did you try this recipe? We'd love to hear how it turned out! Share your photos and leave a comment below.*
DID YOU MAKE THIS RECIPE? I WANT TO SEE IT!
Leave a photo and a ⭐ star rating and comment below to let us know how your muffins turned out. Did you make any substitutions or additions? Share your tips and photos with us!
Share this recipe: Help others discover this delicious recipe by sharing it on Pinterest, Facebook, or Instagram. Tag us @Sageandsimplicity so we can see your beautiful creations!
📌 Pin it for later: Save this recipe to your Pinterest boards for easy access.
you might also like these recipes:
Easy Three Bean Vegetarian Chili Recipe (One Pot, Under $15)
This easy three-bean vegetarian chili recipe uses pantry staples and takes just 5 minutes prep. Hearty, healthy, and perfect for meal prep. Vegan-friendly!
📖 Jump to Recipe | 💬 Jump to FAQs | 🖨️ Print Recipe
Prep Time: 10 minutes | Cook Time: 1 hour | Total Time: 1 hour 10 minutes | Servings: 8-10 servings
Looking for an easy, budget-friendly vegetarian chili recipe? This hearty three-bean chili is made with simple pantry ingredients, requires zero chopping, and delivers maximum flavour with minimal effort. Perfect for meal prep, freezer meals, or feeding a crowd on busy weeknights!
Why this recipe works: Just dump everything in one pot and let it simmer. The frozen vegetables mean no prep work, and the three types of beans provide lots of plant-based protein per serving. Plus, it tastes even better the next day!
What is Three Bean Vegetarian Chili?
This three-bean vegetarian chili is a hearty, meatless chili made with three varieties of beans — black beans, kidney beans, and chickpeas—simmered with tomatoes, vegetables, and warming spices like chili powder and garlic. This protein-packed dish is a staple in vegetarian and vegan cooking.
Unlike traditional beef chili, vegetarian bean chili relies on beans as the primary protein source, making it naturally high in fiber, vitamins, and minerals. It's also naturally gluten-free and can easily be made vegan.
Why You'll Love This Vegetarian Chili Recipe
✓ Incredibly Easy: No chopping required! Just dump and simmer
✓ Budget-Friendly: Costs under $15 to make a huge batch
✓ High Protein: 15g of plant-based protein per serving
✓ Meal Prep Friendly: Freezes beautifully for up to 3 months
✓ Crowd-Pleaser: Even meat-eaters love this hearty chili
✓ Hands-Off Cooking: Set it and forget it for an hour
✓ Pantry Staples: Uses ingredients you probably already have
✓ Vegan-Adaptable: Skip the dairy toppings for a vegan meal
Ingredients for Three Bean Chili
What You'll Need:
1 can (16 oz) black beans, drained and rinsed
1 can (16oz) chickpeas, drained and rinsed
1 can (16 oz) red kidney beans, drained and rinsed
3 cans (28 oz each) diced tomatoes, with juice (fire-roasted for extra flavour!)
1 tablespoon garlic powder
1 tablespoon chili powder (use hot chili powder for extra heat)
1 bag frozen spaghetti mix vegetables (diced bell peppers, carrots, onions, celery)
Optional: ½ cup pumpkin puree (adds creaminess and nutrition)
Salt and black pepper, to taste
Ingredient Notes & Substitutions
Can I use dried beans instead of canned beans?
Yes! Use about 4-5 cups of cooked beans total (approximately 1½ cups dried beans). Soak overnight and cook until tender before using.
What are spaghetti mix vegetables?
This frozen vegetable blend that contains diced bell peppers, onions, carrots, and celery. Find it in the frozen vegetable section of the grocery store. Can't find it? Dice and use 2 celery, 2 large carottes, 1 medium onion, and 2 bell peppers.
Why add pumpkin puree to vegetarian chili?
Pumpkin puree adds body, creaminess, and a subtle sweetness that balances the tomato acidity. It's a secret ingredient that boosts nutrition (vitamin A, fiber) without changing the flavour. You can also use butternut squash puree.
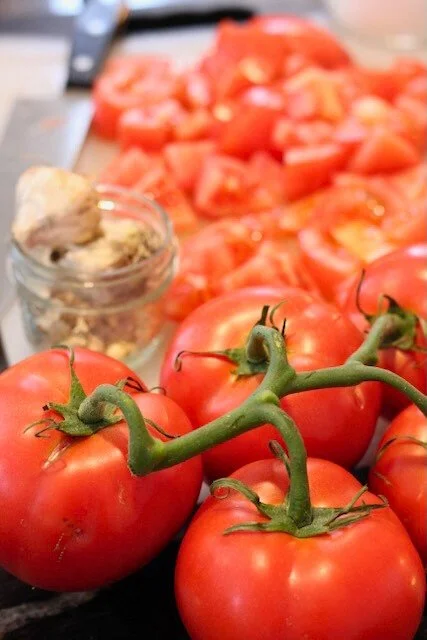
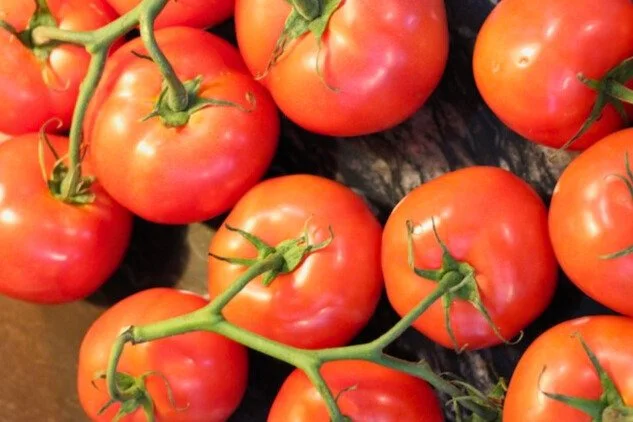
Can I use fresh tomatoes?
Yes! Use about 10 cups of diced large fresh tomatoes. However, canned tomatoes are more consistent and often taste better in chili since they're picked at peak ripeness.
How to Make Three Bean Vegetarian Chili
Step 1: Combine All Ingredients
Add all ingredients to a large stockpot or Dutch oven—frozen vegetables, diced tomatoes (with their juice), drained and rinsed black beans, kidney beans, chickpeas, and spices, garlic powder, chili powder and salt and pepper to taste. If using pumpkin puree, add it now as well. No need to thaw the vegetables first!
Step 2: Simmer Low and Slow
Place the pot over medium-low heat and bring to a gentle simmer. Let the chili cook for 55-60 minutes, stirring occasionally (every 10 minutes or so). The long simmer time allows the flavors to meld beautifully and the vegetables to become tender.
Pro tip: If the chili seems too thick, add ½ cup of water or vegetable broth. If it's too thin, let it simmer uncovered to reduce.
Step 3: Taste and Adjust Seasonings
Season with salt and black pepper to taste. Start with ½ teaspoon salt and add more as needed. Want more heat? Add more chili powder, cayenne pepper, to the pot or hot sauce to individual bowls.
Step 4: Serve and Enjoy!
Ladle into bowls and top with your favorite chili toppings. This chili tastes even better the next day as the flavors continue to develop!
Expert Tips for the Best Vegetarian Chili
Drain and rinse your beans: This removes excess sodium and prevents a gummy texture
Don't skip the simmer time: Low and slow = maximum flavour development
Taste before serving: Chili needs proper seasoning — don't be shy with salt!
Add acidity if needed: A splash of apple cider vinegar or lime juice brightens flavours
Make it smoky: Add 1 tsp smoked paprika, a chipotle pepper in adobo or liquid smoke to the pot
Thicken it up: Mash some of the beans against the pot or remove 3-4 cups and blend well before stirring it back into the pot
Let it rest: Chili tastes better after sitting for 10-15 minutes off the heat
How Long Does Vegetarian Chili Take to Cook?
This three bean chili takes approximately 1 hour and 10 minutes total — 10 minutes hands-on prep time and 60 minutes of mostly hands-off cooking time. The slow simmer develops rich, deep flavors that make this chili taste like it's been cooking all day.
Active time: 10 minutes (just dump and stir!)
Passive time: 60 minutes (while it simmers)
What to Serve with Three Bean Chili
This vegetarian chili is a complete meal on its own, but here are some delicious sides and toppings:
Toppings:
Shredded cheddar cheese or vegan cheese
Sour cream or plain Greek yogurt (or vegan alternatives)
Diced avocado or guacamole
Sliced green onions or chives
Fresh cilantro
Pickled jalapeños
Crushed tortilla chips
Hot sauce or sriracha
Lime wedges
Side Dishes:
Cornbread or jalapeño cornbread
Rice (white rice, brown rice, or cilantro-lime rice)
Tortilla Chips with salsa
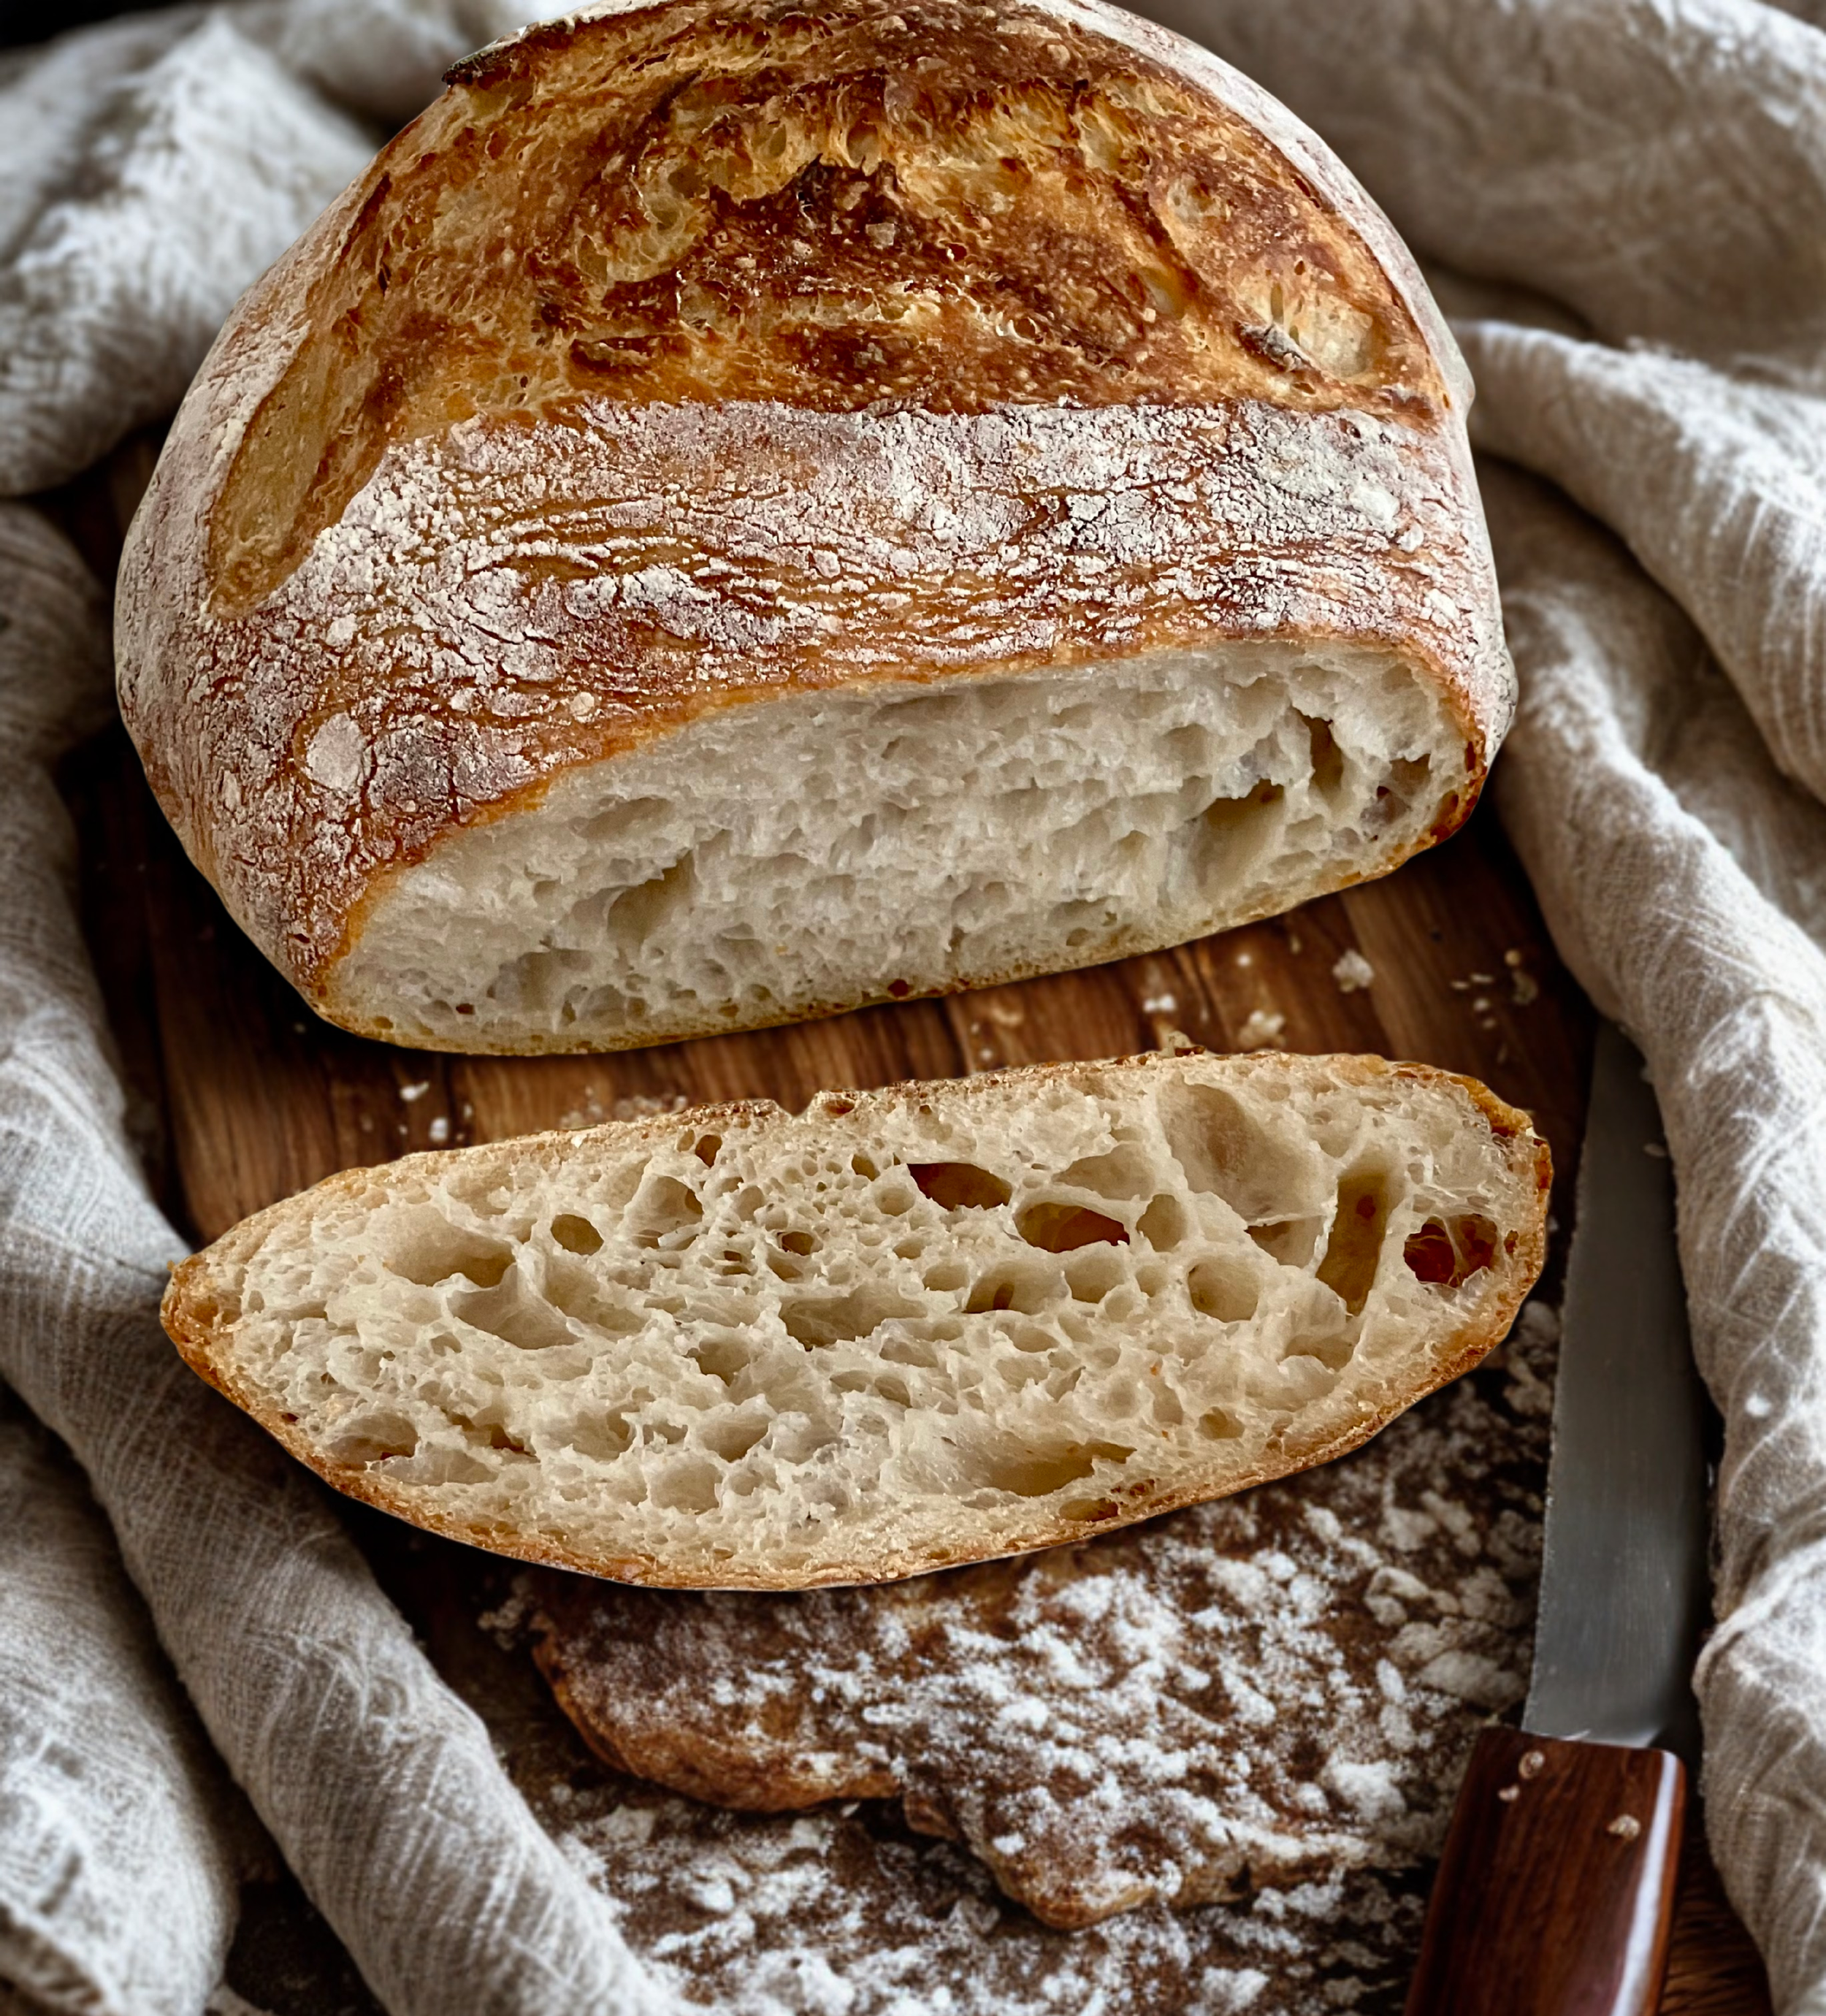
Sourdough Bread for dipping
Baked Sweet Potato topped with chili
Fresh Green Salad, with lime vinaigrette
Serving Ideas:
Chili bar: Set up a toppings bar and let everyone customize
Chili dogs: Serve over your favourite hot dogs
Chili nachos: Layer over tortilla chips with cheese
Chili mac: Mix with cooked elbow macaroni
Stuffed peppers: Use as filling for bell peppers
Baked potatoes: Load onto baked russet potatoes
How to Store and Reheat Three-Bean Chili
Refrigerator Storage:
Store cooled chili in an airtight container in the refrigerator for up to 5 days. The flavors actually improve after a day or two, making this perfect for meal prep!
Freezer Storage:
This chili freezes beautifully! Freeze in portion-sized containers or freezer bags for up to 3 months.
Freezing tips:
Let chili cool completely before freezing
Leave 1 inch of headspace in containers (chili expands when frozen)
Label with date and contents
Freeze flat in ziplock bags for easy stacking
Reheating Instructions:
Stovetop: Warm over medium-low heat, stirring occasionally, until heated through (about 10 minutes)
Microwave: Heat in 1-2 minute intervals, stirring between, until hot
From frozen: Thaw overnight in refrigerator, then reheat according to the above instructions.
Slow cooker: Reheat on low for 2-3 hours (great for potlucks!)
Is Three Bean Chili Healthy?
Yes! This vegetarian chili is incredibly nutritious and makes a healthy, balanced meal.
Health Benefits:
✓ High in plant-based protein from three types of beans
✓ Excellent source of fiber for digestive health
✓ Low in fat and naturally cholesterol-free
✓ Rich in antioxidants from tomatoes and beans
✓ Packed with vitamins and minerals (iron, potassium, folate)
✓ Heart-healthy and diabetes-friendly
✓ Naturally gluten-free (no wheat, barley, or rye)
✓ Can be made vegan by using vegan toppings
Recipe Card
Equipment Needed
Large Stock Pot or Dutch Oven
Long Wooden Spoon
Optional: Freezer Safe Storage Containers
Optional: Blender or hand blender
Ingredients:
1 can (16 oz) black beans, drained and rinsed
1 can (16 oz) red kidney beans, drained and rinsed
1 can (16oz) chickpeas, drained and rinsed
3 cans (28 oz each) diced tomatoes, with juice
1 tablespoon garlic powder
1 tablespoon chili powder
1 bag frozen spaghetti mix vegetables (bell peppers, onions, carrots, celery)
½ cup pumpkin puree (optional, but recommended)
Salt and black pepper to taste
Instructions:
Combine all ingredients in a large stockpot or Dutch oven. Add frozen vegetables (no need to thaw), diced tomatoes with juice, black beans, kidney beans, garlic powder, chili powder, and pumpkin puree if using.
Place over medium-low heat and bring to a gentle simmer.
Simmer for 55-60 minutes, stirring occasionally every 15 minutes to prevent sticking. The chili will thicken and the vegetables will become tender.
Season to taste with salt and black pepper. Start with ½ teaspoon of kosher salt and adjust as needed.
Serve hot with your favorite toppings like shredded cheese, sour cream, avocado, green onions, cilantro, and tortilla chips.
Notes:
Storage: Refrigerate up to 5 days or freeze up to 3 months
Meal prep friendly: Freezes beautifully in portion-sized containers
Naturally gluten-free and easily made vegan
Budget-friendly: Costs under $15 to make
Tastes better the next day as flavours continue to develop
Slow cooker option: Cook on low 4-6 hours or high 2-3 hours
Make it spicier: Add cayenne, jalapeños, or hot chili powder
Thicken if needed: Blend 3-4 cups of the chili and stir it back in
Variations and Customizations
Protein Additions:
Plant-based ground meat (Beyond, Impossible)
Cooked lentils (brown or green)
Quinoa (adds protein and texture)
TVP (textured vegetable protein)
Tempeh crumbled and sautéed
Spice Variations:
Smoky chili: Add 1 tsp smoked paprika + 1 chipotle in adobo
Cumin: Add 1-2 tsp ground cumin
Smokey: Add 1-2 tsp of liquid smoke
Fall spice: Add ½ tsp cinnamon + ¼ tsp nutmeg
Indian-inspired: Add 1 tsp garam masala + ½ tsp turmeric
Vegetable Boost:
Corn (1-2 cups fresh, frozen or canned)
Diced zucchini or yellow squash
Mushrooms (chopped, for meaty texture)
Sweet potato (diced, adds sweetness)
Butternut squash (cubed)
Spinach or kale (stir in at the end, once the heat has been turned off)
Make It Creamy:
Add ½ cup pumpkin puree (as suggested)
Blend 1-2 cups of chili and stir back in
Top with sour cream or Greek yogurt
Meal Prep and Batch Cooking
This three-bean chili is ideal for meal prep! Here's how to maximize your batch:
Meal Prep Strategy:
Make chili on Sunday for easy weeknight dinners
Portion into individual containers for grab-and-go lunches
Freeze half for quick future meals
Baked Russet potatoes or Sourdough Bread to serve alongside
Batch Cooking Tips:
Triple the recipe if you have one (or several) large stockpot
Use a slow cooker for hands-off cooking while you prep other meals
Label everything with date and reheating instructions
Frequently Asked Questions (FAQ)
Can I make this three bean chili in a slow cooker or Crock Pot?
Yes! This recipe is perfect for the slow cooker. Add all ingredients to your slow cooker and cook on low for 4-6 hours or high for 2-3 hours. No need to sauté anything first!
How can I make this chili spicier?
Add any of these: cayenne pepper (start with ¼ tsp), diced jalapeños, hot chili powder, chipotle peppers in adobo, red pepper flakes, straight into the pot. Another option is to add your favorite hot sauce to individual bowls. Taste and adjust as you go!
Can I make this chili less spicy for kids?
Use mild chili powder or reduce it to 1-2 teaspoons. You can also serve plain bowls for kids and let adults add hot sauce at the table.
What beans are best for vegetarian chili?
Black beans, kidney beans, and pinto beans are the classic trio, but you can use any combination. Try white beans (Great Northern, cannellini), chickpeas, or navy beans for variety.
Do I need to drain and rinse canned beans?
Yes, always! Draining and rinsing removes excess sodium and the thick liquid that can make chili gummy. Rinse under cold water until the water runs clear.
Can I use fresh vegetables instead of frozen?
Yes! Dice 1 large onion, 2 bell peppers, 2 carrots, and 2 celery stalks. Sauté in 1 tablespoon of oil for 5-7 minutes before adding the other ingredients.
Why is my chili watery?
Let it simmer longer uncovered to evaporate excess liquid. You can also mash some beans against the pot to naturally thicken it, or add a tablespoon of tomato paste or cornmeal.
Why is my chili bland?
Chili needs proper seasoning! Add more salt (chili typically needs 1-2 teaspoons total), chili powder, garlic powder, or cumin. A splash of vinegar or lime juice can also brighten flavors.
Can I double this recipe?
Absolutely! This recipe doubles or triples easily. Just use a larger pot and you may need to extend the simmer time by 10-15 minutes.
Is this chili vegan?
The base chili is vegan! Just use vegan toppings like dairy-free sour cream, vegan cheese, and avocado instead of dairy products.
Can I add meat to this recipe?
Yes, though it would no longer be vegetarian. Brown 1 pound of ground beef, ground chicken or turkey and add it with the other ingredients. You can also add cooked sausage.
What's the best pot for making chili?
A heavy-bottomed stockpot, Dutch oven, or large saucepan works best. The heavy bottom prevents scorching during the long simmer time.
Did You Make This Recipe? I want to see it!
Leave a ⭐ star rating and comment below to let us know how your three-bean chili turned out. Did you make any substitutions or additions? Share your tips and photos with us!
Share this recipe: Help others discover this delicious recipe by sharing it on Pinterest, Facebook, or Instagram. Tag us @Sageandsimplicity so we can see your beautiful creations!
📌 Pin it for later: Save this recipe to your Pinterest boards for easy access.