
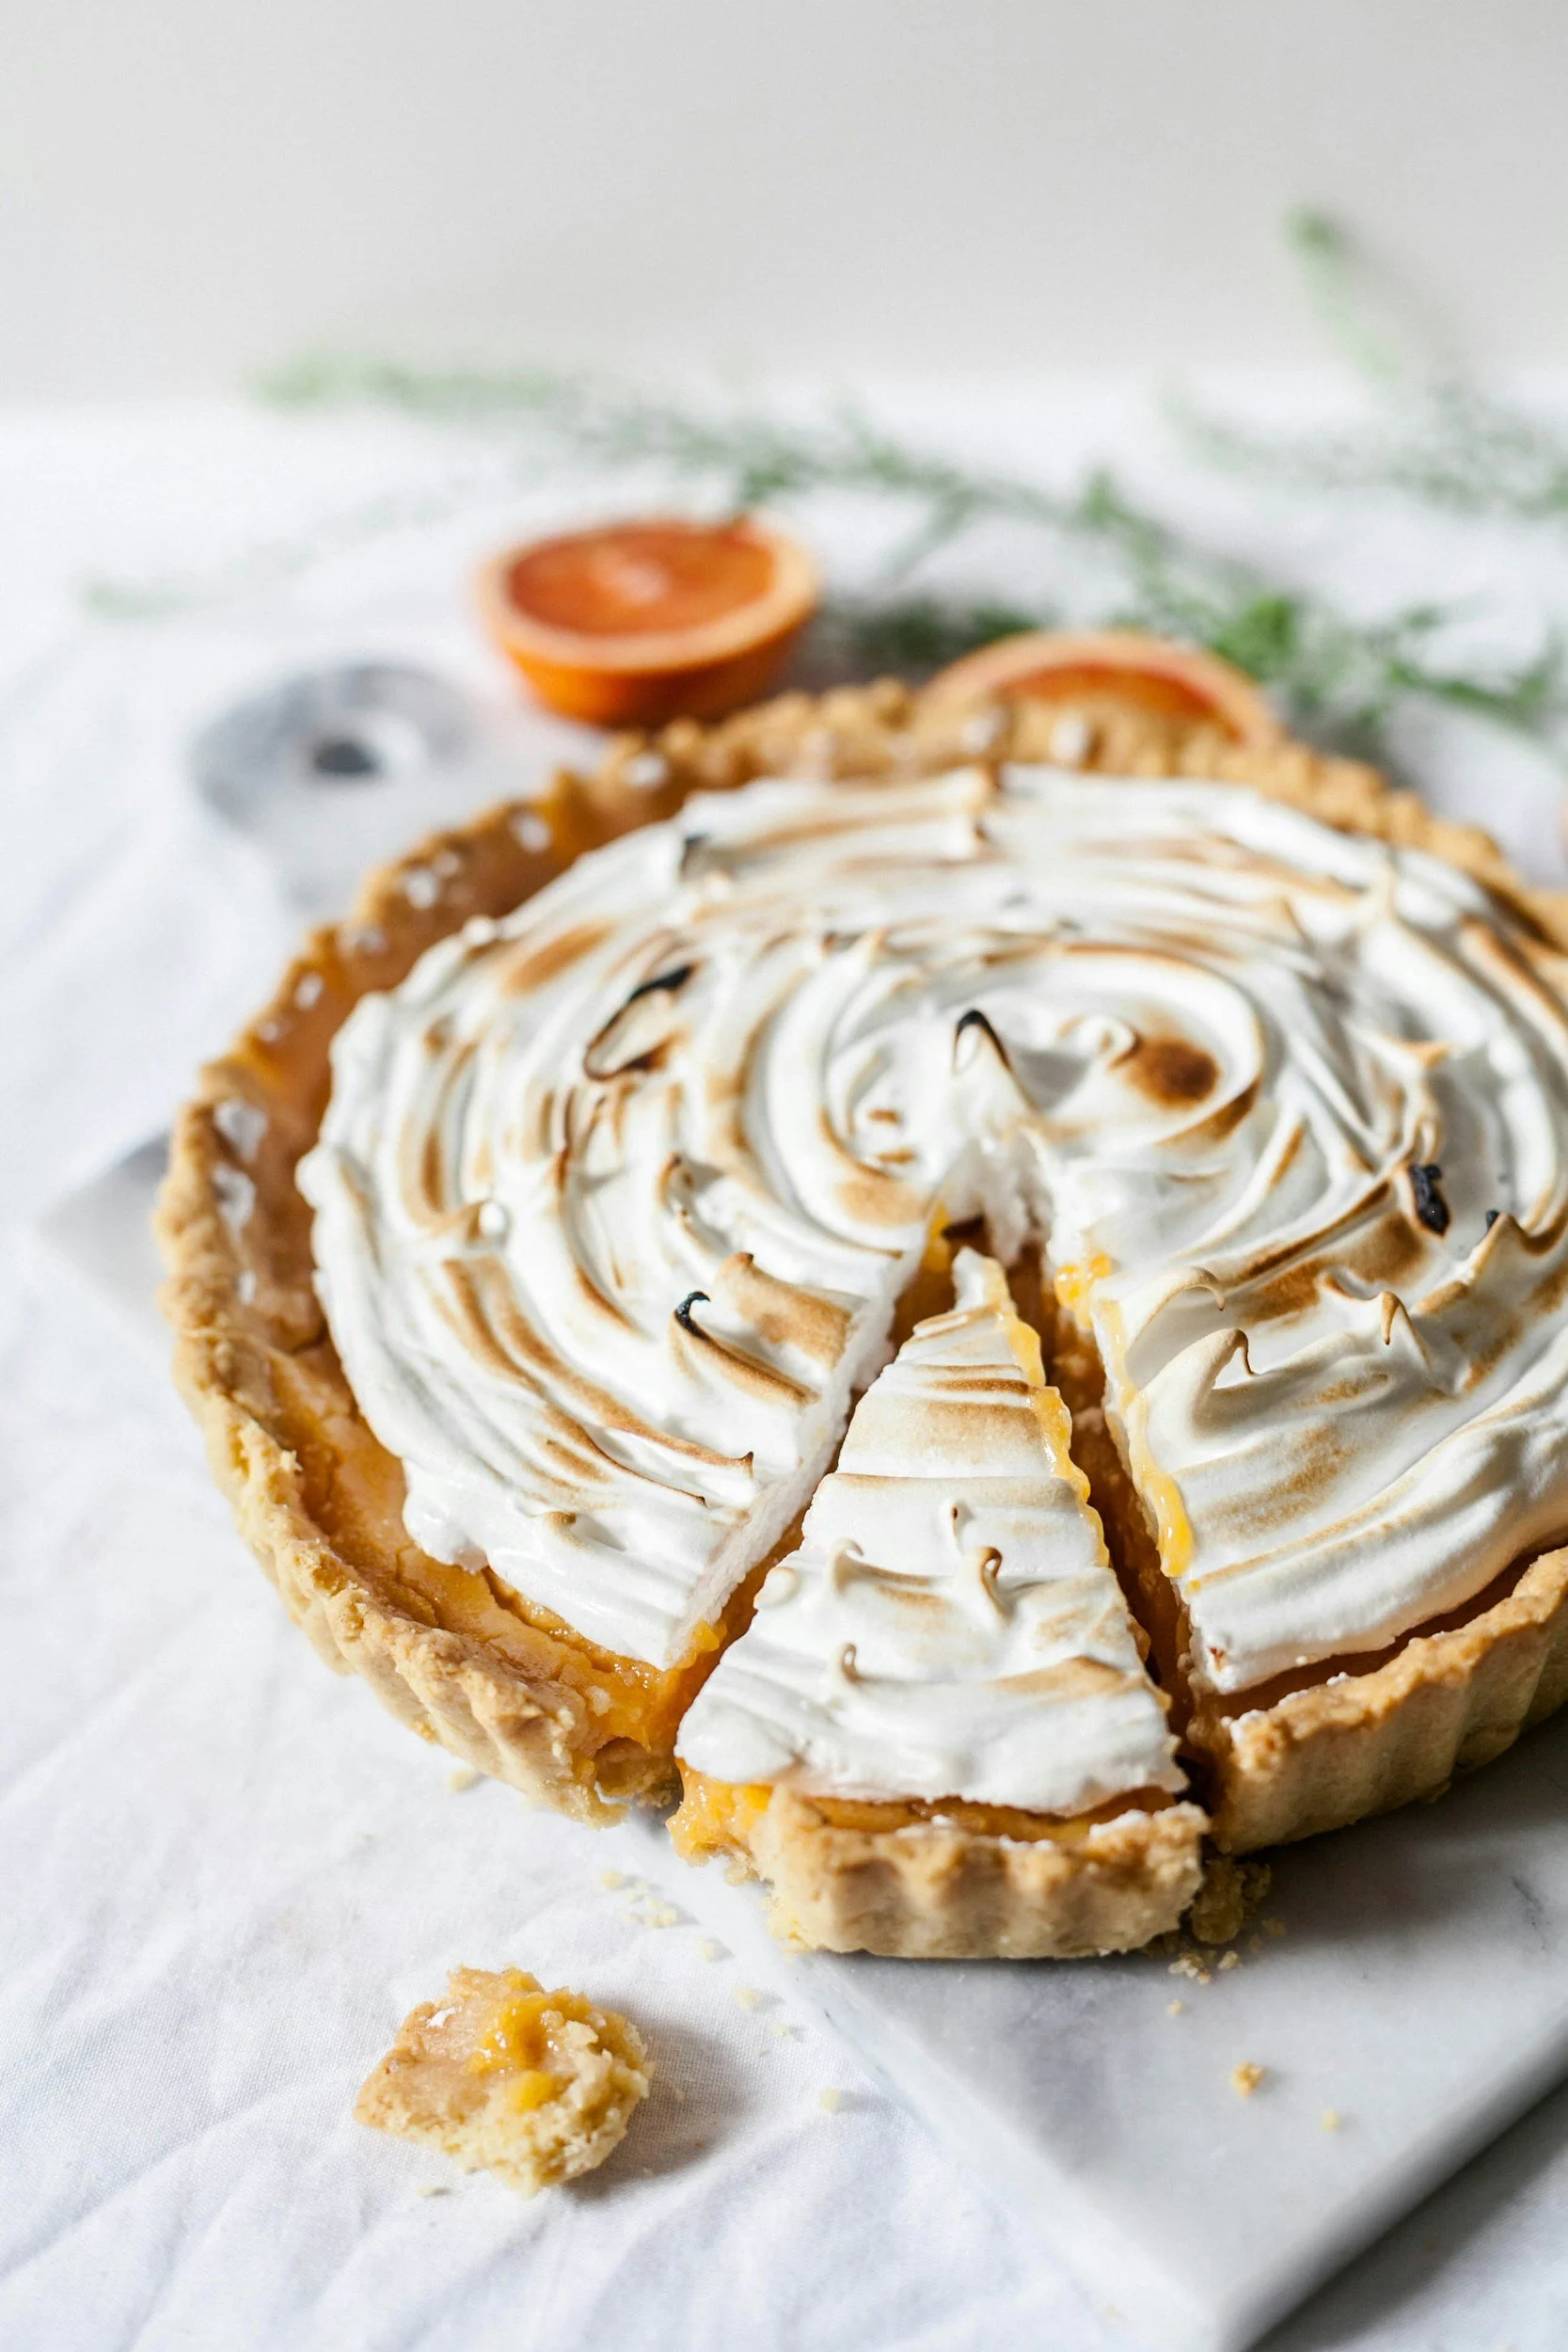
Easy Lemon Meringue Pie with the Perfect Fluffy Meringue topping
This easy lemon meringue pie recipe features a bright, tangy lemon filling topped with soft, fluffy meringue. A foolproof method for a pie that slices beautifully and never weeps.
As an Amazon Associate I earn from qualifying purchases.

If you’ve ever searched “how to make lemon meringue pie from scratch” or “easy lemon meringue pie with fluffy topping,” this is the recipe you want to save.
This version breaks the process into three simple steps: crust, lemon curd, and meringue, making it approachable even if you’ve never made meringue before.
The result? A bright, tangy lemon filling paired with a soft, glossy meringue that bakes up beautifully golden on top.
🍋 Why This Lemon Meringue Pie Works
This recipe focuses on:
A rich lemon curd cooked slowly for perfect thickness
A stable meringue with cream of tartar
A simple method that avoids overcomplication
It’s ideal if you’re looking for:
an easy lemon meringue pie recipe
a homemade lemon pie with fresh lemon juice
a foolproof meringue that holds its shape
Equipment needed
Standmixer or a handmixer (affiliate link) with whisk attachment
spatula (affiliate link)
citrus juicer (affiliate link)
Ingredients
Pie crust
1 pre-baked 9-inch pie crust (homemade or store-bought)
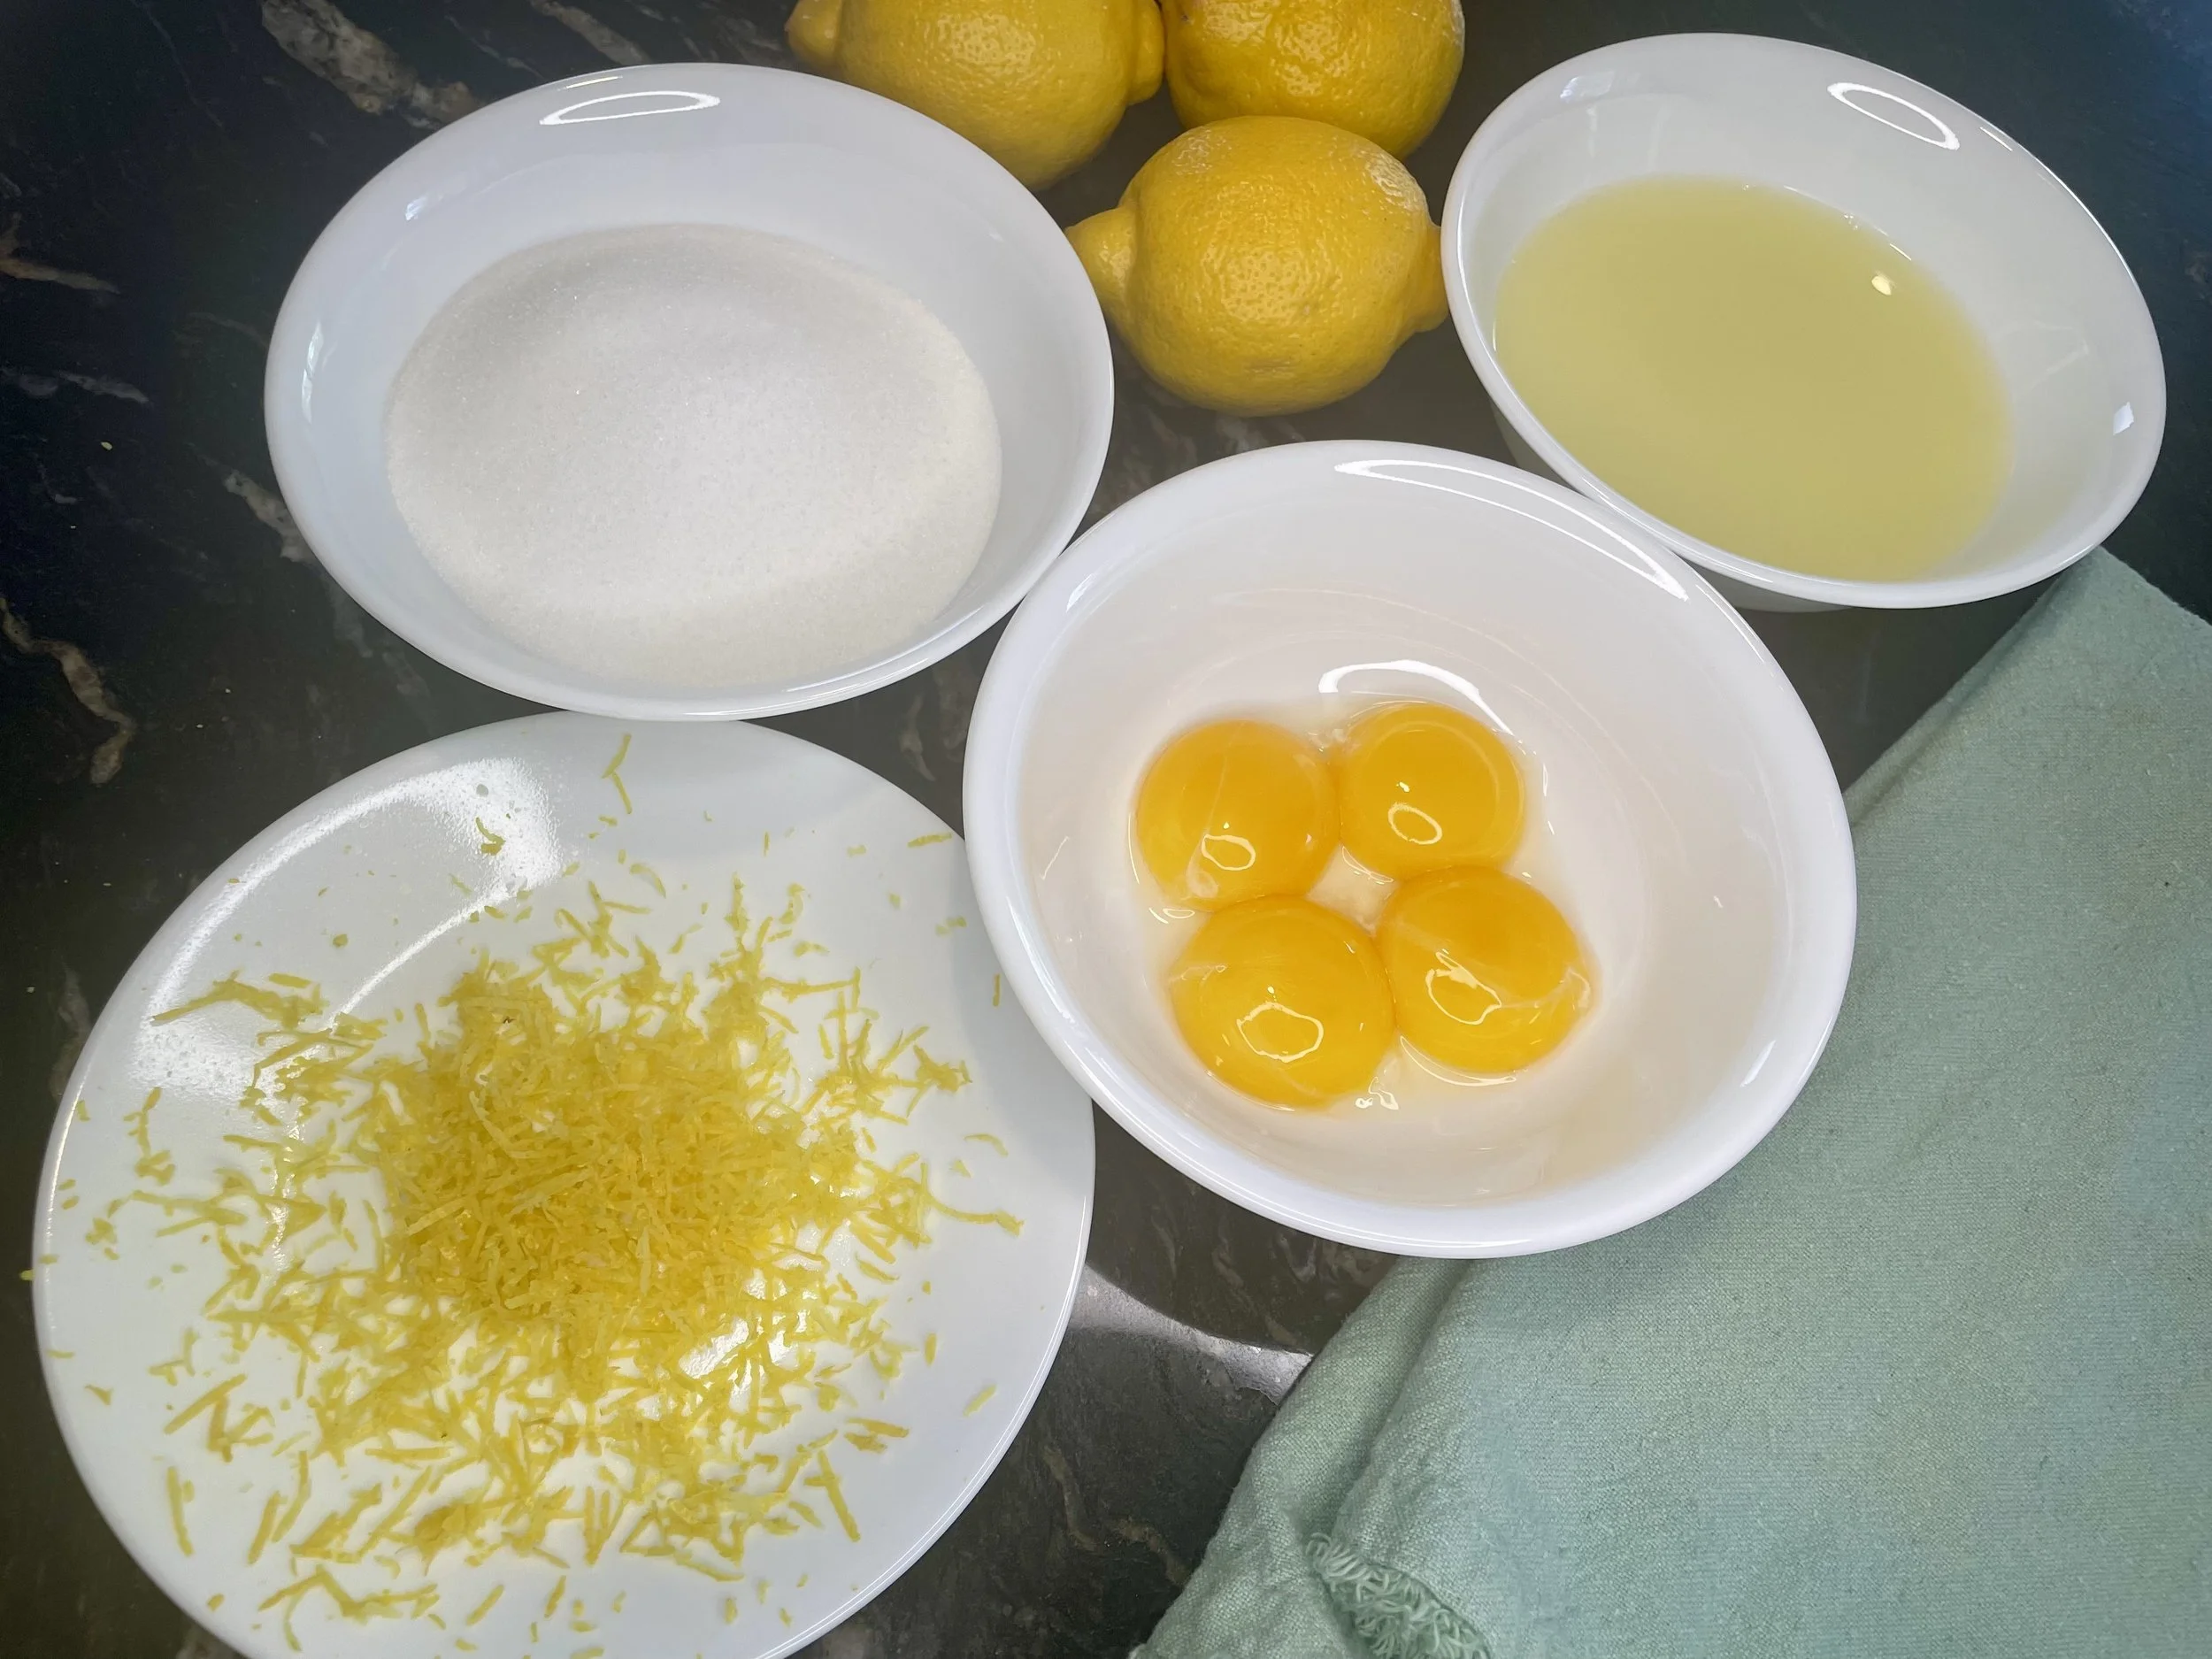
Lemon curd filling
4 egg yolks
1 cup sugar
Zest of 1 lemon
2/3 cup lemon juice (fresh or bottled)
1/2 cup cold unsalted butter
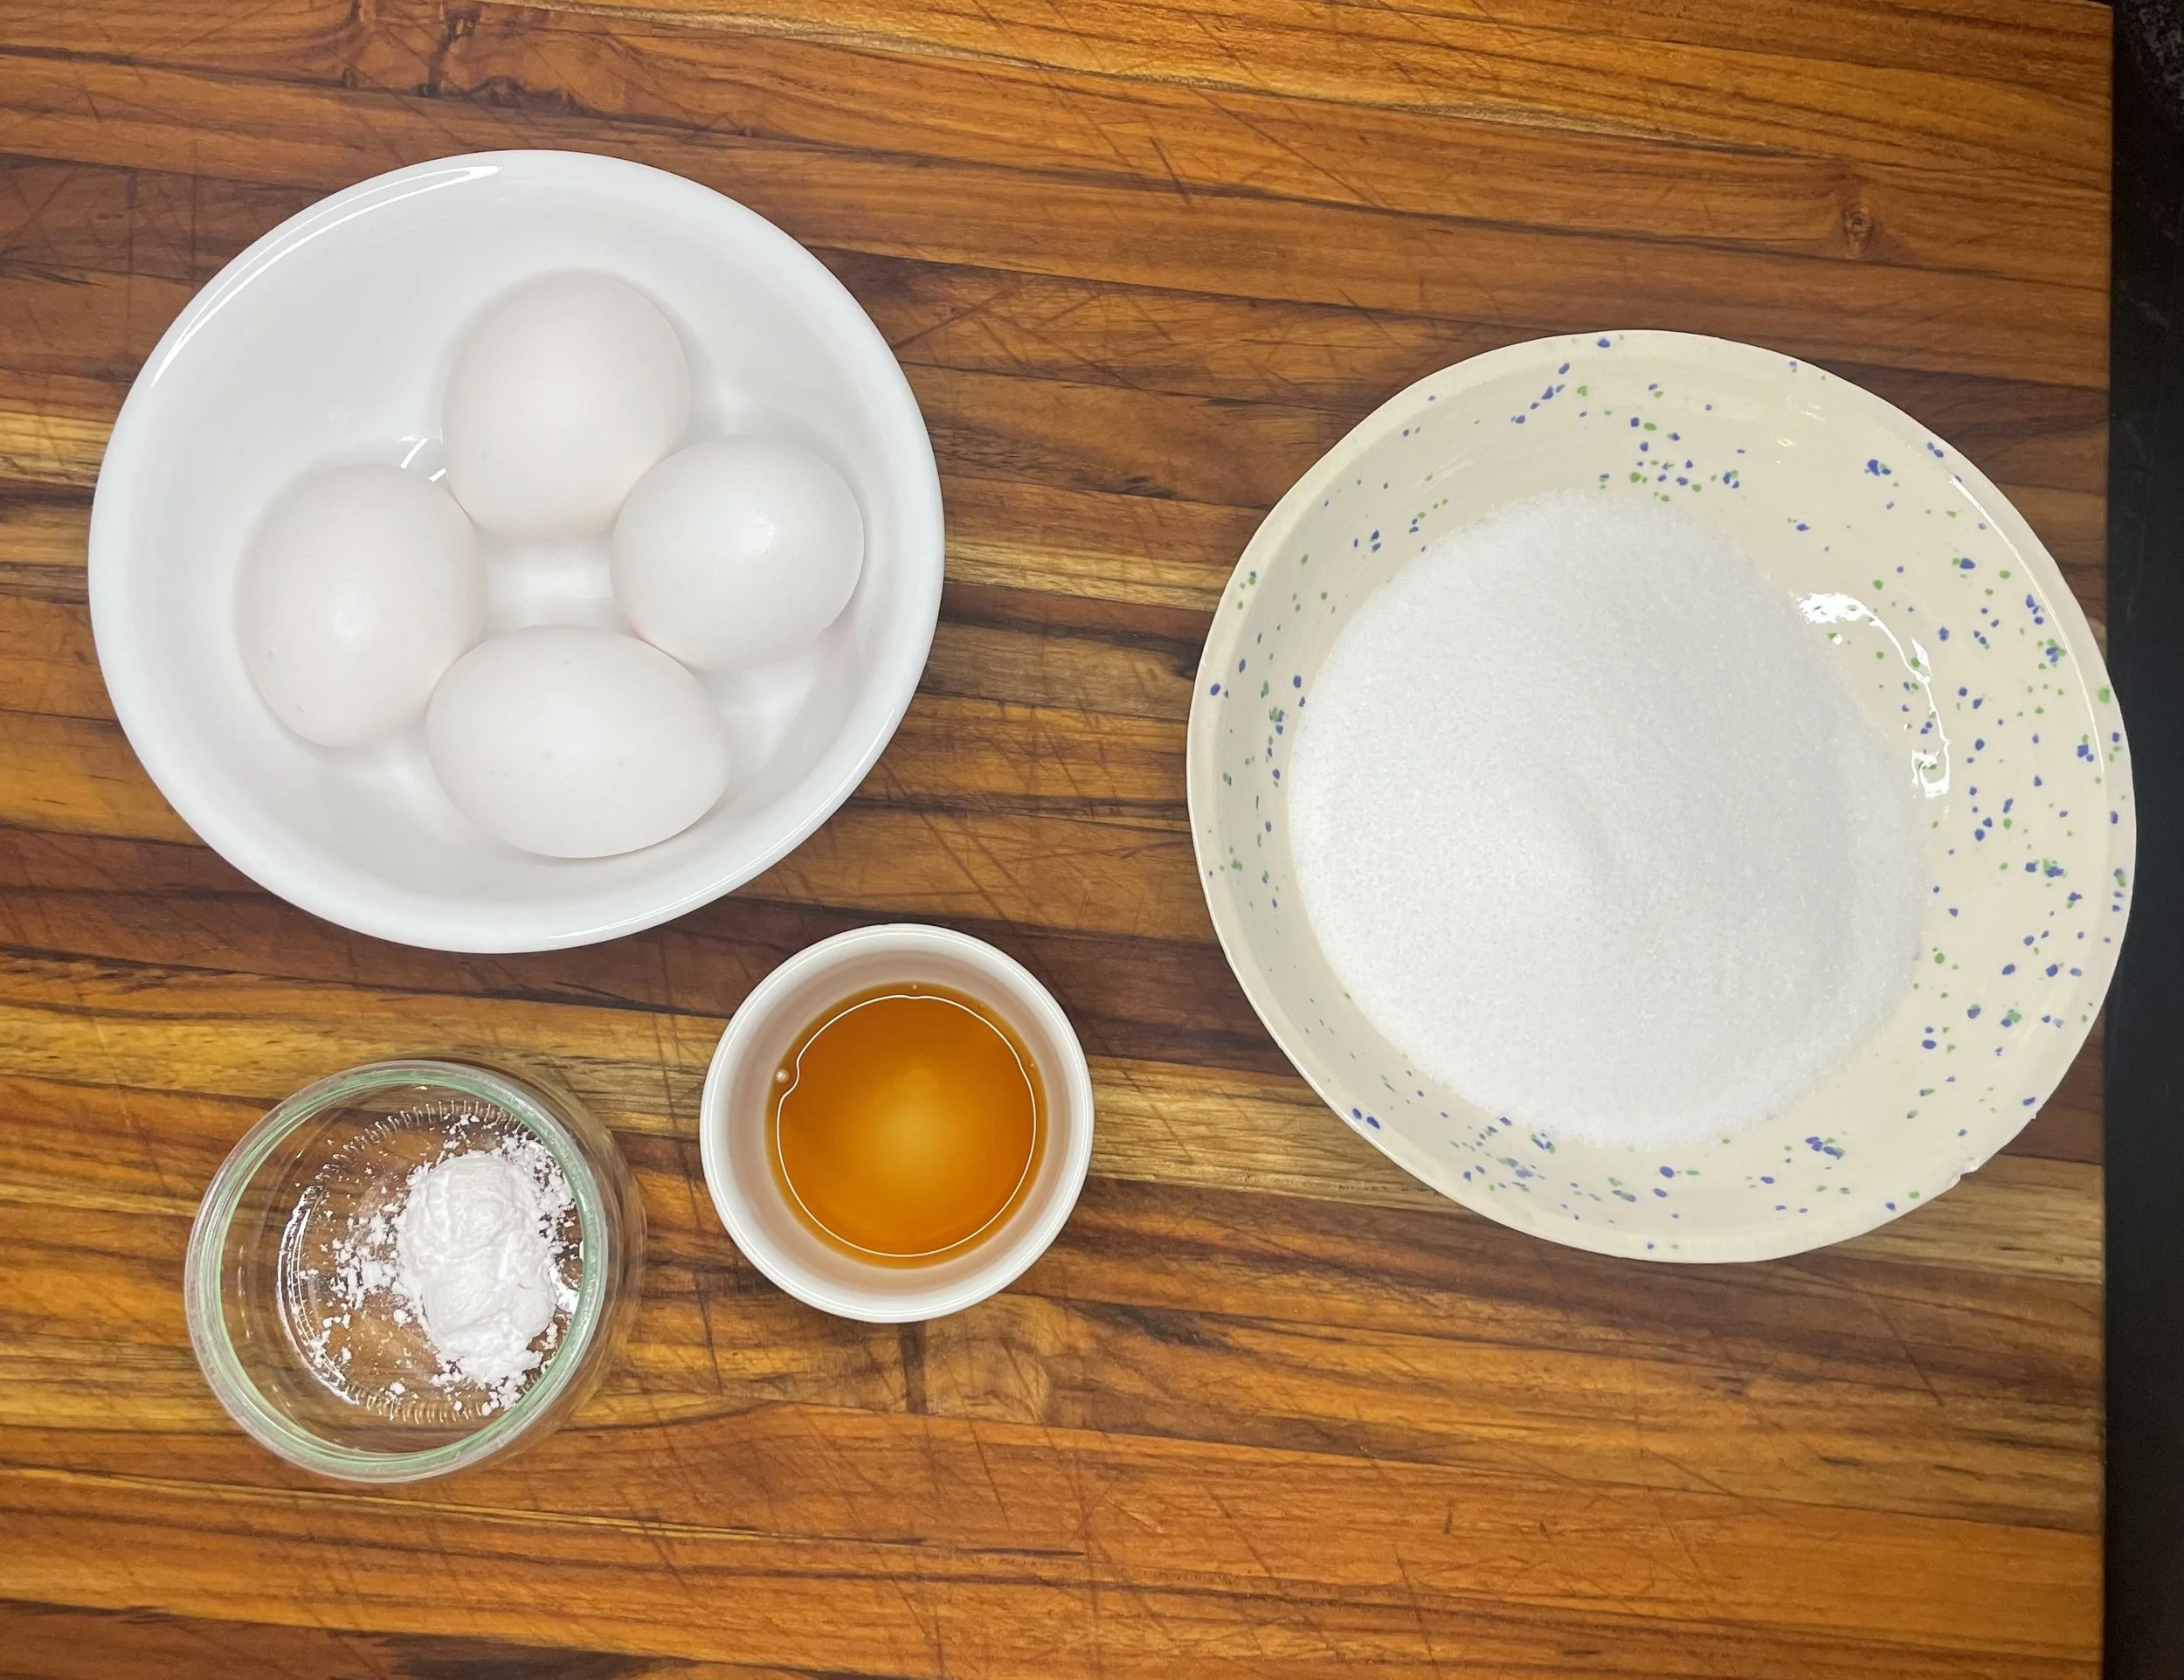
4 egg whites
1 cup sugar
1/2 tsp vanilla extract
1/2 tsp cream of tartar
Step-by-Step Instructions
1. Pre-bake the pie crust
Prepare and fully bake a 9-inch pie crust. Set aside.
2. Make the lemon curd
In a saucepan, combine egg yolks, sugar, lemon zest, and lemon juice.
Cook over medium heat for about 15–20 minutes, stirring regularly, until thickened.
Remove from heat and stir in cold butter until smooth.
Pour the lemon curd into the prepared crust and set aside.
3. Make the meringue
In a stand mixer or with a hand mixer, combine egg whites, sugar, vanilla, and cream of tartar.
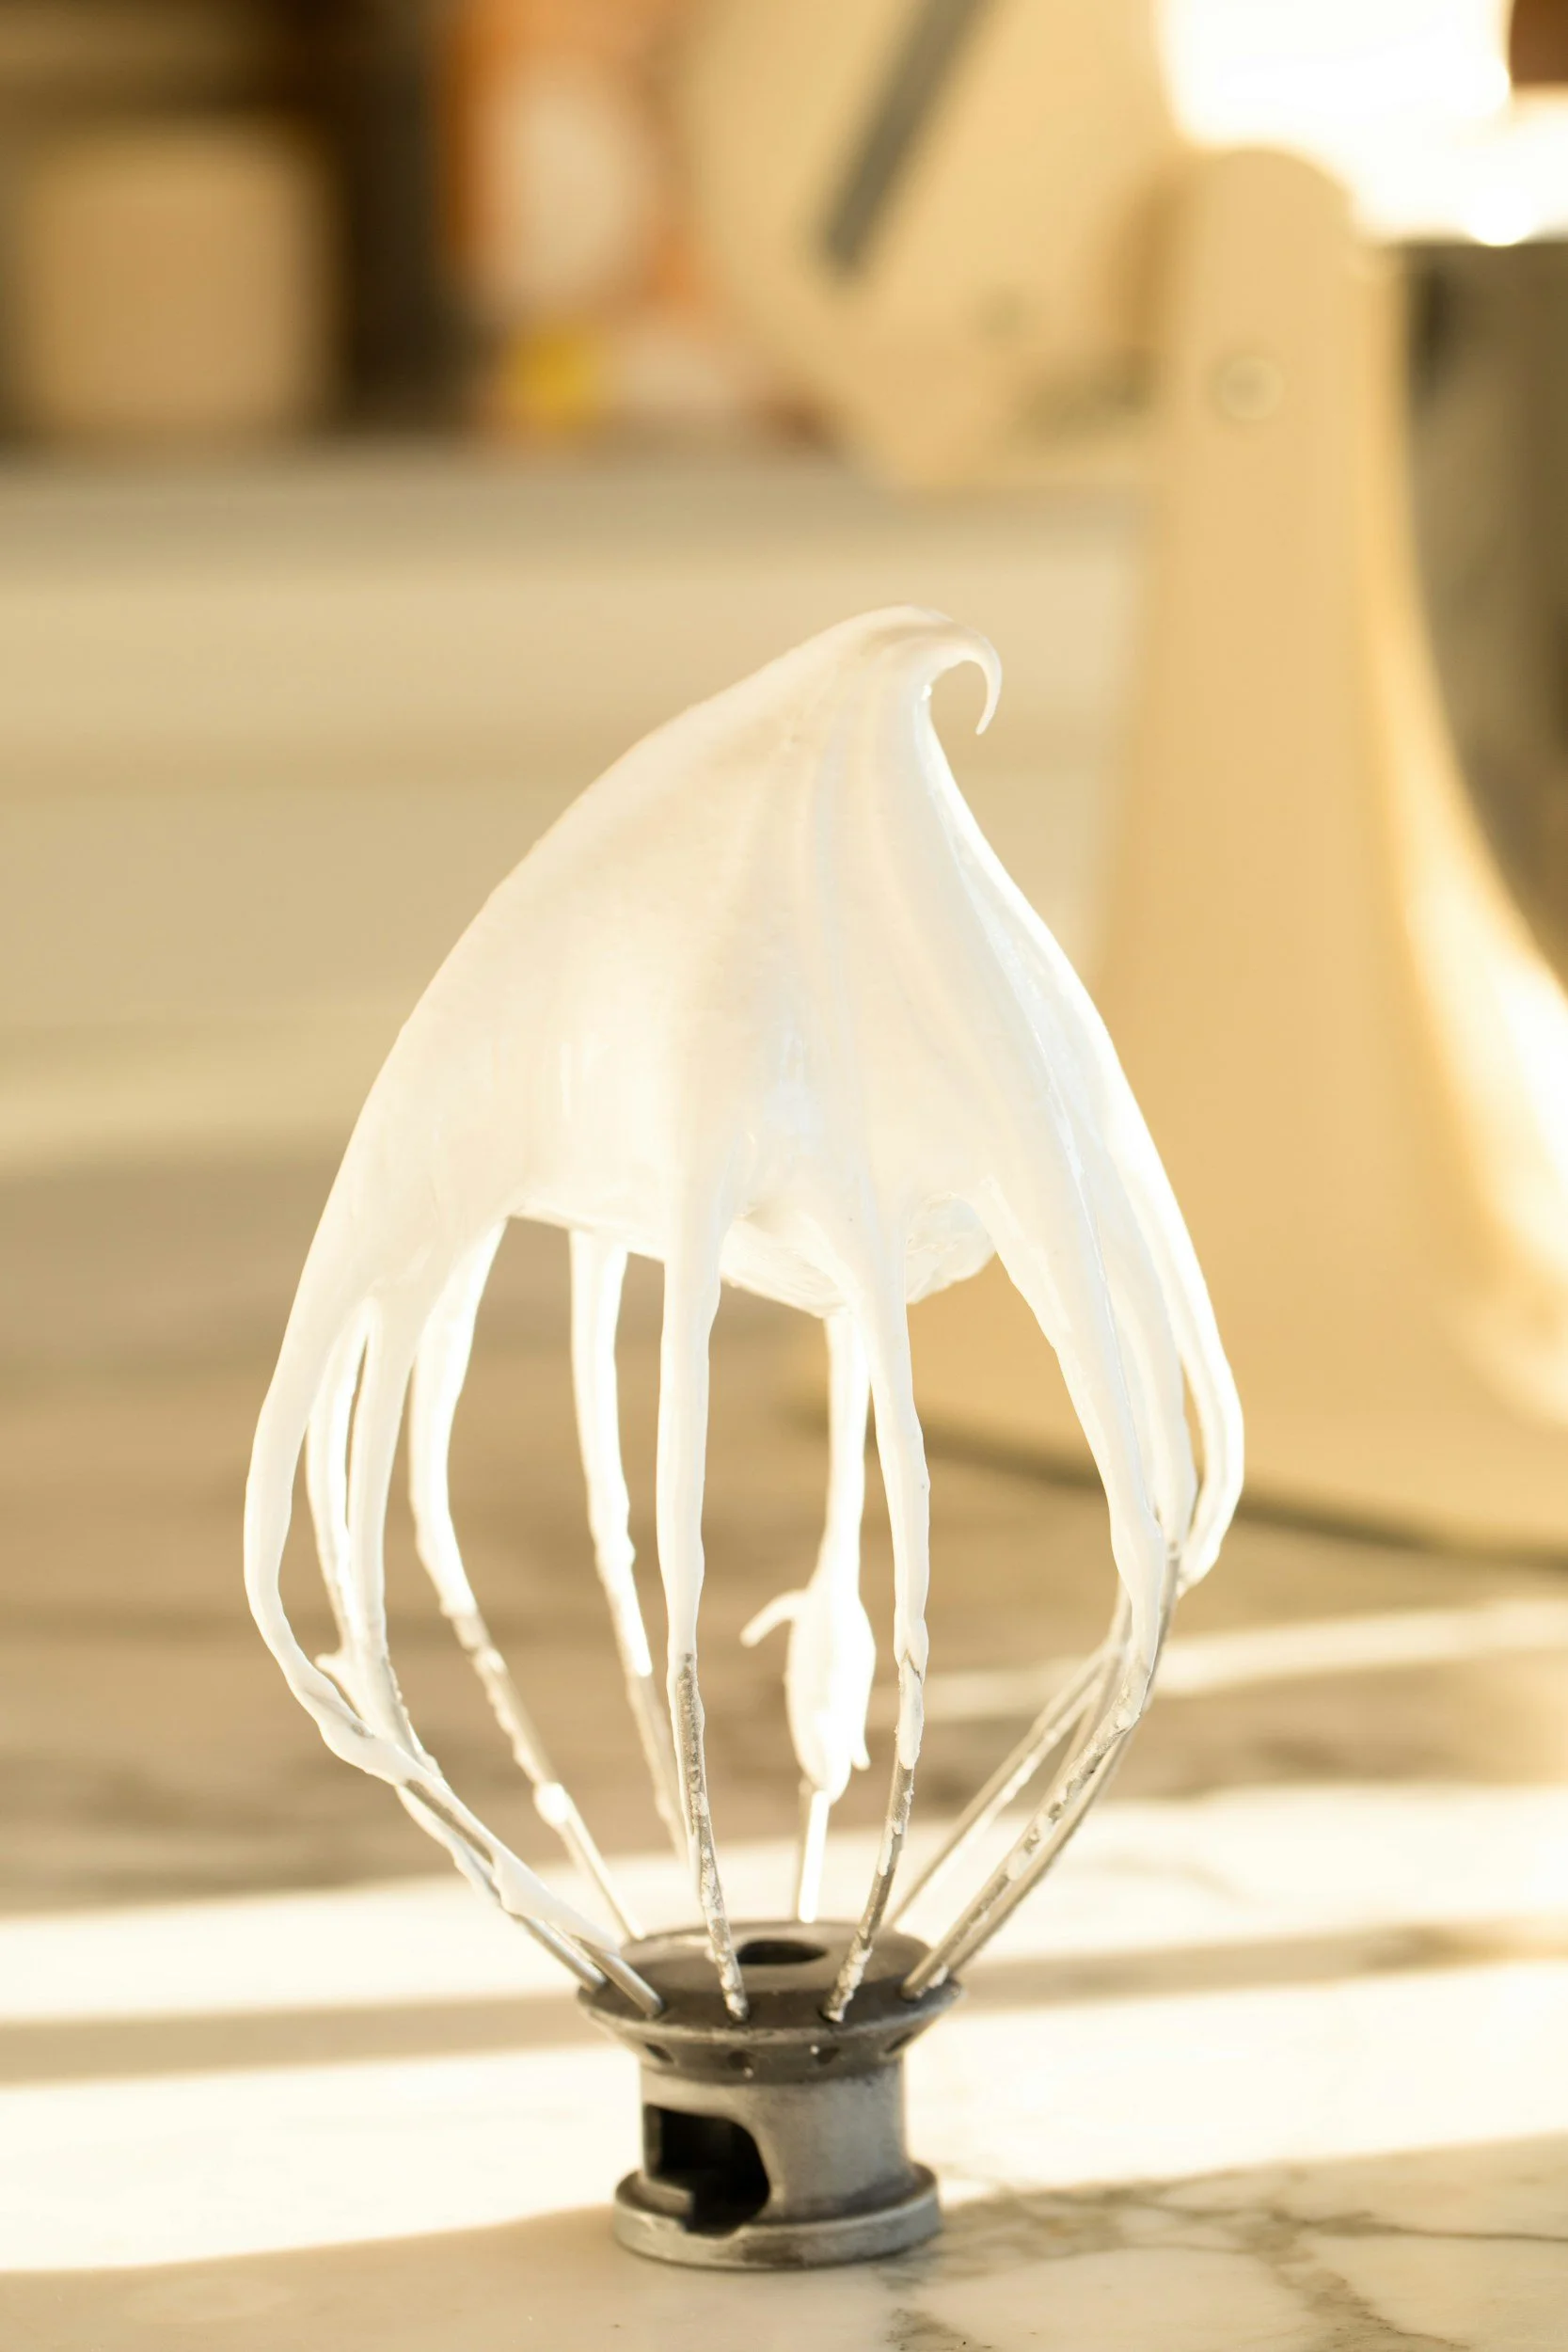
Whisk on high speed for about 6–8 minutes until the meringue is thick, glossy, and holds stiff peaks.
4. Assemble and bake
Spread the meringue over the lemon filling, making sure to seal it to the edges of the crust.
Bake at 350°F (175°C) until the peaks are lightly golden.
Let the pie cool at room temperature. Refrigerate before slicing.

Storage
Once fully cooked, let the Lemon Meringue Pie cool at room temperature, then cover and refrigerate.
It’s best eaten in the first 24 hours, but can be refrigerated for up to 3 days.
Do not freeze this pie.
Frequently Asked Questions
1. How do I make lemon meringue pie from scratch?
Make a baked pie crust, cook a lemon curd filling on the stove, then top with whipped meringue and bake until golden.
2. Why is my lemon curd not thickening?
It likely needs more time on the heat. Keep cooking and stirring until it visibly thickens.
3. Can I use bottled lemon juice for lemon meringue pie?
Yes, bottled lemon juice works, but fresh lemon juice gives a brighter flavor.
4. How do I know when meringue is ready?
It should be thick, glossy, and form stiff peaks that hold their shape.
5. Why do I need cream of tartar in meringue?
Cream of tartar helps stabilize the egg whites and improves structure.
6. Should lemon meringue pie be refrigerated?
Yes, once cooled, store it in the refrigerator.
7. How long should I bake meringue?
Bake just until the peaks turn golden brown—usually a few minutes.
8. Can I make lemon meringue pie ahead of time?
Yes, but it’s best eaten within 24 hours for best texture.
9. I dont own a stand mixer, Can i use a hand mixer?
Yes. Use a hand mixer with the whisk attachement. It might take a few extra minutes to whip up the meringue, but it it should work.
we think you’ll like these recipes:

The Best Homemade Lemon Curd
5 ingredients. One saucepan. Twenty minutes. The brightest, silkiest lemon curd you'll ever taste — and shockingly easy to make from scratch.
Published: 14 May 2026 | Category: Dessert | Prep Time: 5 minutes | Cooking Time: 20 minutes | Total Time: 25 minutes
If you've never made lemon curd from scratch, prepare to be converted. This is not a "weekend project" recipe — it takes one saucepan, 20 minutes of gentle stirring, and five ingredients that are readily available at the store. The result? A glossy, sunshine-yellow spread that is so alive with citrus flavour it makes anything it touches taste ten times better.
I've tried double-boiler methods, constant-stirring methods, blender hacks. This stovetop approach is silky, most approachable, and optimized for less dishes that I’ve created. The key is cold butter added at the end — it emulsifies the curd into that signature creamy, pourable consistency.
Once you have a jar in the fridge, you'll find yourself reaching for it constantly: spooned onto scones at breakfast, swirled into yogurt, layered into cakes, or honestly just eaten off a spoon over the kitchen sink. No judgment. ;)
Ingredients
Makes approximately 1½ cups (enough to fill one standard jam jar)
4 egg yolks, room temperature
1 cup granulated sugar
⅔ cup fresh lemon juice — about 3–4 lemons (160ml)
zest from 1 lemon, use the same lemon that you're juicing
½ cup cold unsalted butter, cut into 1cm cubes (115g)
A note on ingredients
Egg yolks, not whole eggs. Yolks give a richer, more golden curd with a creamier mouthfeel.
Fresh lemon juice preferred. I’ve made this lemon curd with both bottled lemon juice and fresh lemon juice, and both work. Some people will say that bottled lemon juice lacks the volatile oils that make lemon curd sing, and to squeeze your own. Im here to say use what you have on hand because both work for this recipe.
Cold, unsalted butter, is essential. Adding cold butter at the end, not during cooking, is what creates that silky emulsified texture. Don't skip this step.
Instructions
Combine everything except the butter
Add the egg yolks, sugar, lemon juice, and lemon zest to a medium saucepan. Whisk together until the sugar begins to dissolve and everything looks uniform. Don't worry about it being perfect — it'll come together on the heat.
Cook over medium heat, stirring every few minutes
Place the pan over medium heat. You don't need to stir constantly — every 2 to 3 minutes is fine. You're looking for the mixture to gradually thicken and turn from a pale yellow liquid into a proper custard-like consistency. This takes about 20 minutes. The curd is ready when it coats the back of a spoon and a line drawn through it holds its shape.
Add the cold butter and stir well
Take the pan off the heat. Add all the cold butter cubes at once and stir continuously until every cube is melted and fully incorporated. The curd will turn glossy and noticeably silkier. This is the moment it goes from "good" to "extraordinary."
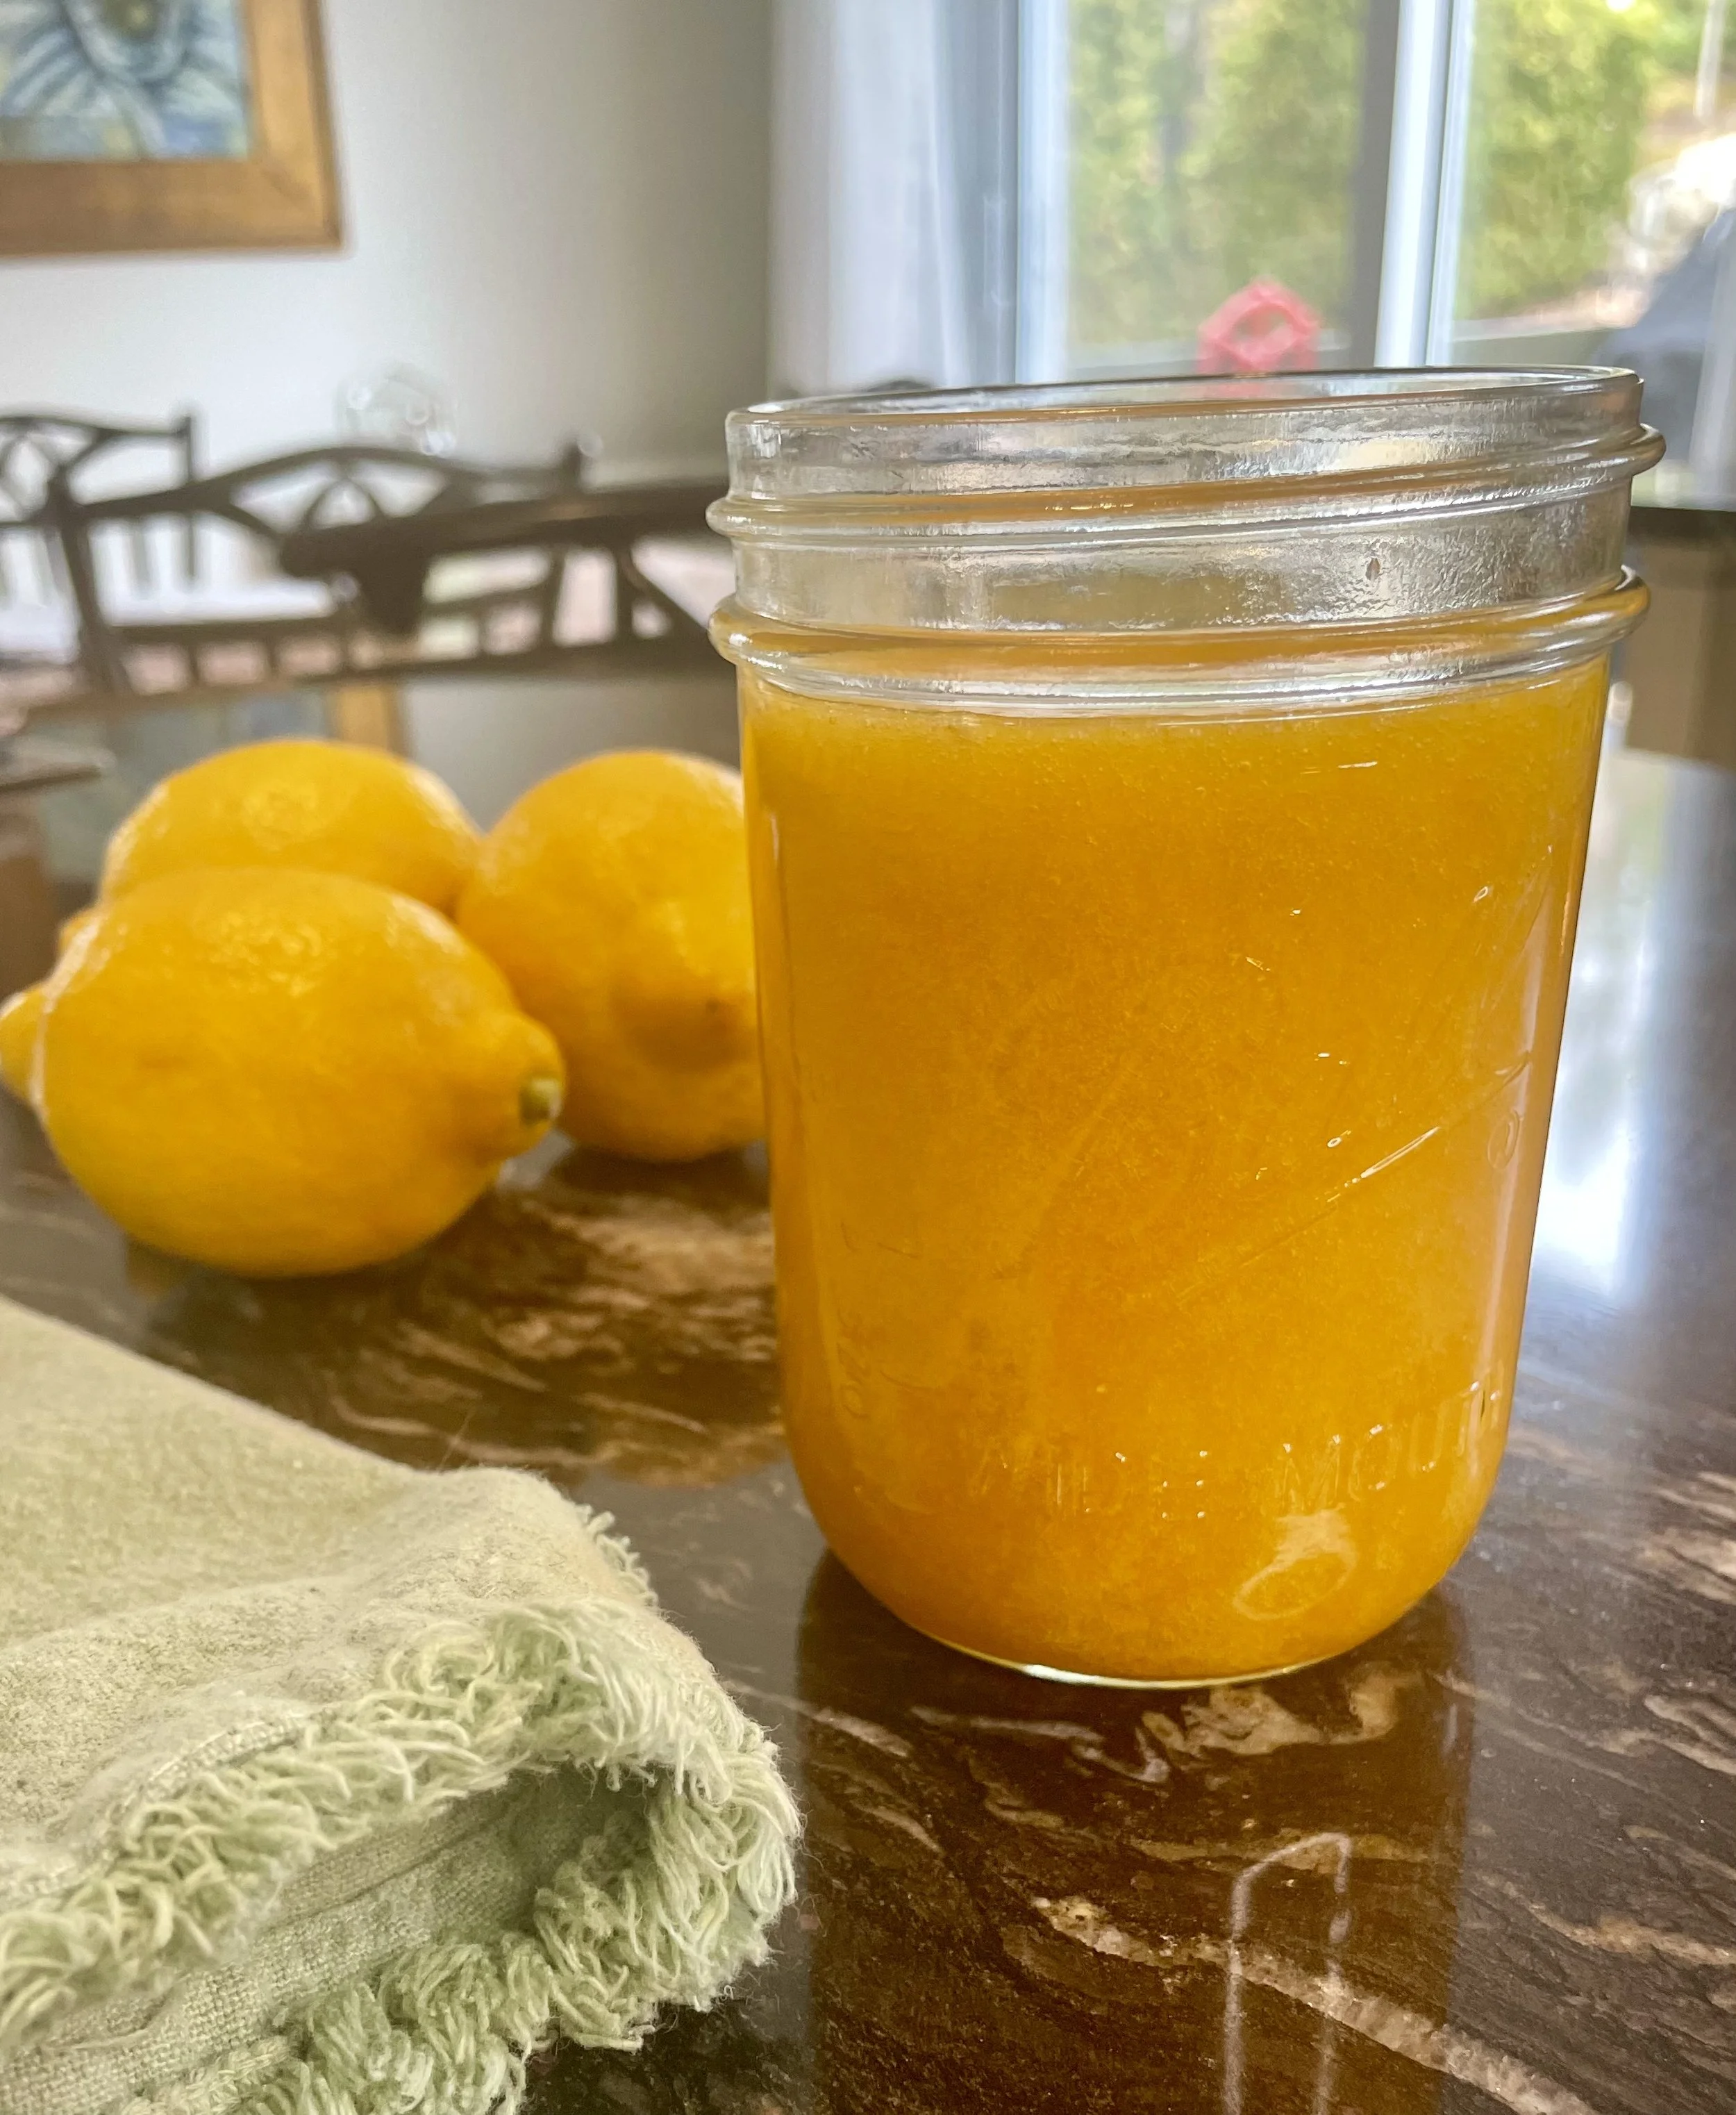
Jar, cool, and refrigerate
Pour the warm curd into a clean jar (a heatproof glass jar works perfectly - I like using mason jars). Let it cool at room temperature — it will thicken further as it cools — then seal and refrigerate. It keeps for up to 2 weeks in the fridge.

What to do with lemon curd
Honestly, the list is long. Here are the ways I use it most often:
Spread
Lemony Muffins filling
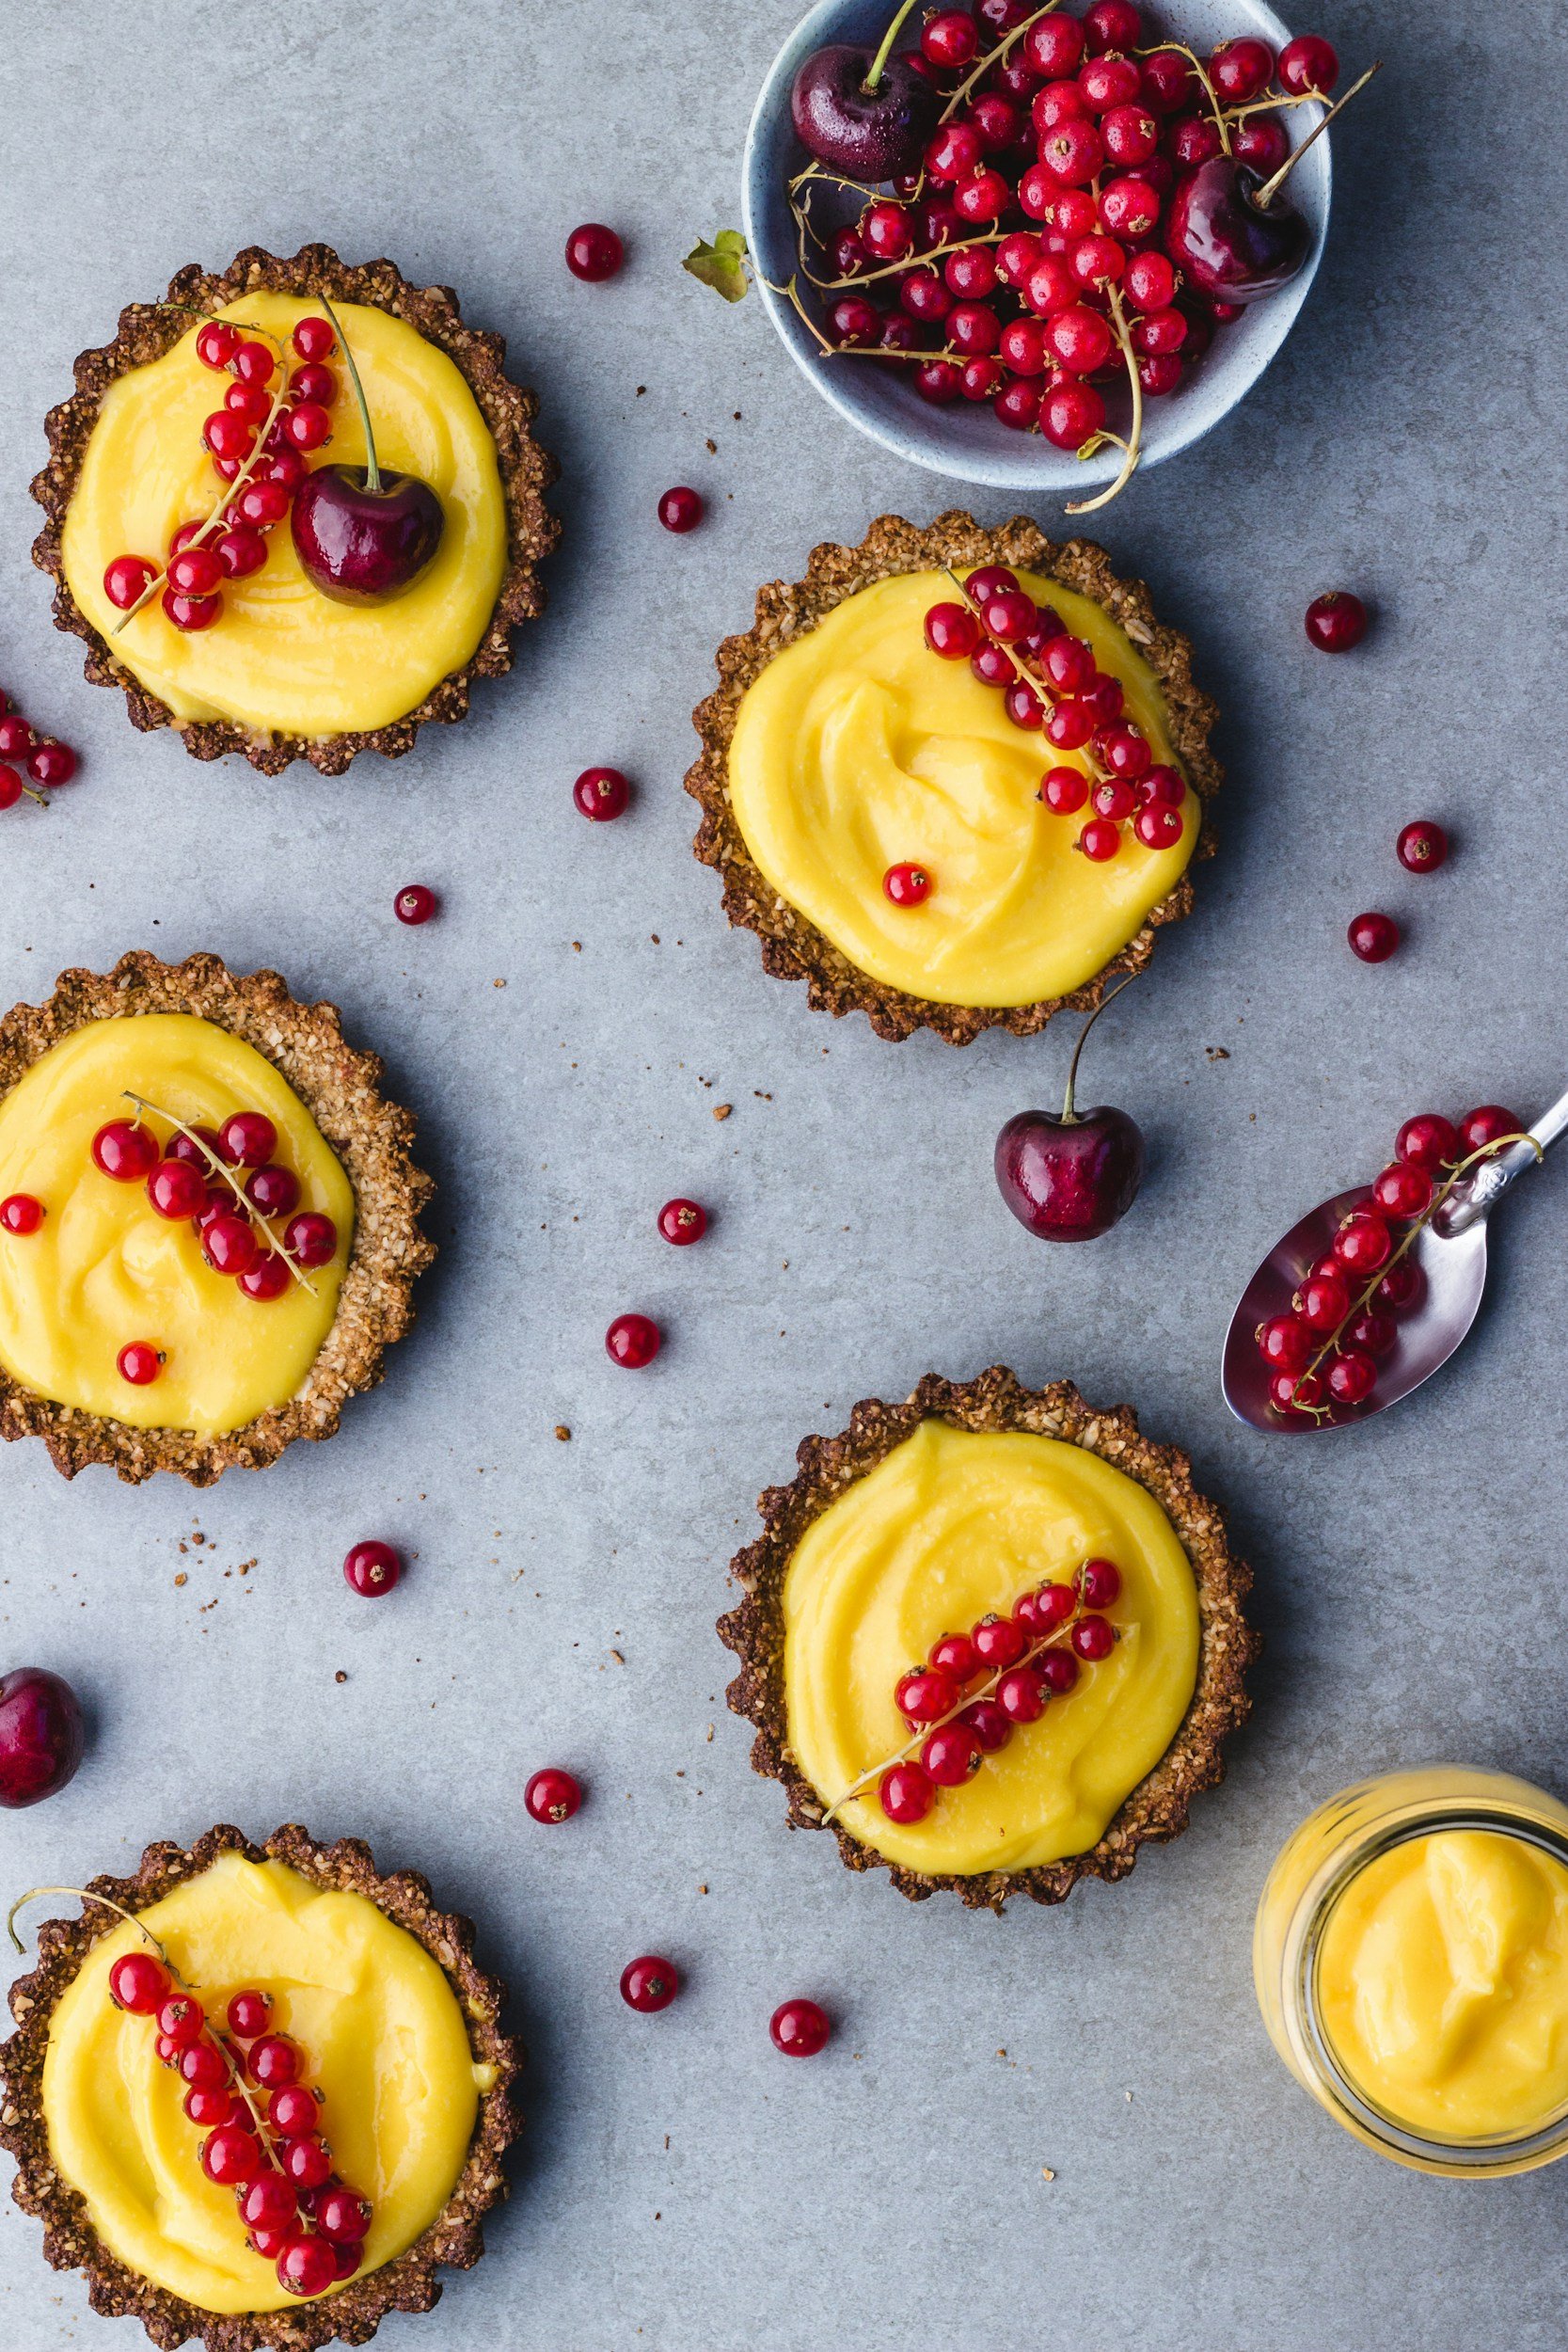
Lemon Tart filling
Swirled into yogurt
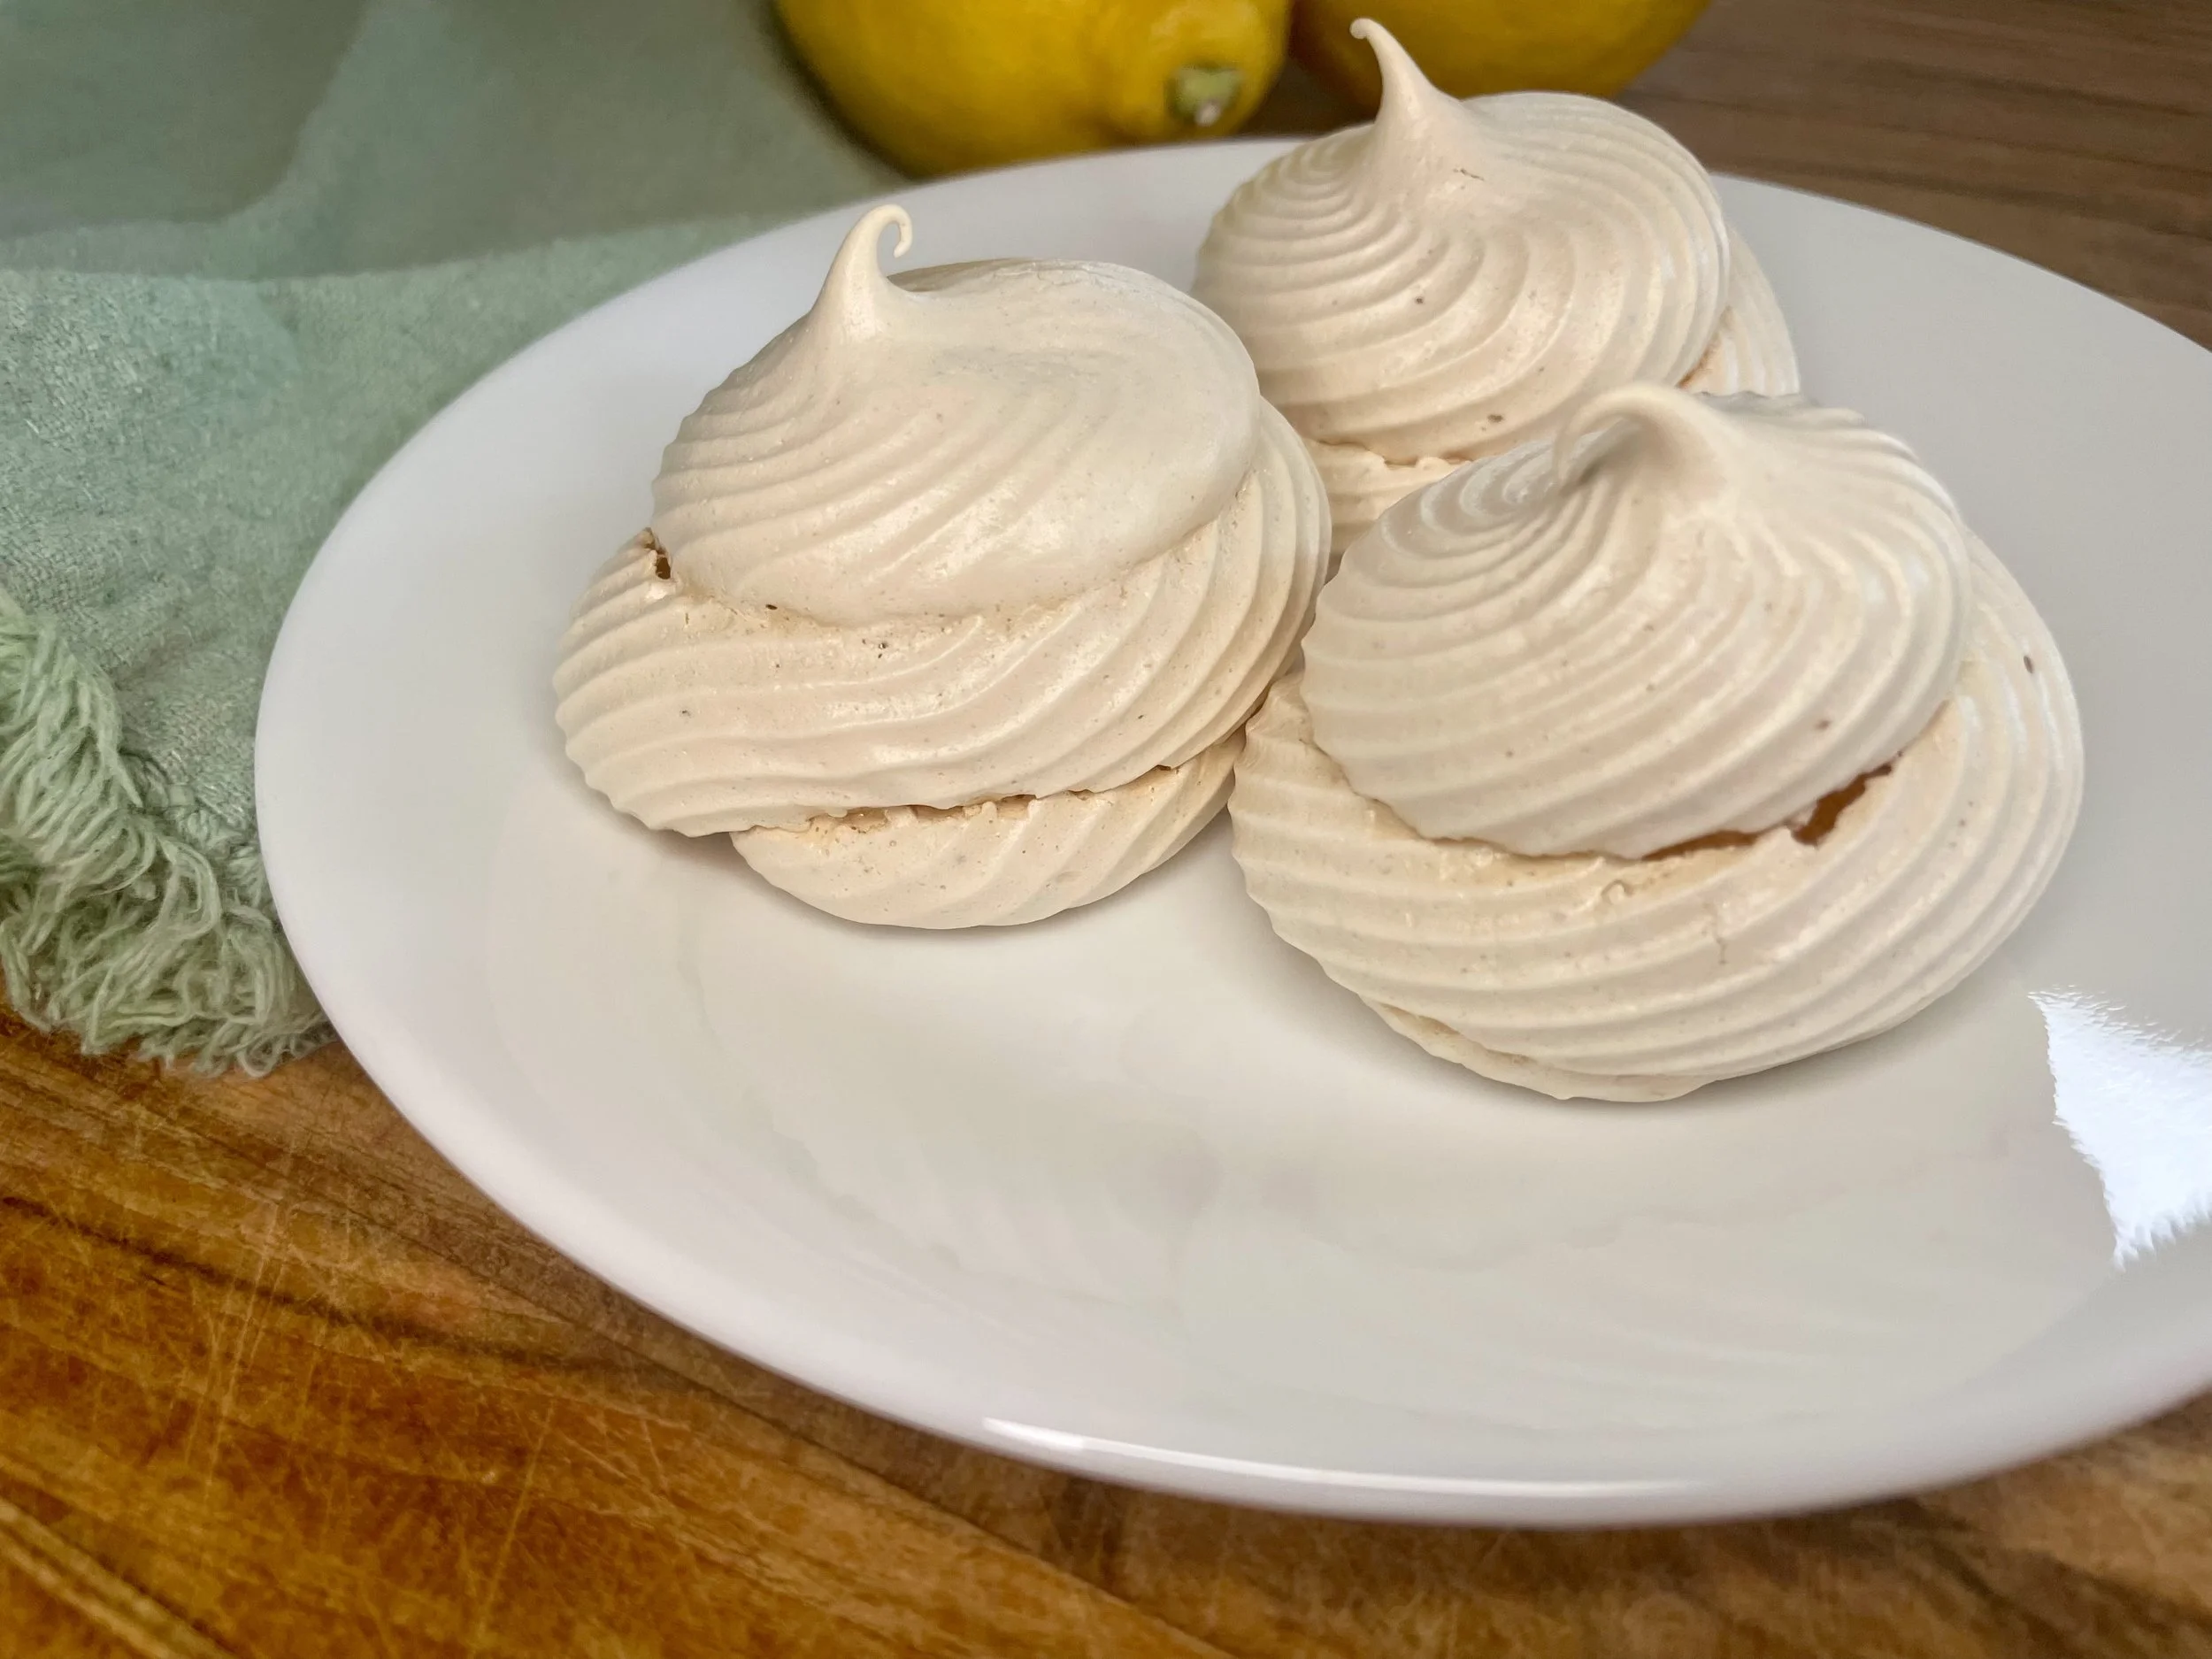
Pavlova topping
Thumbprint cookies
Drizzled on pancakes
Stirred into whipped cream
Swirled into a Cheesecake
It also makes a genuinely impressive homemade gift — a small jar wrapped with ribbon is the kind of thing people remember.
Tips for perfect lemon curd every time
Don't rush the heat. Medium is the right temperature. High heat risks scrambling the yolks and you'll end up with lemony scrambled eggs. Patience pays off here.
It will look too thin while it's cooking. Trust the process. The curd sets as it cools, so remove it from the heat when it coats the back of a spoon — not when it's already thick.
Strain for extra smoothness. If you want an ultra-silky curd with no zest bits, pour it through a fine-mesh sieve just before adding the butter. Totally optional but nice for tarts.
Want it tarter? Reduce the sugar to ¾ cup. Want it sweeter? Add an extra 2 tablespoons. The recipe is very forgiving.
Storage & freezing
Lemon curd keeps in a sealed jar in the refrigerator for up to 2 weeks. It also freezes beautifully — pour into a freezer-safe container and freeze for up to 3 months. Thaw overnight in the fridge before using. Give it a good stir once thawed to bring it back together.
Frequently asked questions
How long does homemade lemon curd last?
Stored in a sealed jar in the refrigerator, homemade lemon curd lasts up to 2 weeks. In the freezer, it keeps for up to 3 months.
Can I use whole eggs instead of just yolks?
Yes, though the texture and colour will differ. Yolks produce a richer, creamier, more golden curd. Whole eggs give a slightly lighter result. If substituting, use 2 whole eggs in place of the 4 yolks.
Why is my lemon curd not thickening?
Lemon curd continues to thicken significantly as it cools — it may look too thin in the pan and be perfect once chilled. If it's still very runny after refrigerating for a few hours, it was likely undercooked. It should coat the back of a spoon before you remove it from the heat.
Can I make lemon curd without a double boiler?
Absolutely — this entire recipe uses a regular saucepan directly on the stovetop over medium heat. No double boiler required. Just keep the heat at medium (not high) and stir regularly.
What can I use lemon curd for?
Lemon curd is incredible spread on scones, toast, muffins, and crumpets. It's a classic filling for tarts and layer cakes, a topping for pavlova and cheesecakes, a swirl-in for yogurt and whipped cream, and a beautiful filling for thumbprint cookies.