
Easy Lemon Meringue Pie with the Perfect Fluffy Meringue topping
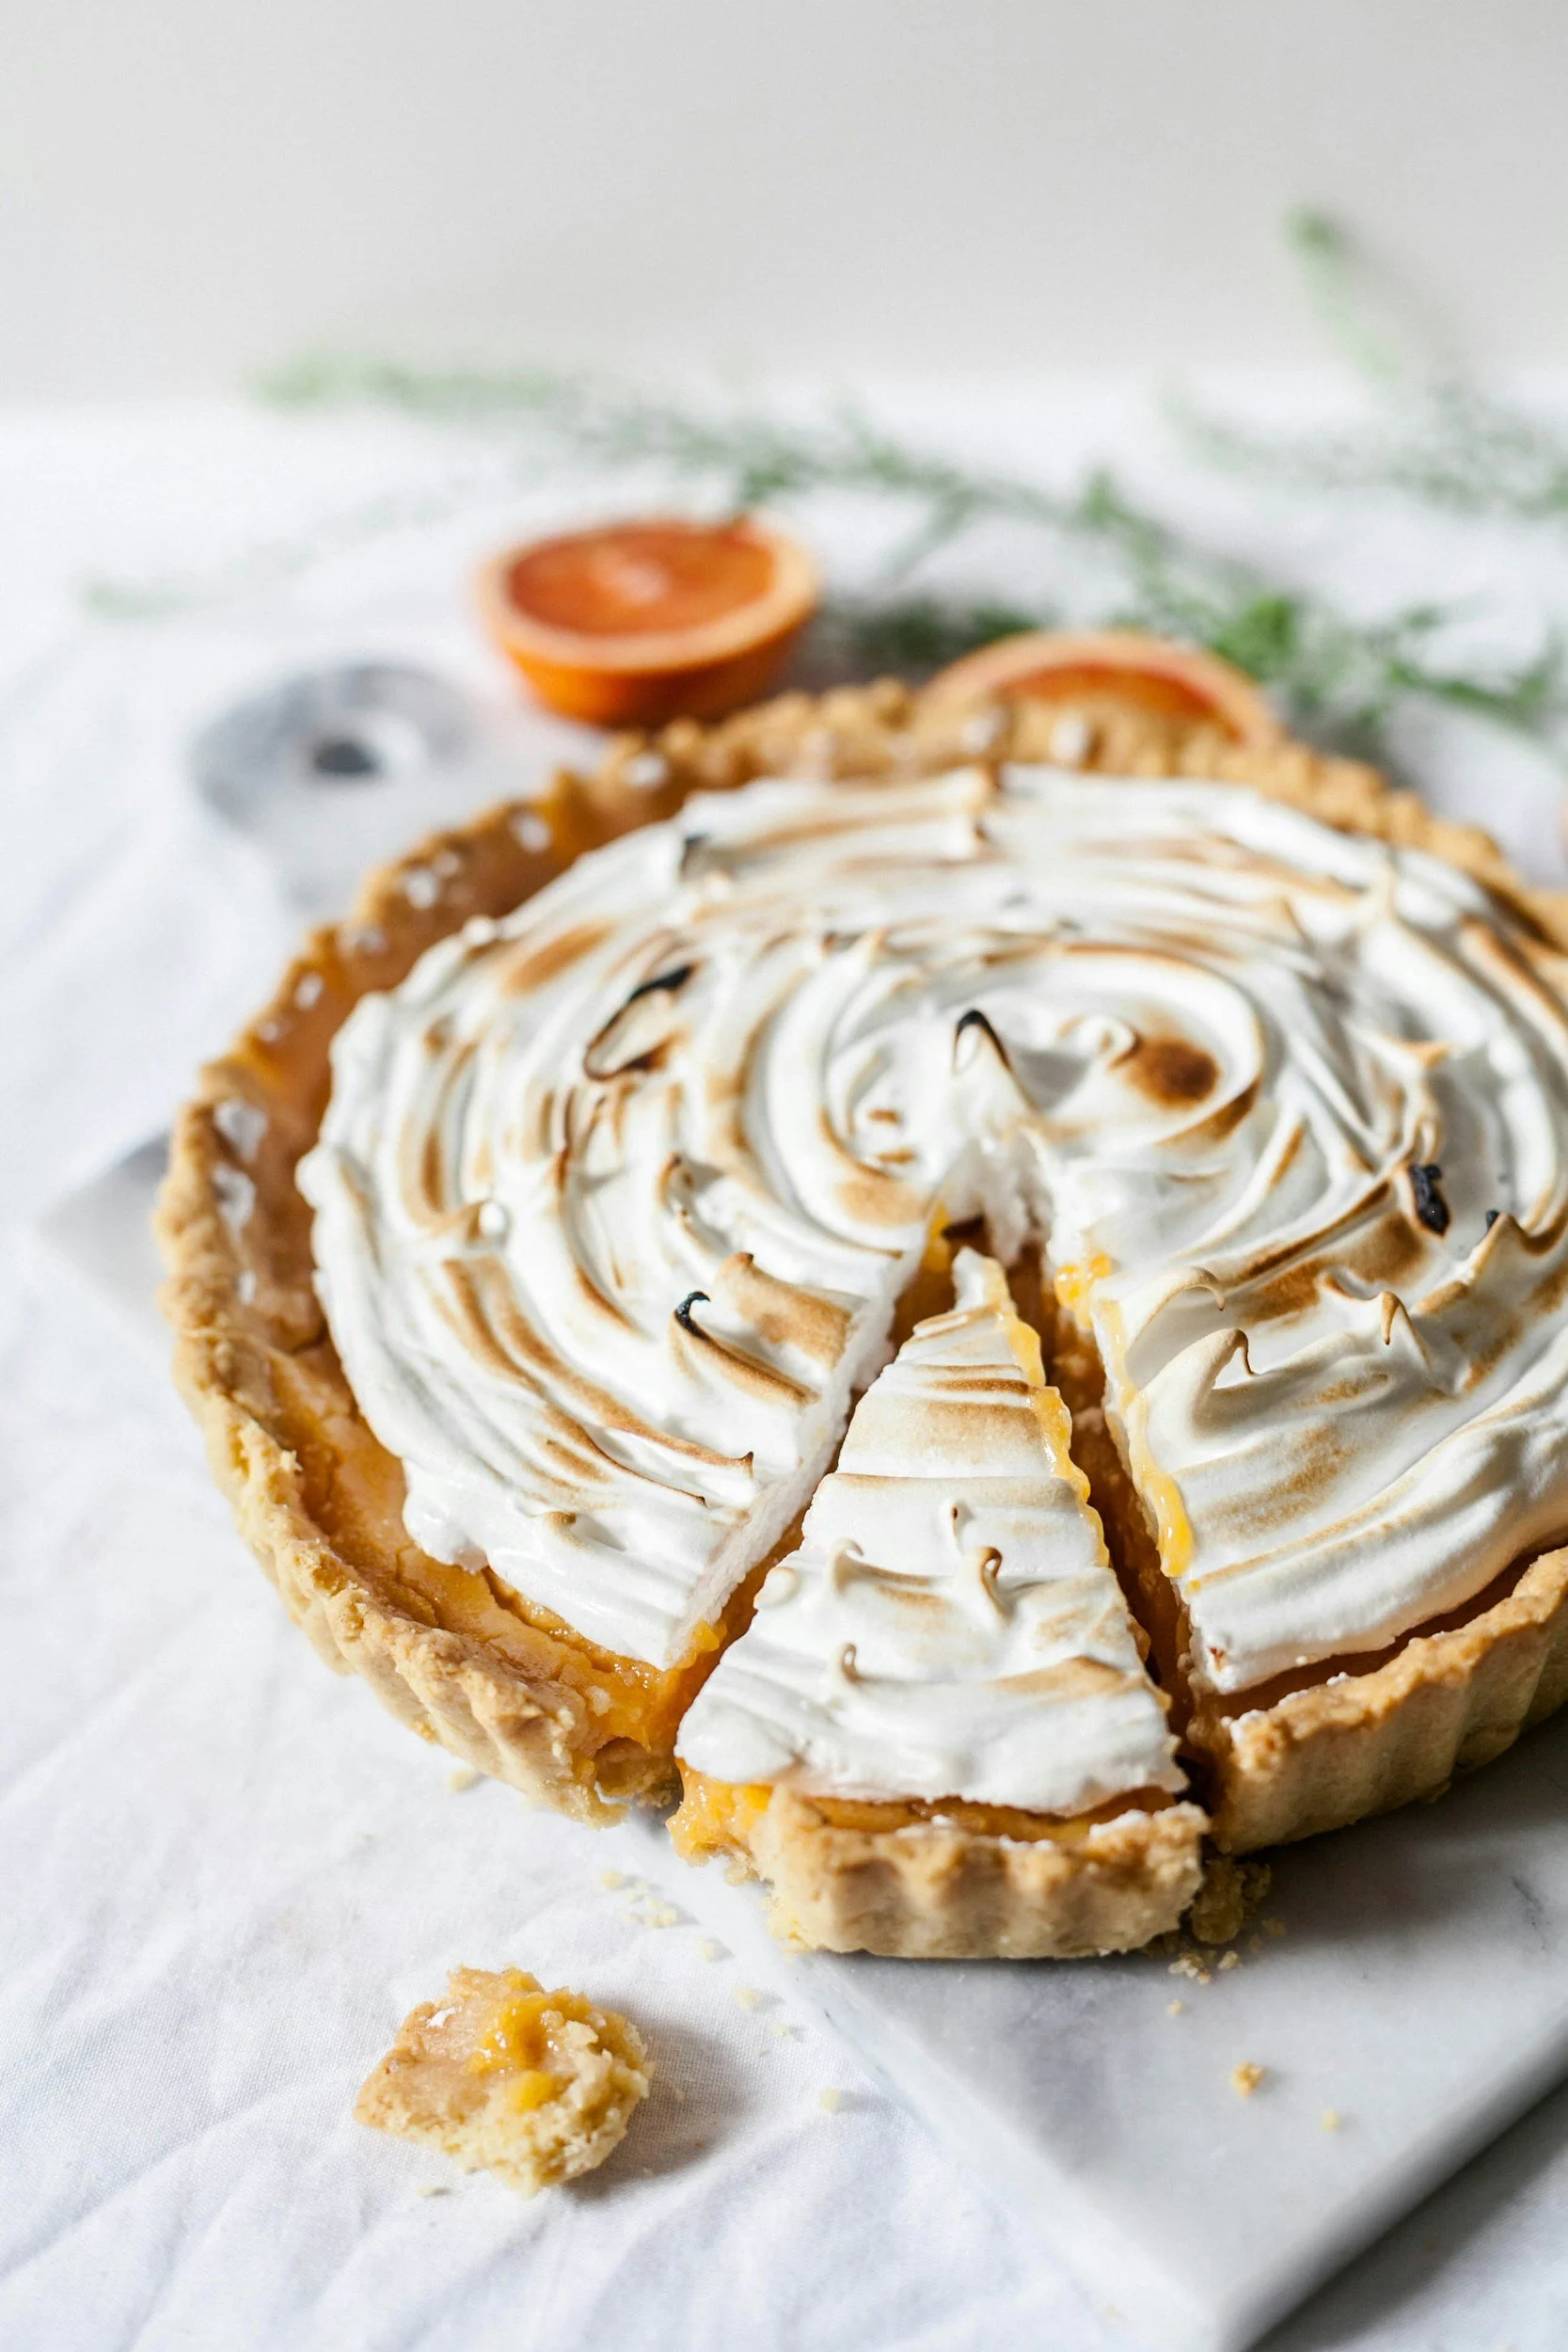
This easy lemon meringue pie recipe features a bright, tangy lemon filling topped with soft, fluffy meringue. A foolproof method for a pie that slices beautifully and never weeps.
As an Amazon Associate I earn from qualifying purchases.

If you’ve ever searched “how to make lemon meringue pie from scratch” or “easy lemon meringue pie with fluffy topping,” this is the recipe you want to save.
This version breaks the process into three simple steps: crust, lemon curd, and meringue, making it approachable even if you’ve never made meringue before.
The result? A bright, tangy lemon filling paired with a soft, glossy meringue that bakes up beautifully golden on top.
🍋 Why This Lemon Meringue Pie Works
This recipe focuses on:
A rich lemon curd cooked slowly for perfect thickness
A stable meringue with cream of tartar
A simple method that avoids overcomplication
It’s ideal if you’re looking for:
an easy lemon meringue pie recipe
a homemade lemon pie with fresh lemon juice
a foolproof meringue that holds its shape
Equipment needed
Standmixer or a handmixer (affiliate link) with whisk attachment
spatula (affiliate link)
citrus juicer (affiliate link)
Ingredients
Pie crust
1 pre-baked 9-inch pie crust (homemade or store-bought)
Lemon curd filling
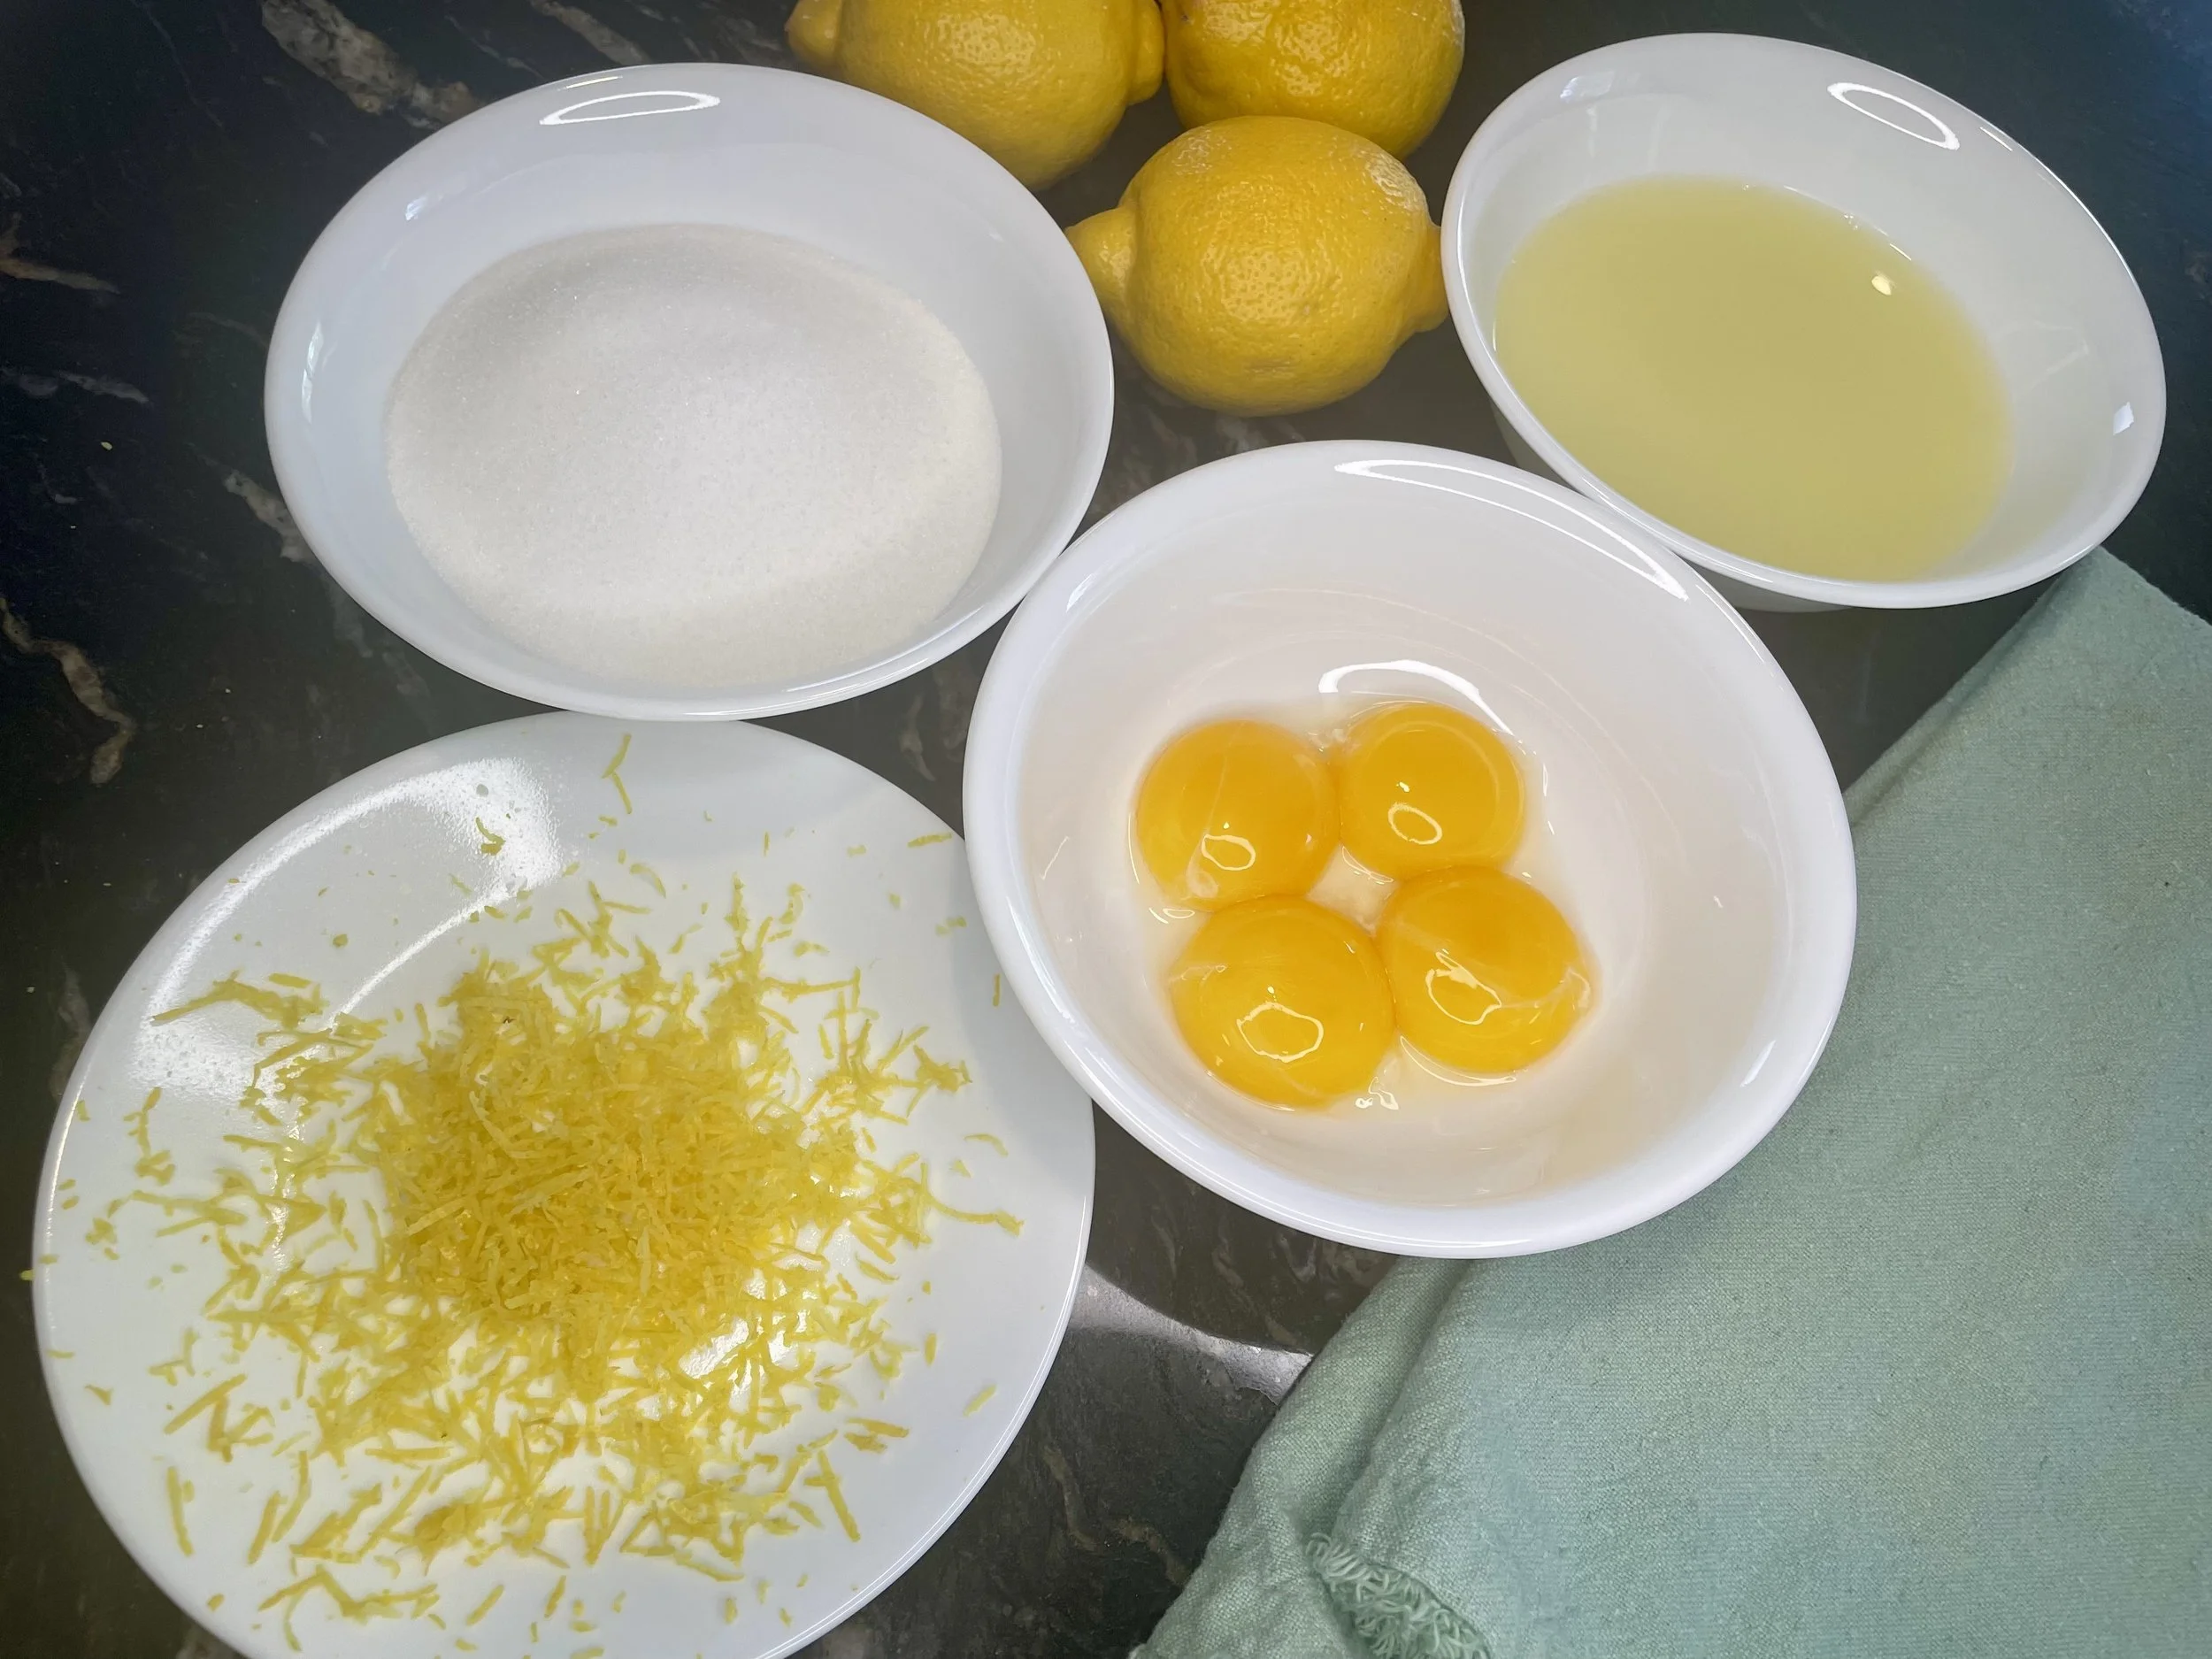
4 egg yolks
1 cup sugar
Zest of 1 lemon
2/3 cup lemon juice (fresh or bottled)
1/2 cup cold unsalted butter
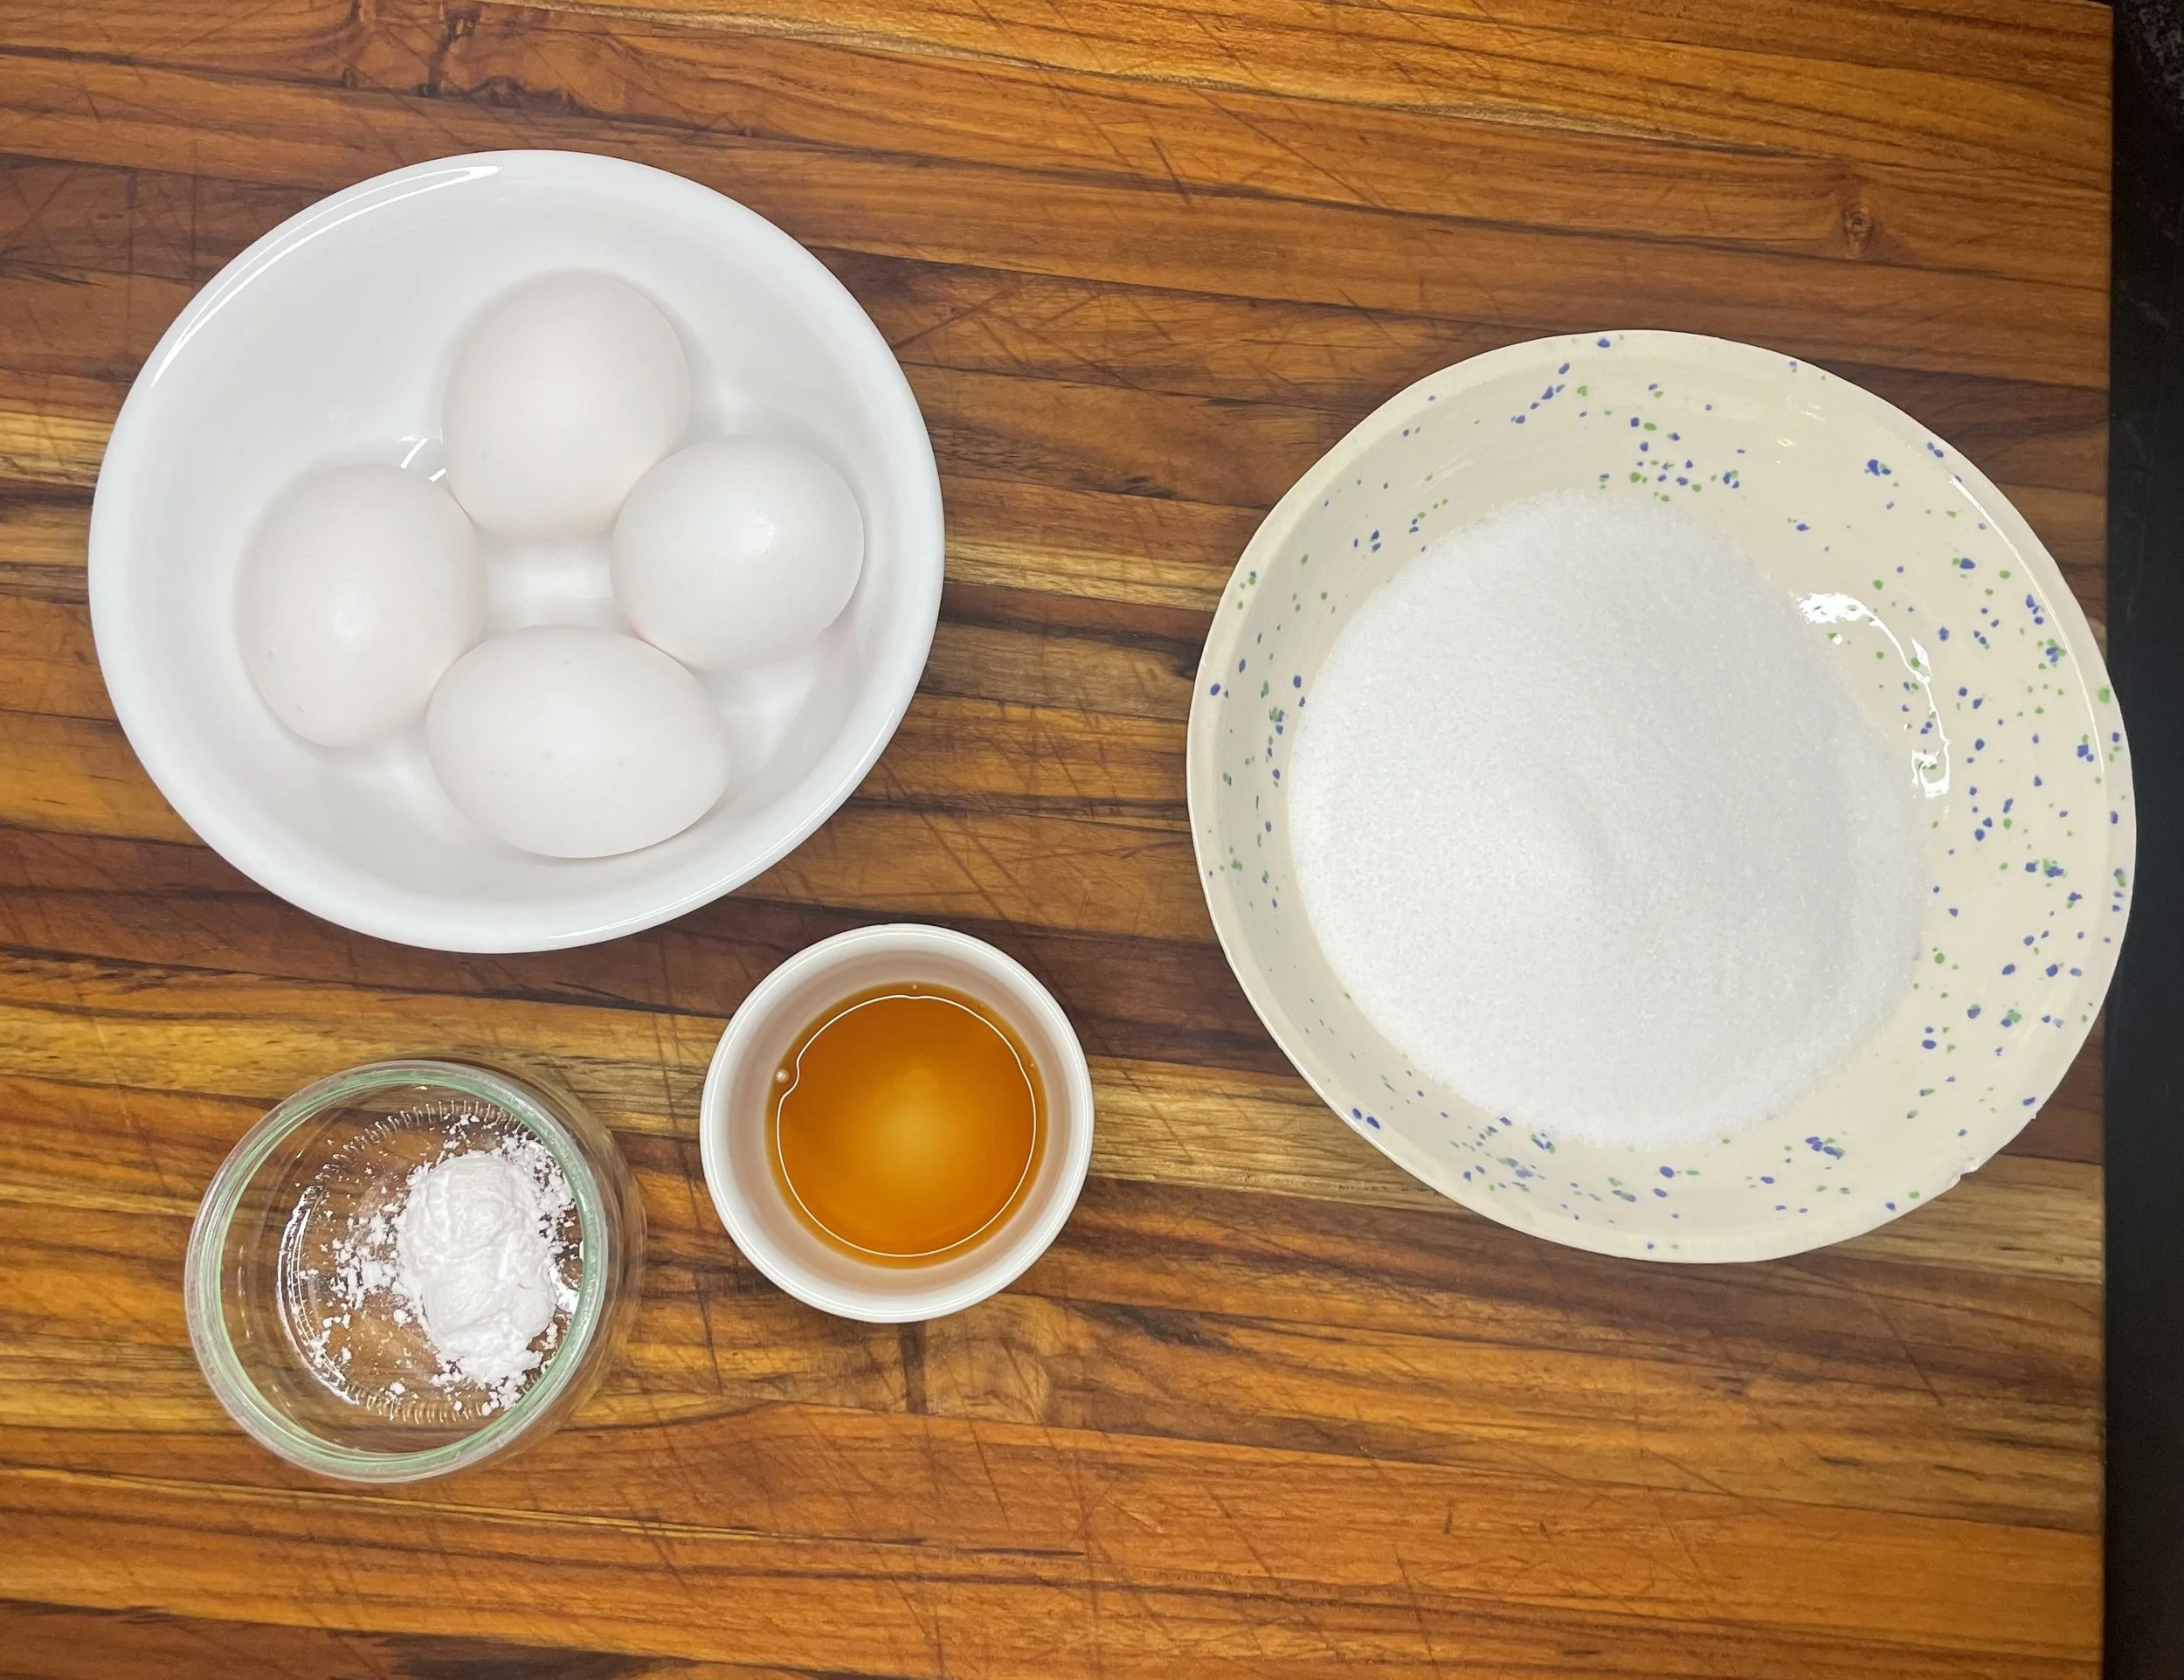
4 egg whites
1 cup sugar
1/2 tsp vanilla extract
1/2 tsp cream of tartar
Step-by-Step Instructions
1. Pre-bake the pie crust
Prepare and fully bake a 9-inch pie crust. Set aside.
2. Make the lemon curd
In a saucepan, combine egg yolks, sugar, lemon zest, and lemon juice.
Cook over medium heat for about 15–20 minutes, stirring regularly, until thickened.
Remove from heat and stir in cold butter until smooth.
Pour the lemon curd into the prepared crust and set aside.
3. Make the meringue
In a stand mixer or with a hand mixer, combine egg whites, sugar, vanilla, and cream of tartar.
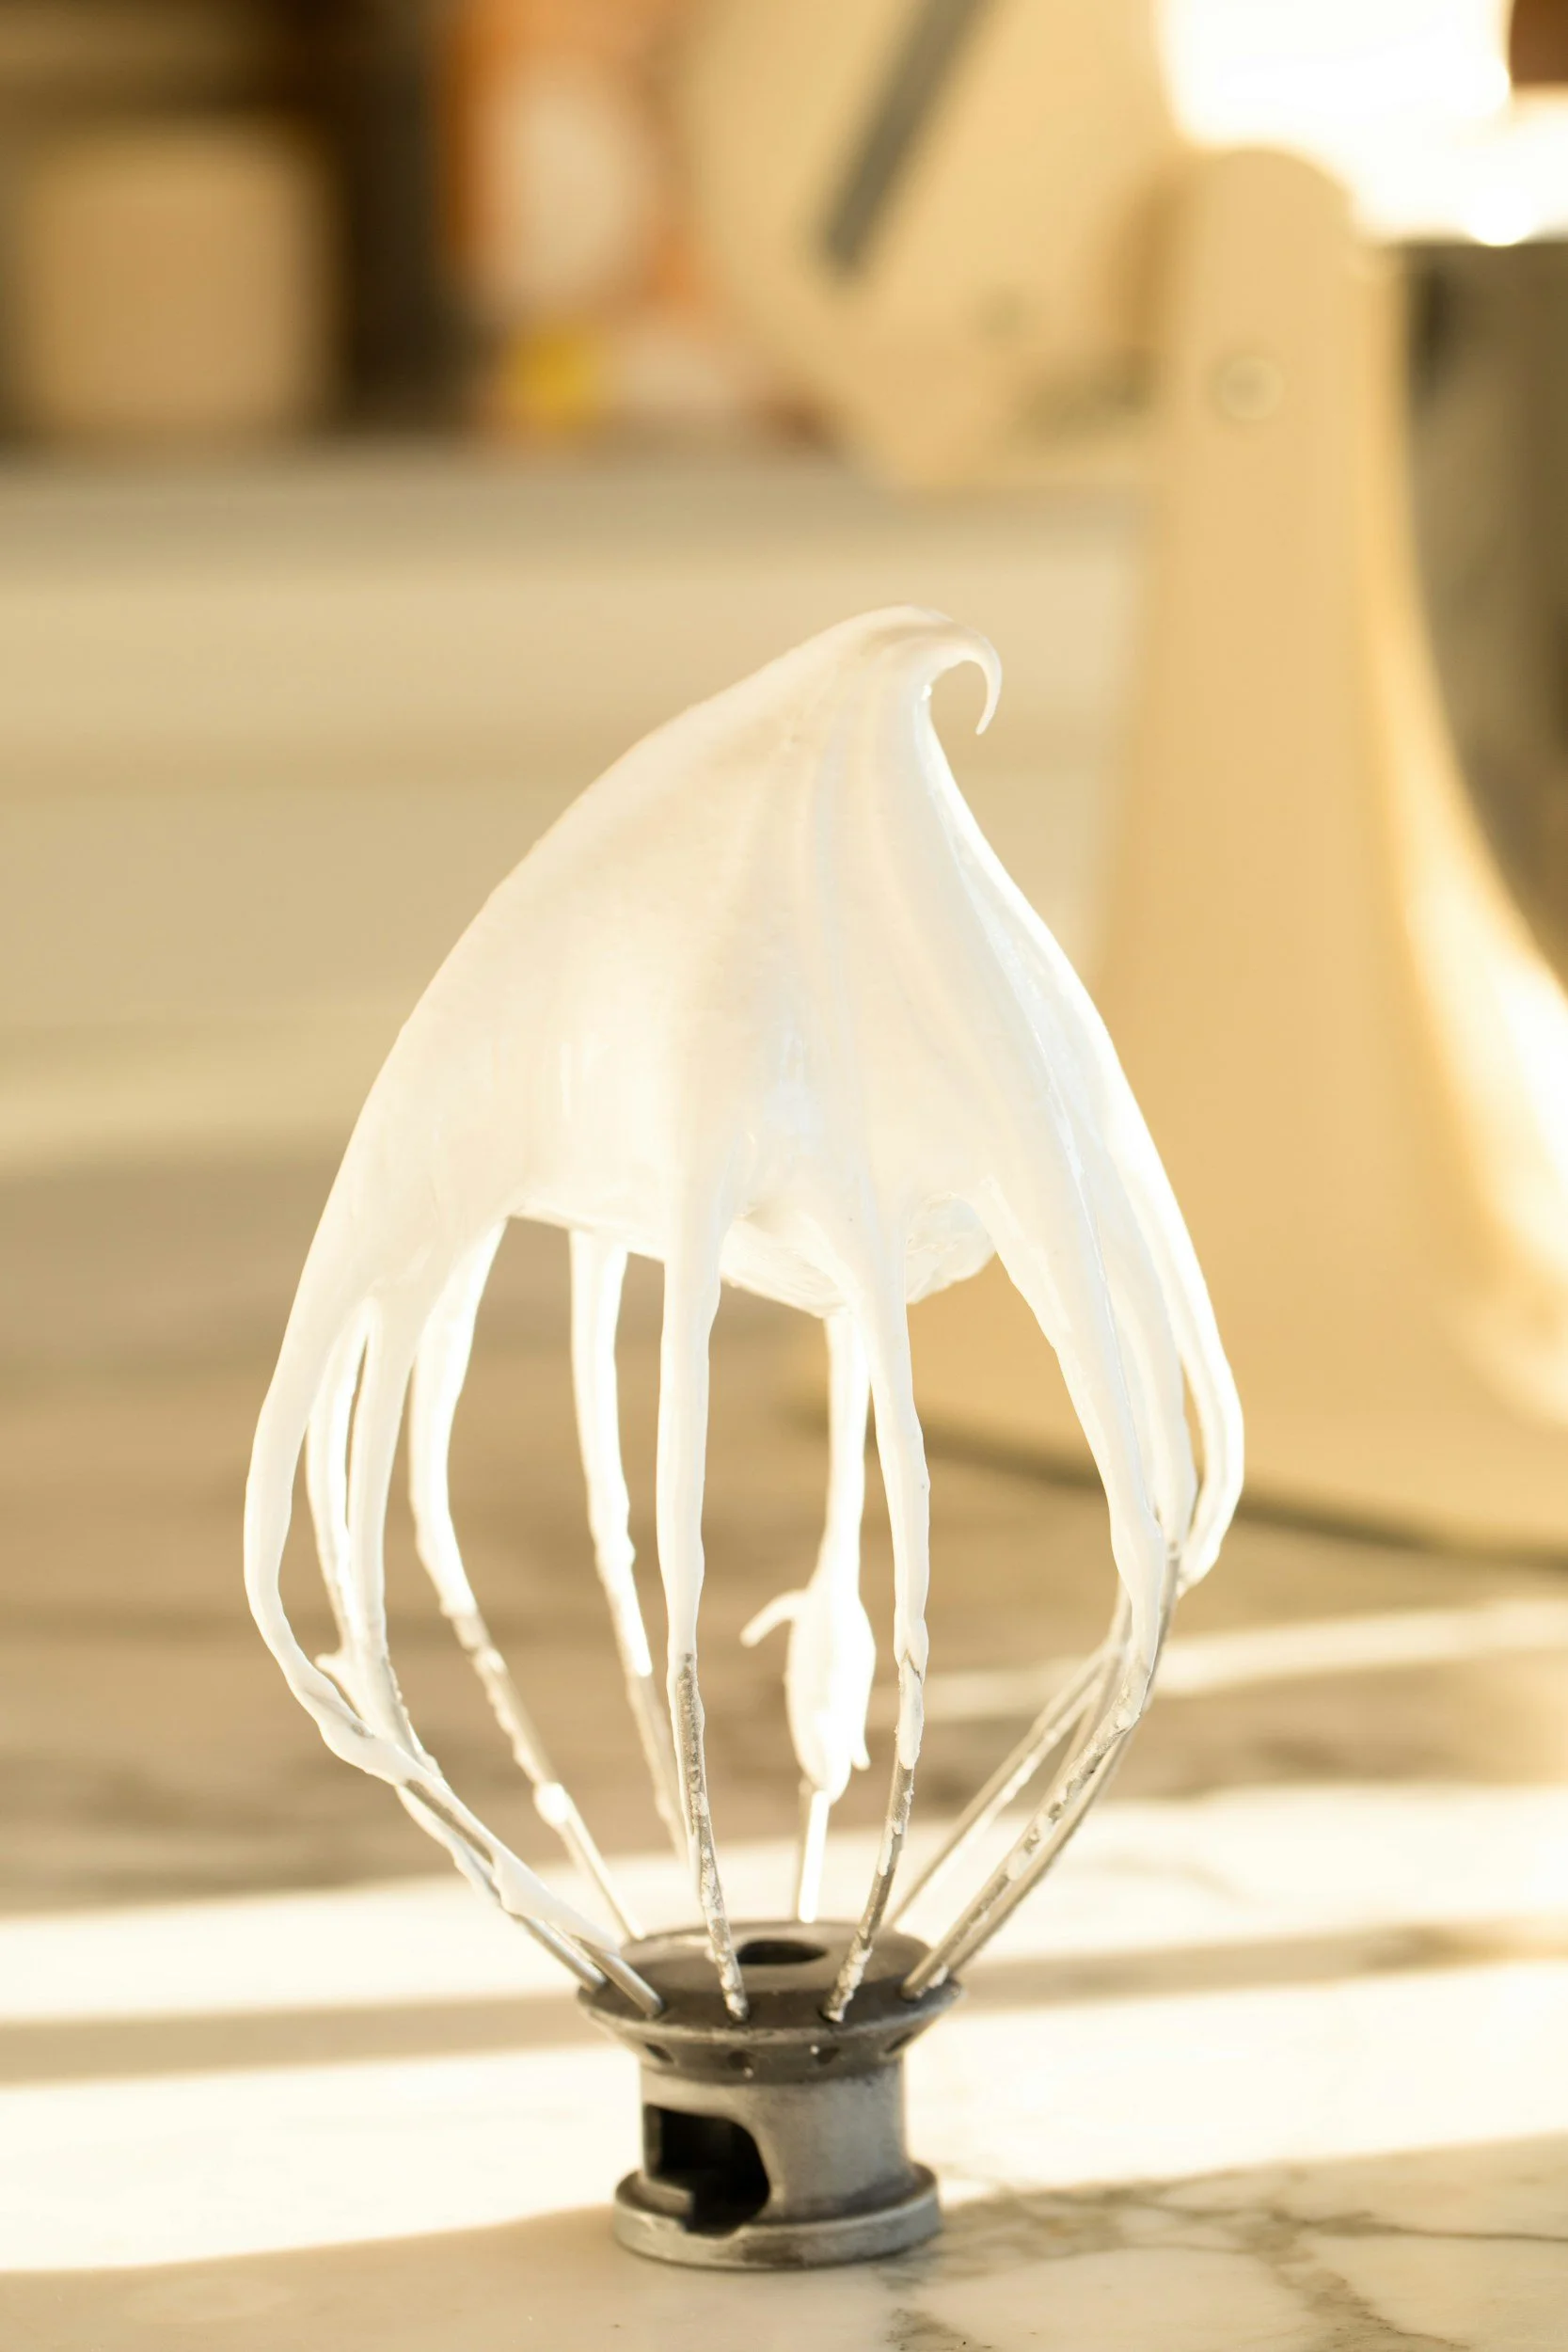
Whisk on high speed for about 6–8 minutes until the meringue is thick, glossy, and holds stiff peaks.
4. Assemble and bake
Spread the meringue over the lemon filling, making sure to seal it to the edges of the crust.
Bake at 350°F (175°C) until the peaks are lightly golden.
Let the pie cool at room temperature. Refrigerate before slicing.

Storage
Once fully cooked, let the Lemon Meringue Pie cool at room temperature, then cover and refrigerate.
It’s best eaten in the first 24 hours, but can be refrigerated for up to 3 days.
Do not freeze this pie.
Frequently Asked Questions
1. How do I make lemon meringue pie from scratch?
Make a baked pie crust, cook a lemon curd filling on the stove, then top with whipped meringue and bake until golden.
2. Why is my lemon curd not thickening?
It likely needs more time on the heat. Keep cooking and stirring until it visibly thickens.
3. Can I use bottled lemon juice for lemon meringue pie?
Yes, bottled lemon juice works, but fresh lemon juice gives a brighter flavor.
4. How do I know when meringue is ready?
It should be thick, glossy, and form stiff peaks that hold their shape.
5. Why do I need cream of tartar in meringue?
Cream of tartar helps stabilize the egg whites and improves structure.
6. Should lemon meringue pie be refrigerated?
Yes, once cooled, store it in the refrigerator.
7. How long should I bake meringue?
Bake just until the peaks turn golden brown—usually a few minutes.
8. Can I make lemon meringue pie ahead of time?
Yes, but it’s best eaten within 24 hours for best texture.
9. I dont own a stand mixer, Can i use a hand mixer?
Yes. Use a hand mixer with the whisk attachement. It might take a few extra minutes to whip up the meringue, but it it should work.
we think you’ll like these recipes:
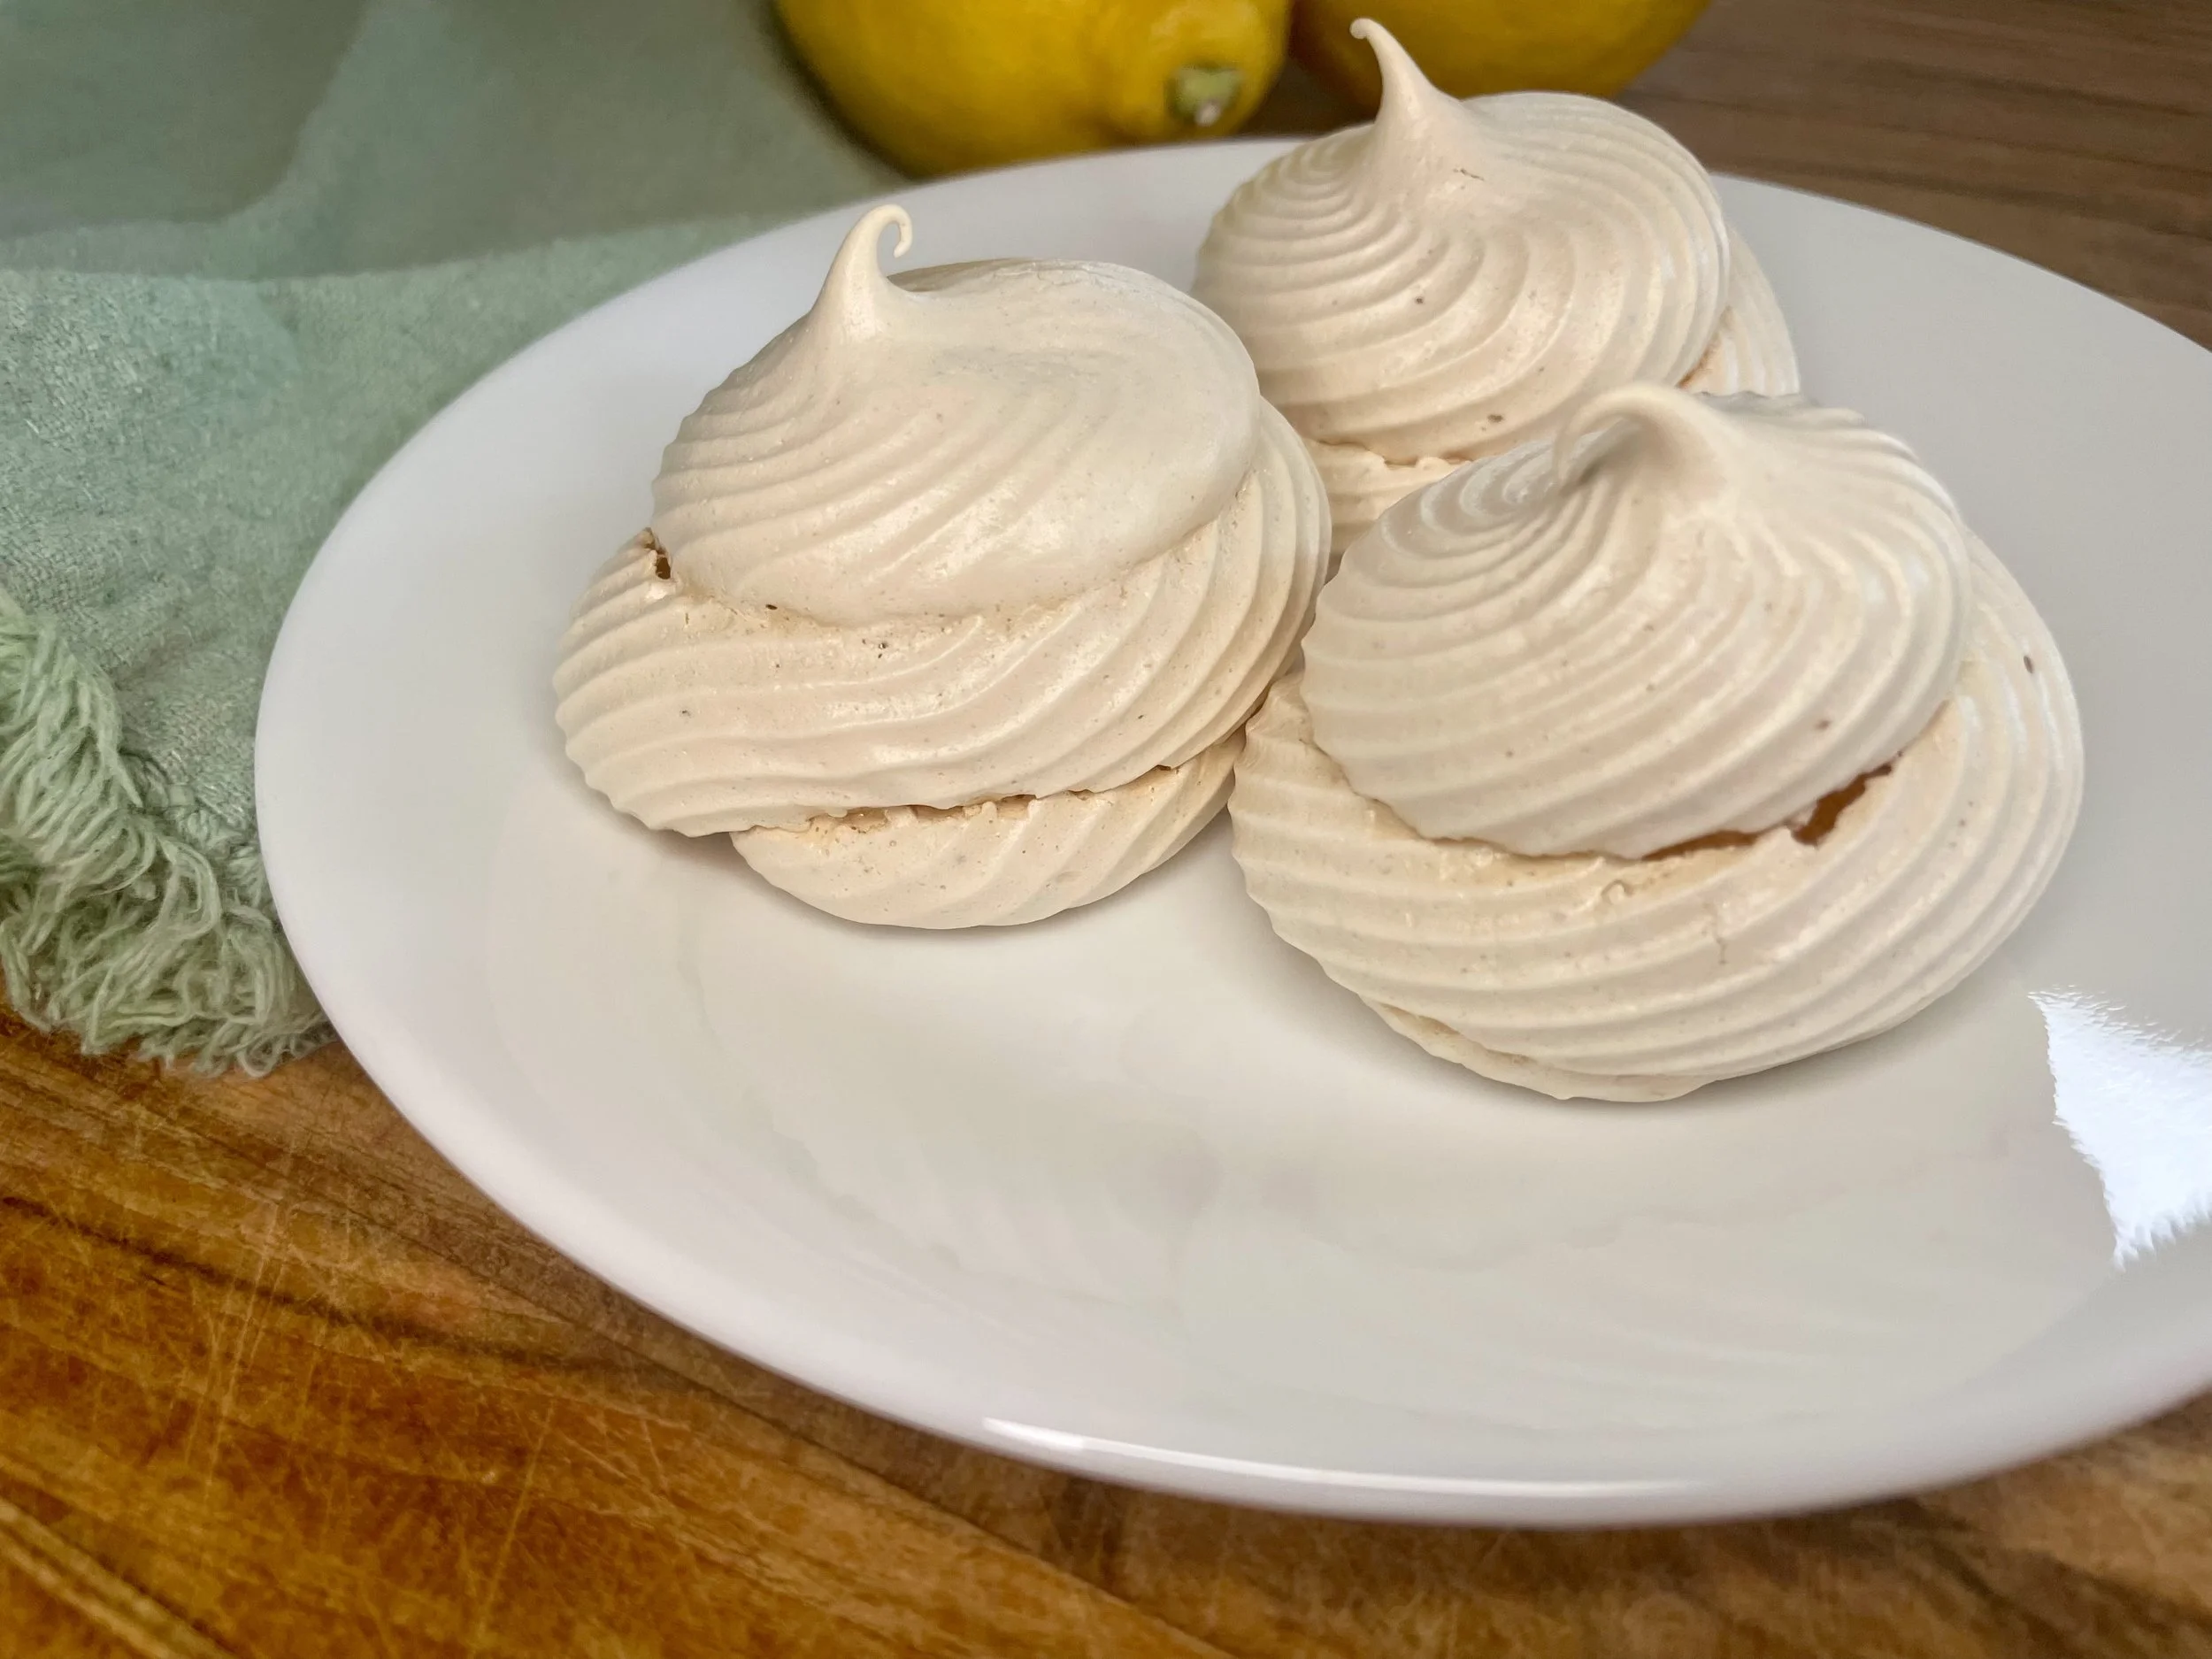
Incredibly Simple - café quality - Meringues: made right in your kitchen
If you've ever wondered how to make meringues at home, you're in the right place. These delicate, airy little bites look like they belong in a patisserie window — but they're surprisingly simple to pull off in your own kitchen. All you need is a mixer, four everyday ingredients, and a little patience while they bake low and slow.
As an Amazon Associate I earn from qualifying purchases.
Prep: 10 minutes |Bake: 40 min | Yield: ~30 bites |Category: Dessert
📖 Jump to Recipe | 💬 Jump to FAQs| 🖨️ Print Recipe
Only 4 ingredients stand between you and a tray of cloud-like, melt-in-your-mouth meringue bites. No candy thermometer, no fuss — just one bowl and a mixer.
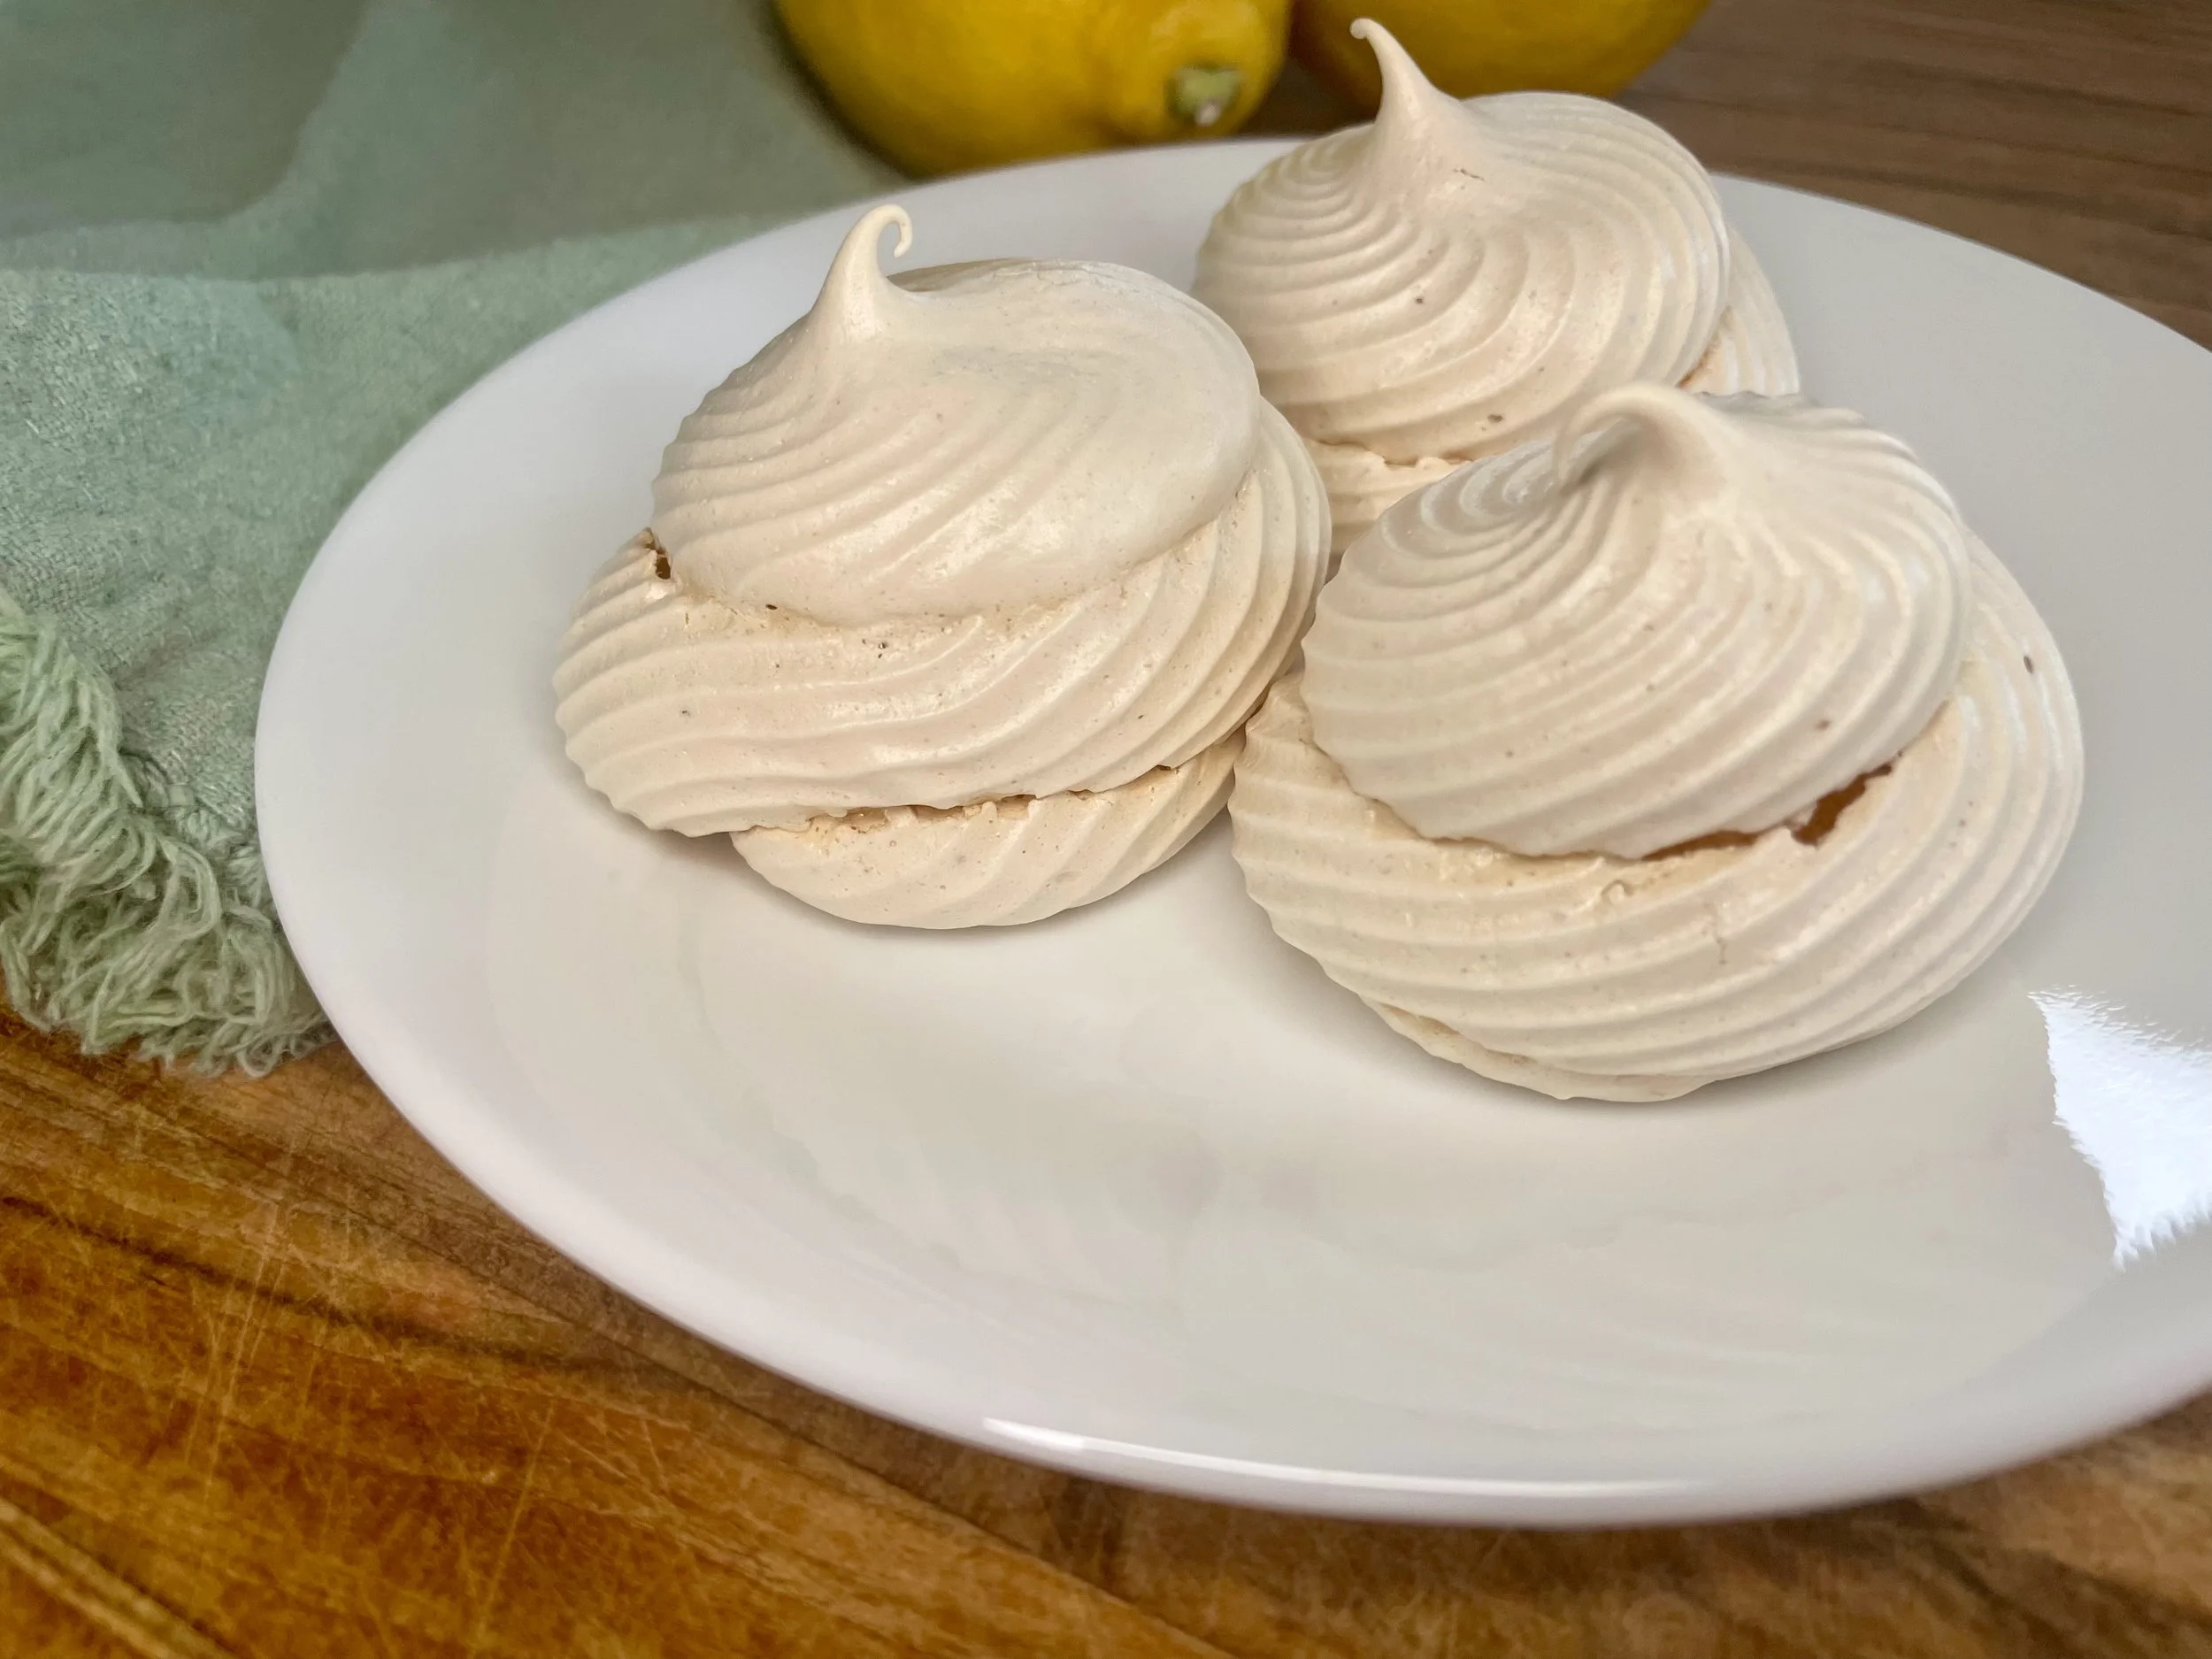
If you've ever wondered how to make meringues at home, you're in the right place! These delicate, airy little bites look like they belong in a patisserie window — but they're surprisingly simple to pull off in your own kitchen. All you need is a mixer (either a stand mixer (affiliate link) or a hand mixer (affiliate link) will do the trick), four everyday ingredients, and a little patience while they bake low and slow.
I started making meringues when my husband and I were on a trip. We stopped at this cute little café and each bought a meringue on a whim. This was the first time I ever had a meringue and from that first bite, I knew that I just had to learn how to make them! If you’ve never had one, I can best describe it as taking a bite out of the most delicate and sweet little cloud that’s perfectly crispy and sweet.
Now, how to make them?! Meringues are the kind of recipe that feels magical every time: you start with a bowlful of liquid egg whites (no yolks), and roughly 8 minutes later you have a stiff, glossy cloud of sweetness. Piped into bite-sized swirls and baked until crisp, they shatter gently on the bite and dissolve on the tongue.
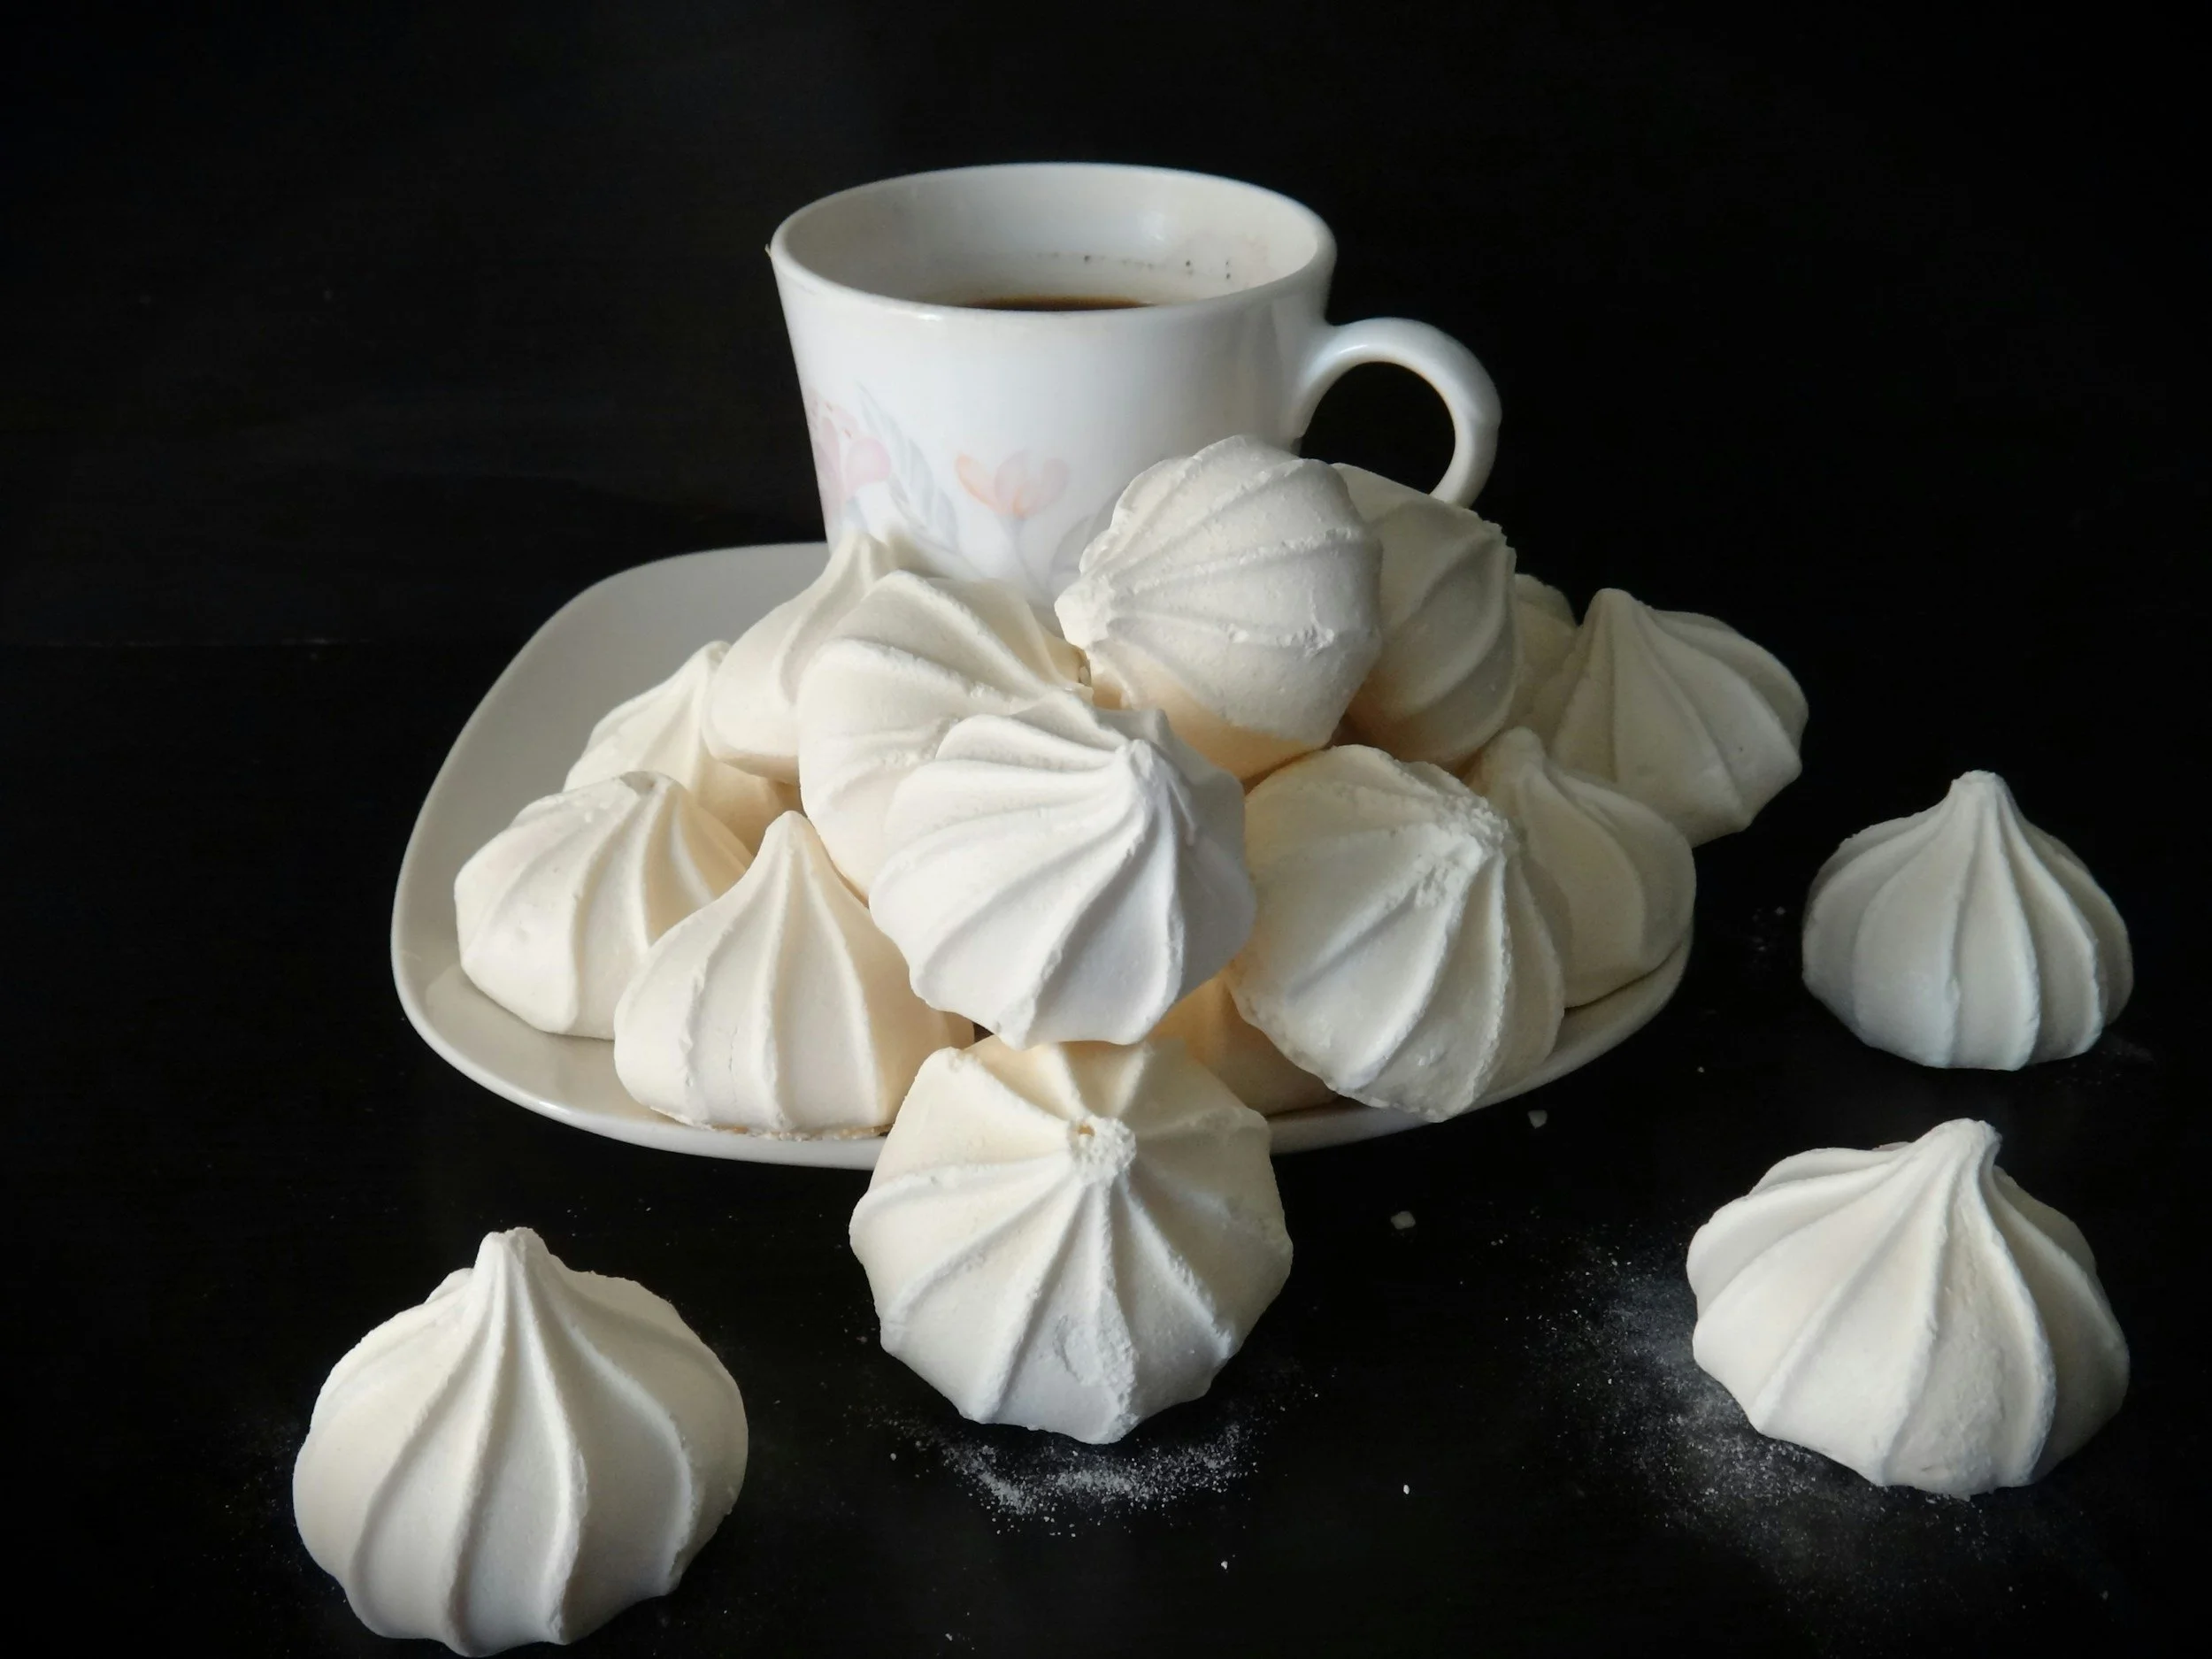
What Are Meringues?
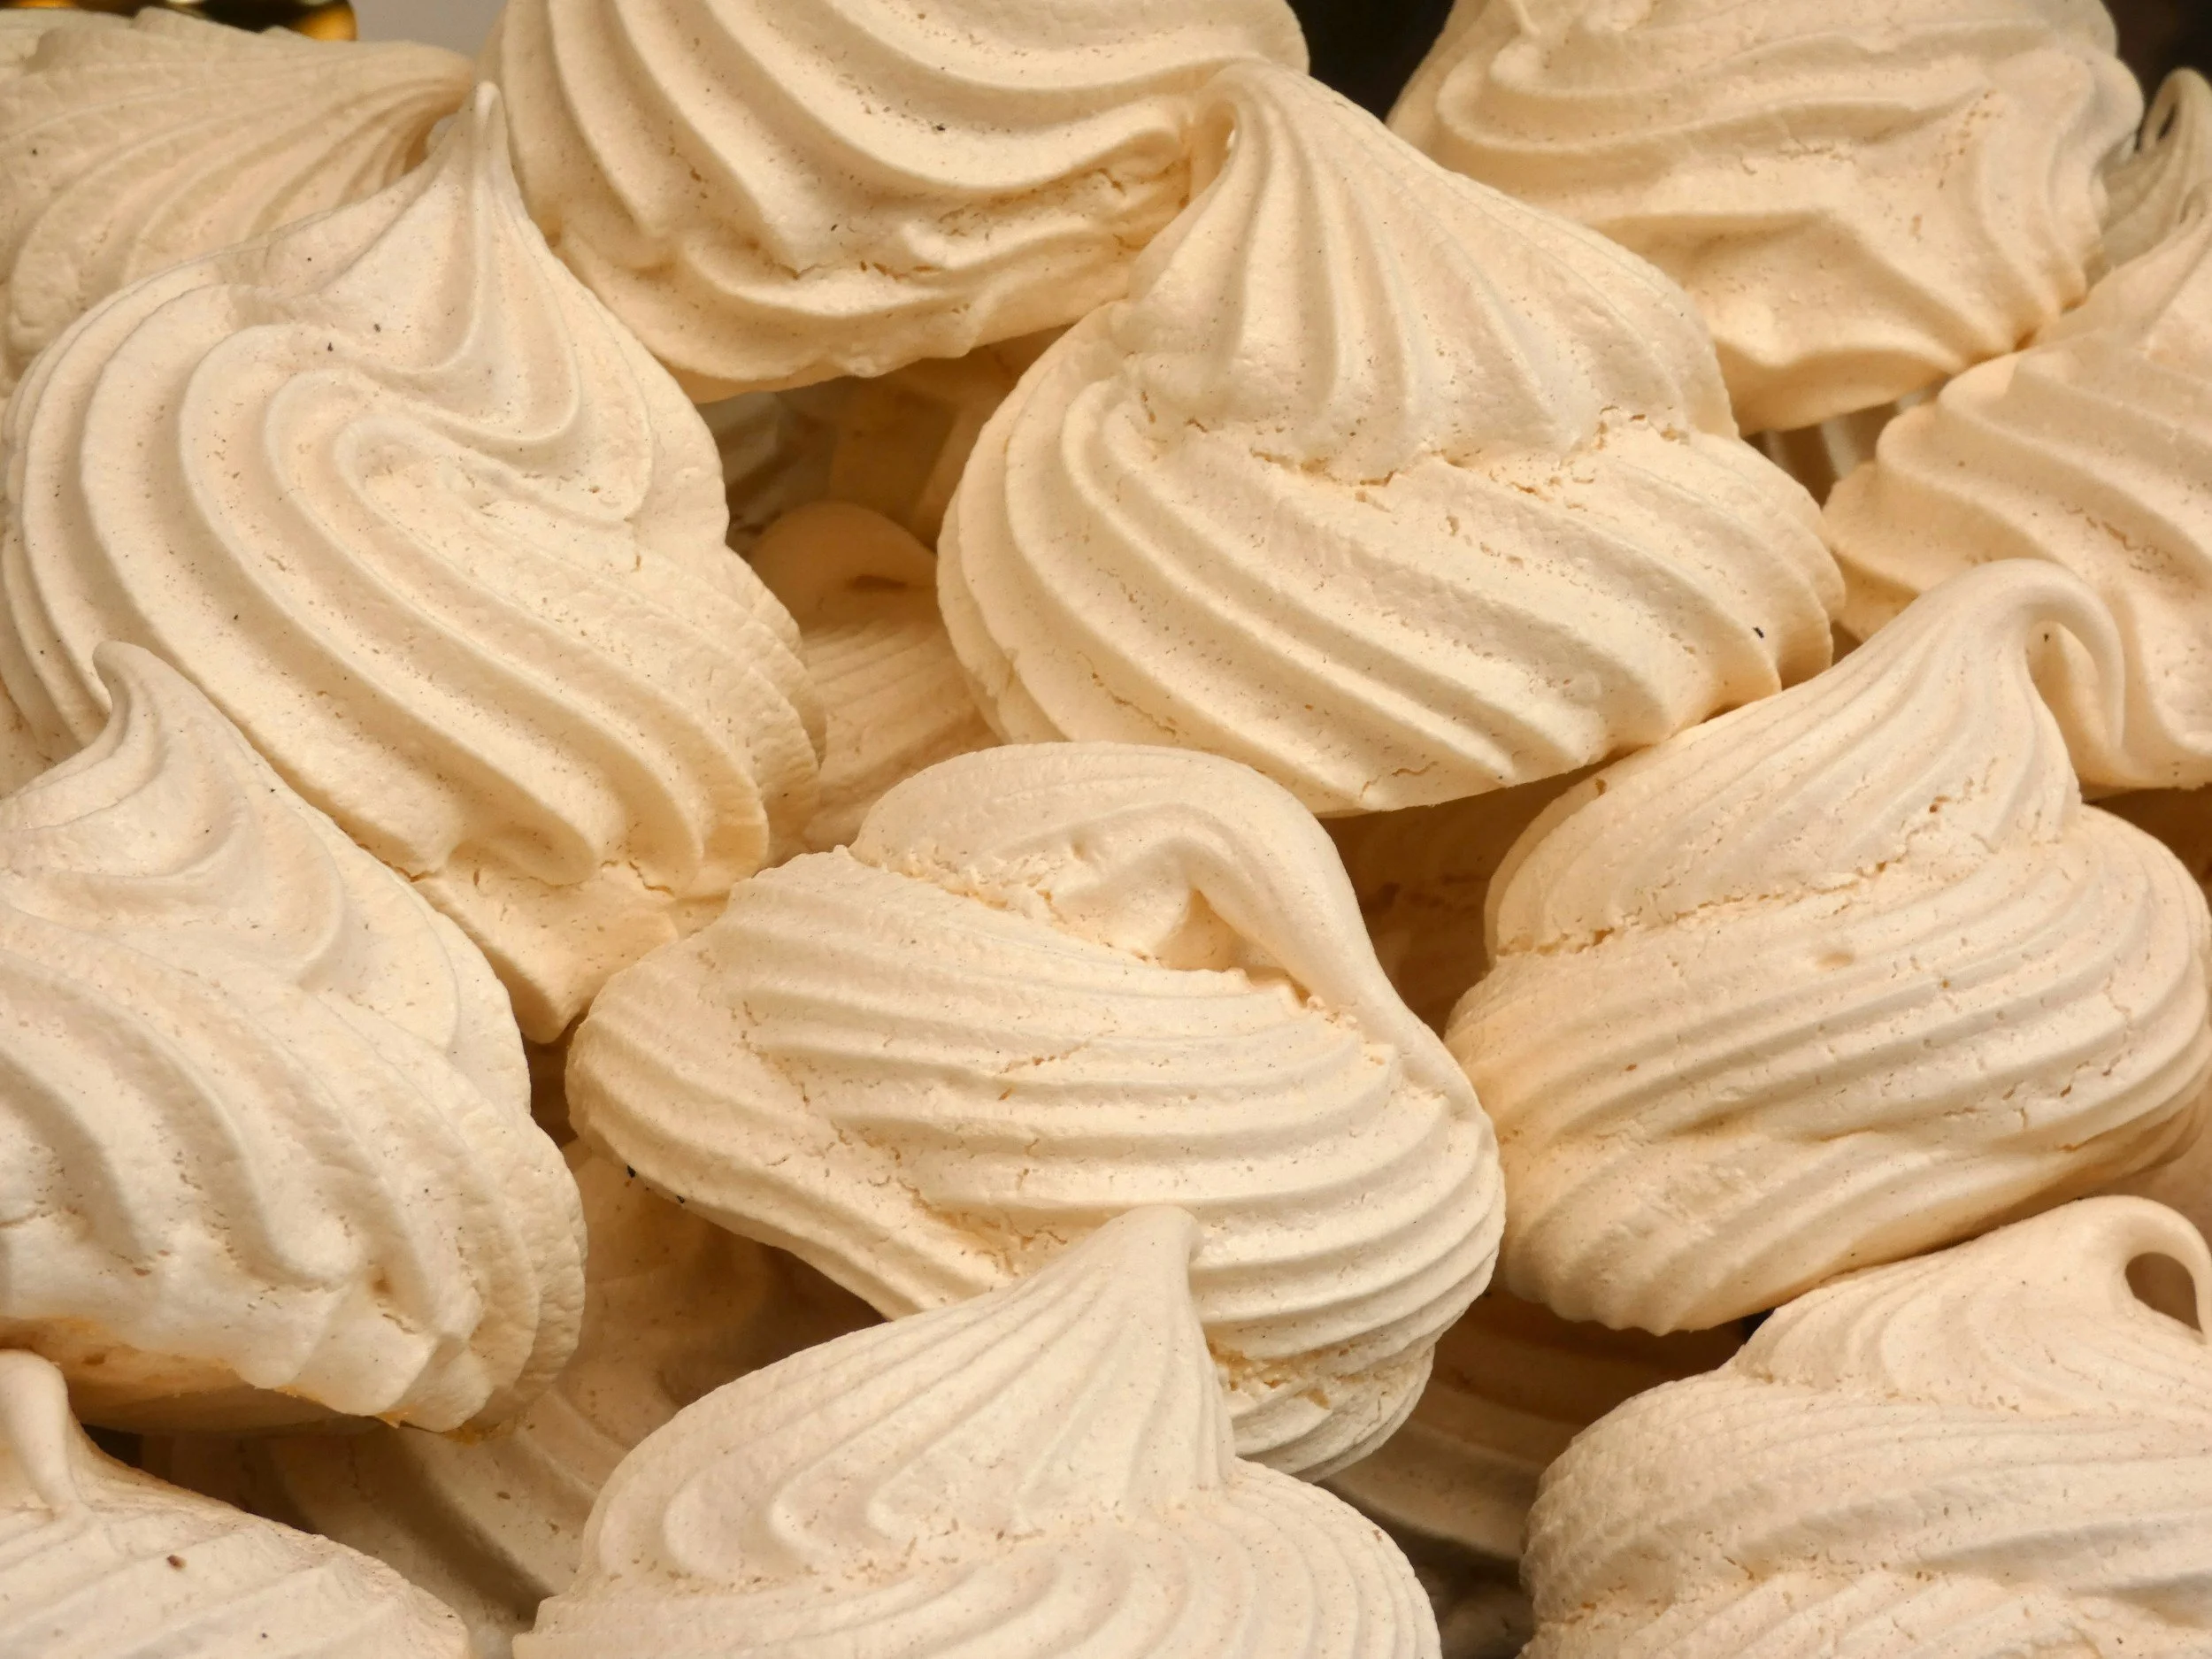
Meringues are a classic French confection made by whipping egg whites with sugar until they form stiff, glossy peaks, then baking them at a very low temperature until they are dry and crisp all the way through. The result is light as air, with a papery shell and a slightly chewy, cotton-candy-like center.
They're naturally fat-free, gluten-free, and endlessly versatile — served on their own, sandwiched with lemon curd, crumbled over ice cream, or used to top pies and pavlovas.
Pro tip: if you slightly underbake them by about 5 minutes, they’ll be crispy on the outside, and marshmallowy texture on the inside. ;)
Ingredients You'll Need
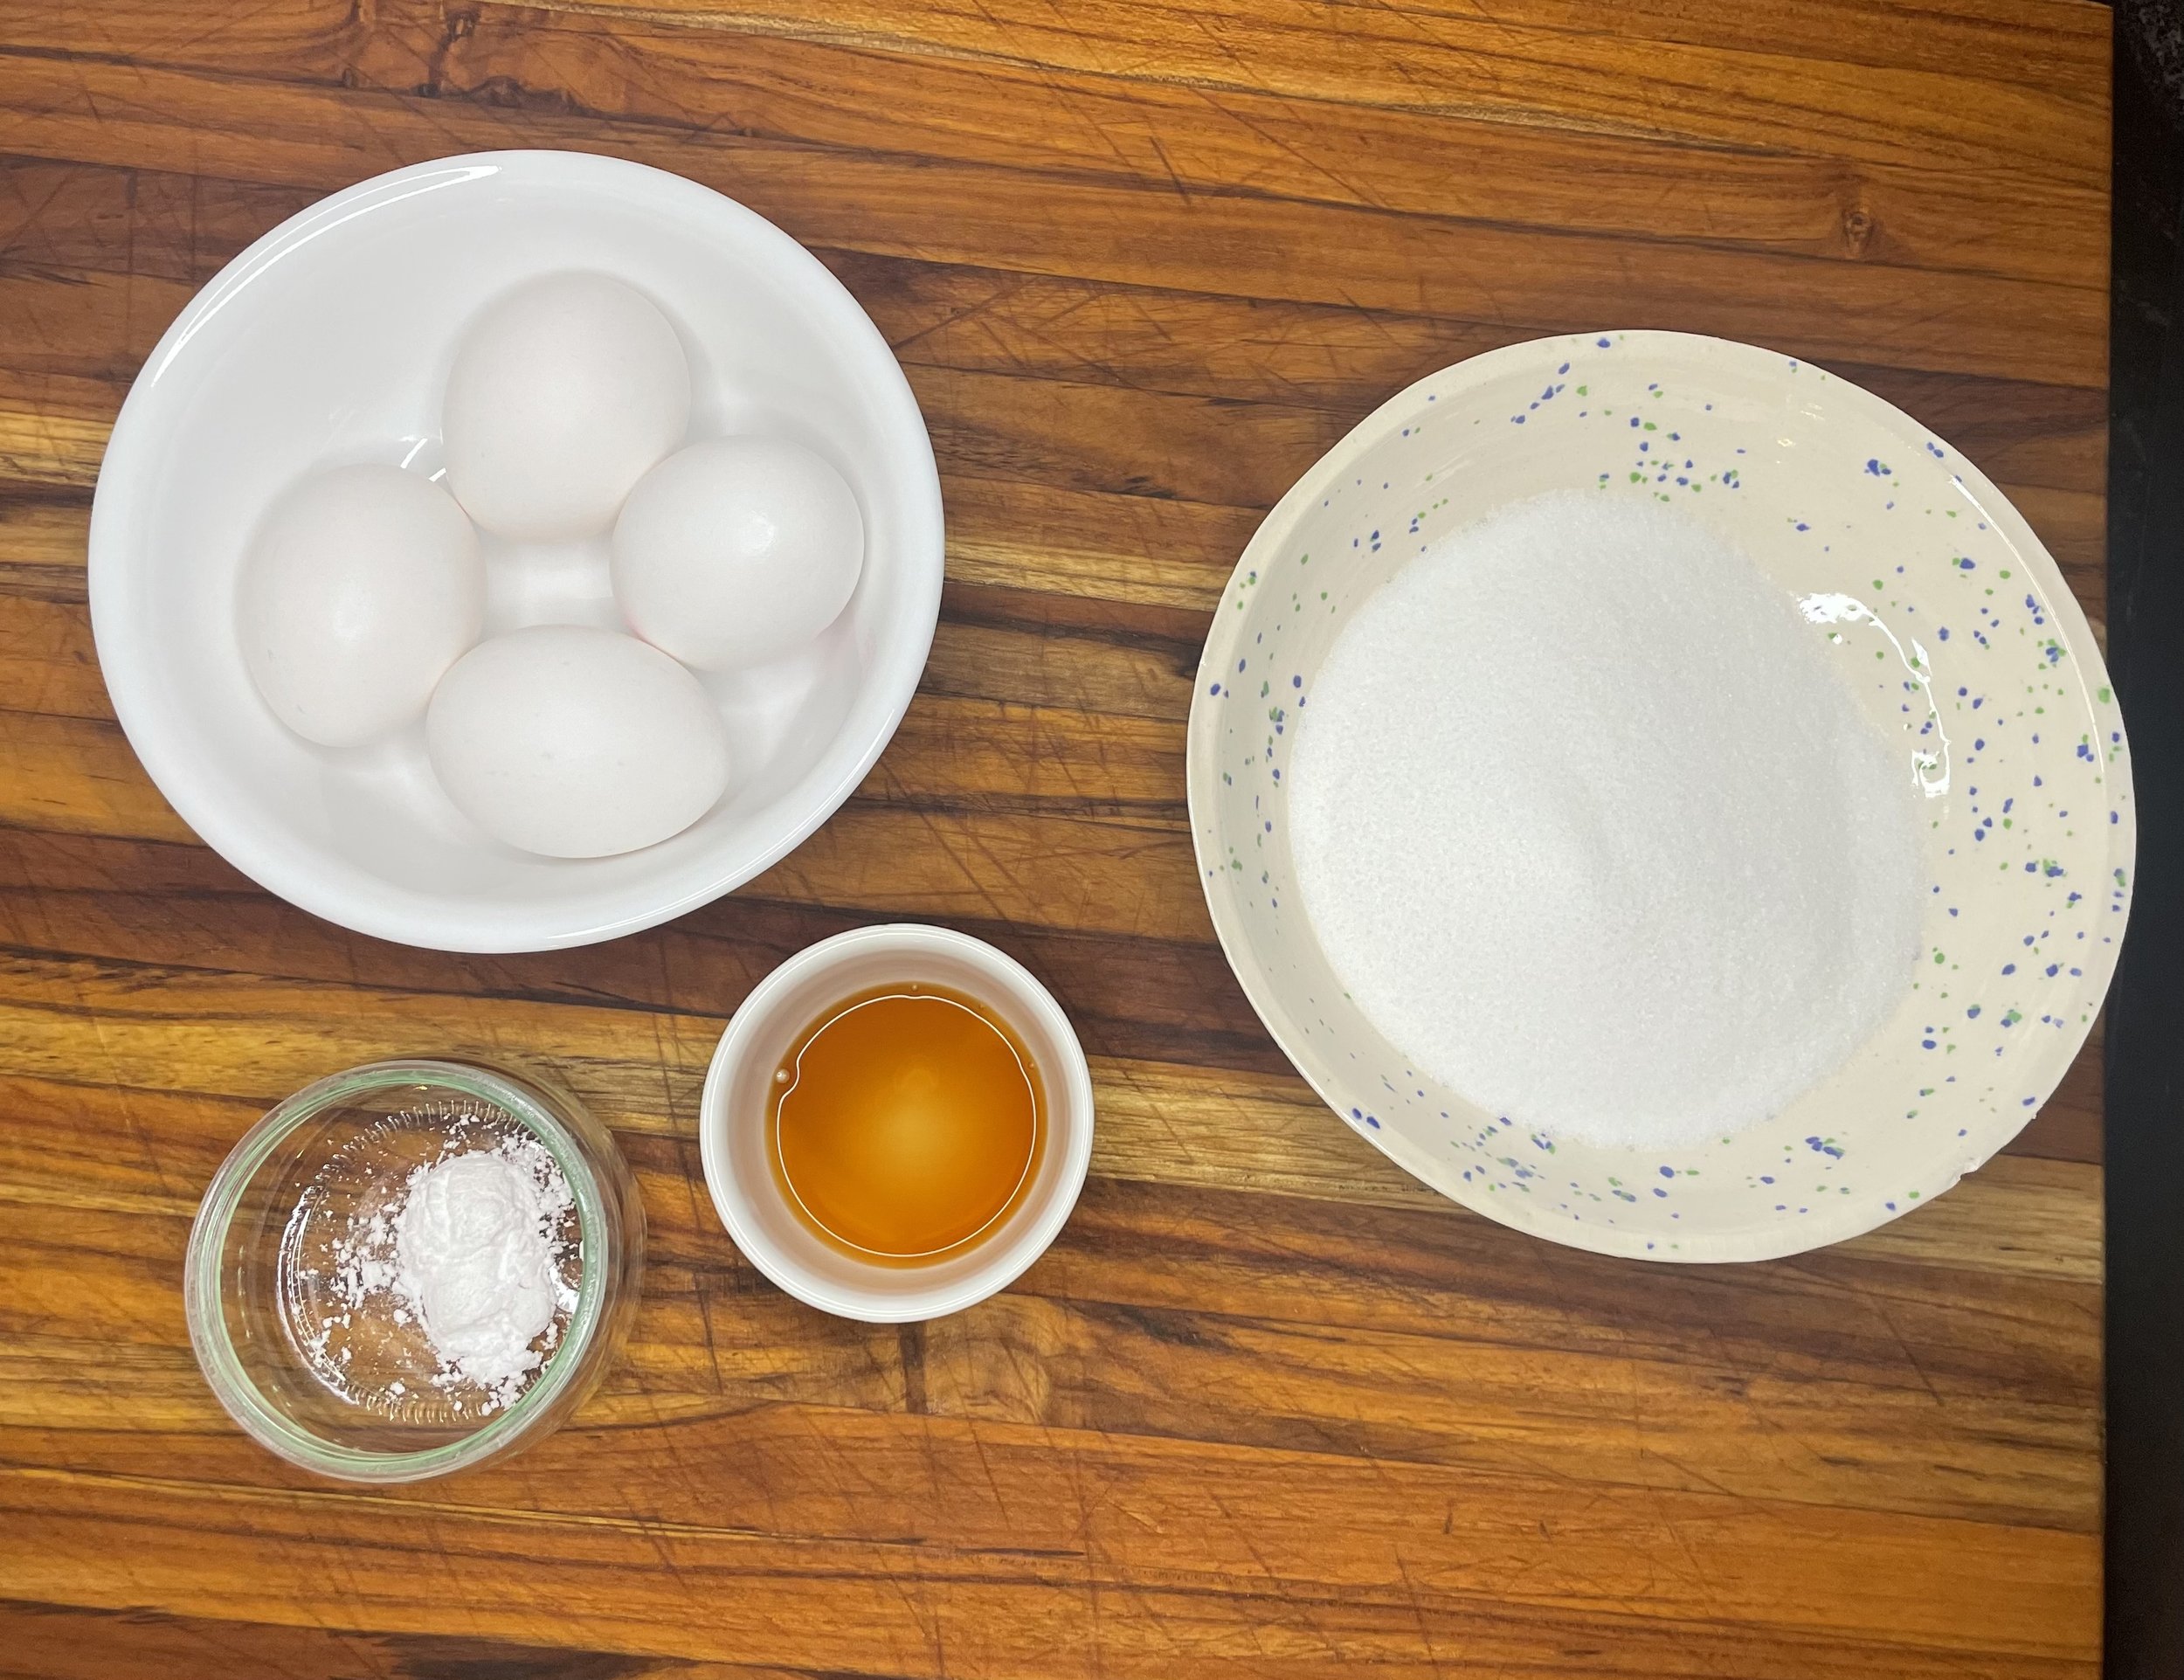
One of the best things about this recipe is how short the ingredient list is. Here's what goes into perfect homemade meringues:
4 large egg whites — room temperature egg whites whip to a greater volume. Separate your eggs while cold, then let the whites sit out for 20–30 minutes before starting.
1 cup (200g) granulated sugar — no fancy sugar required, regular white sugar works perfectly.
½ tsp cream of tartar — this stabilizes the egg whites, helping them hold their shape and preventing weeping.
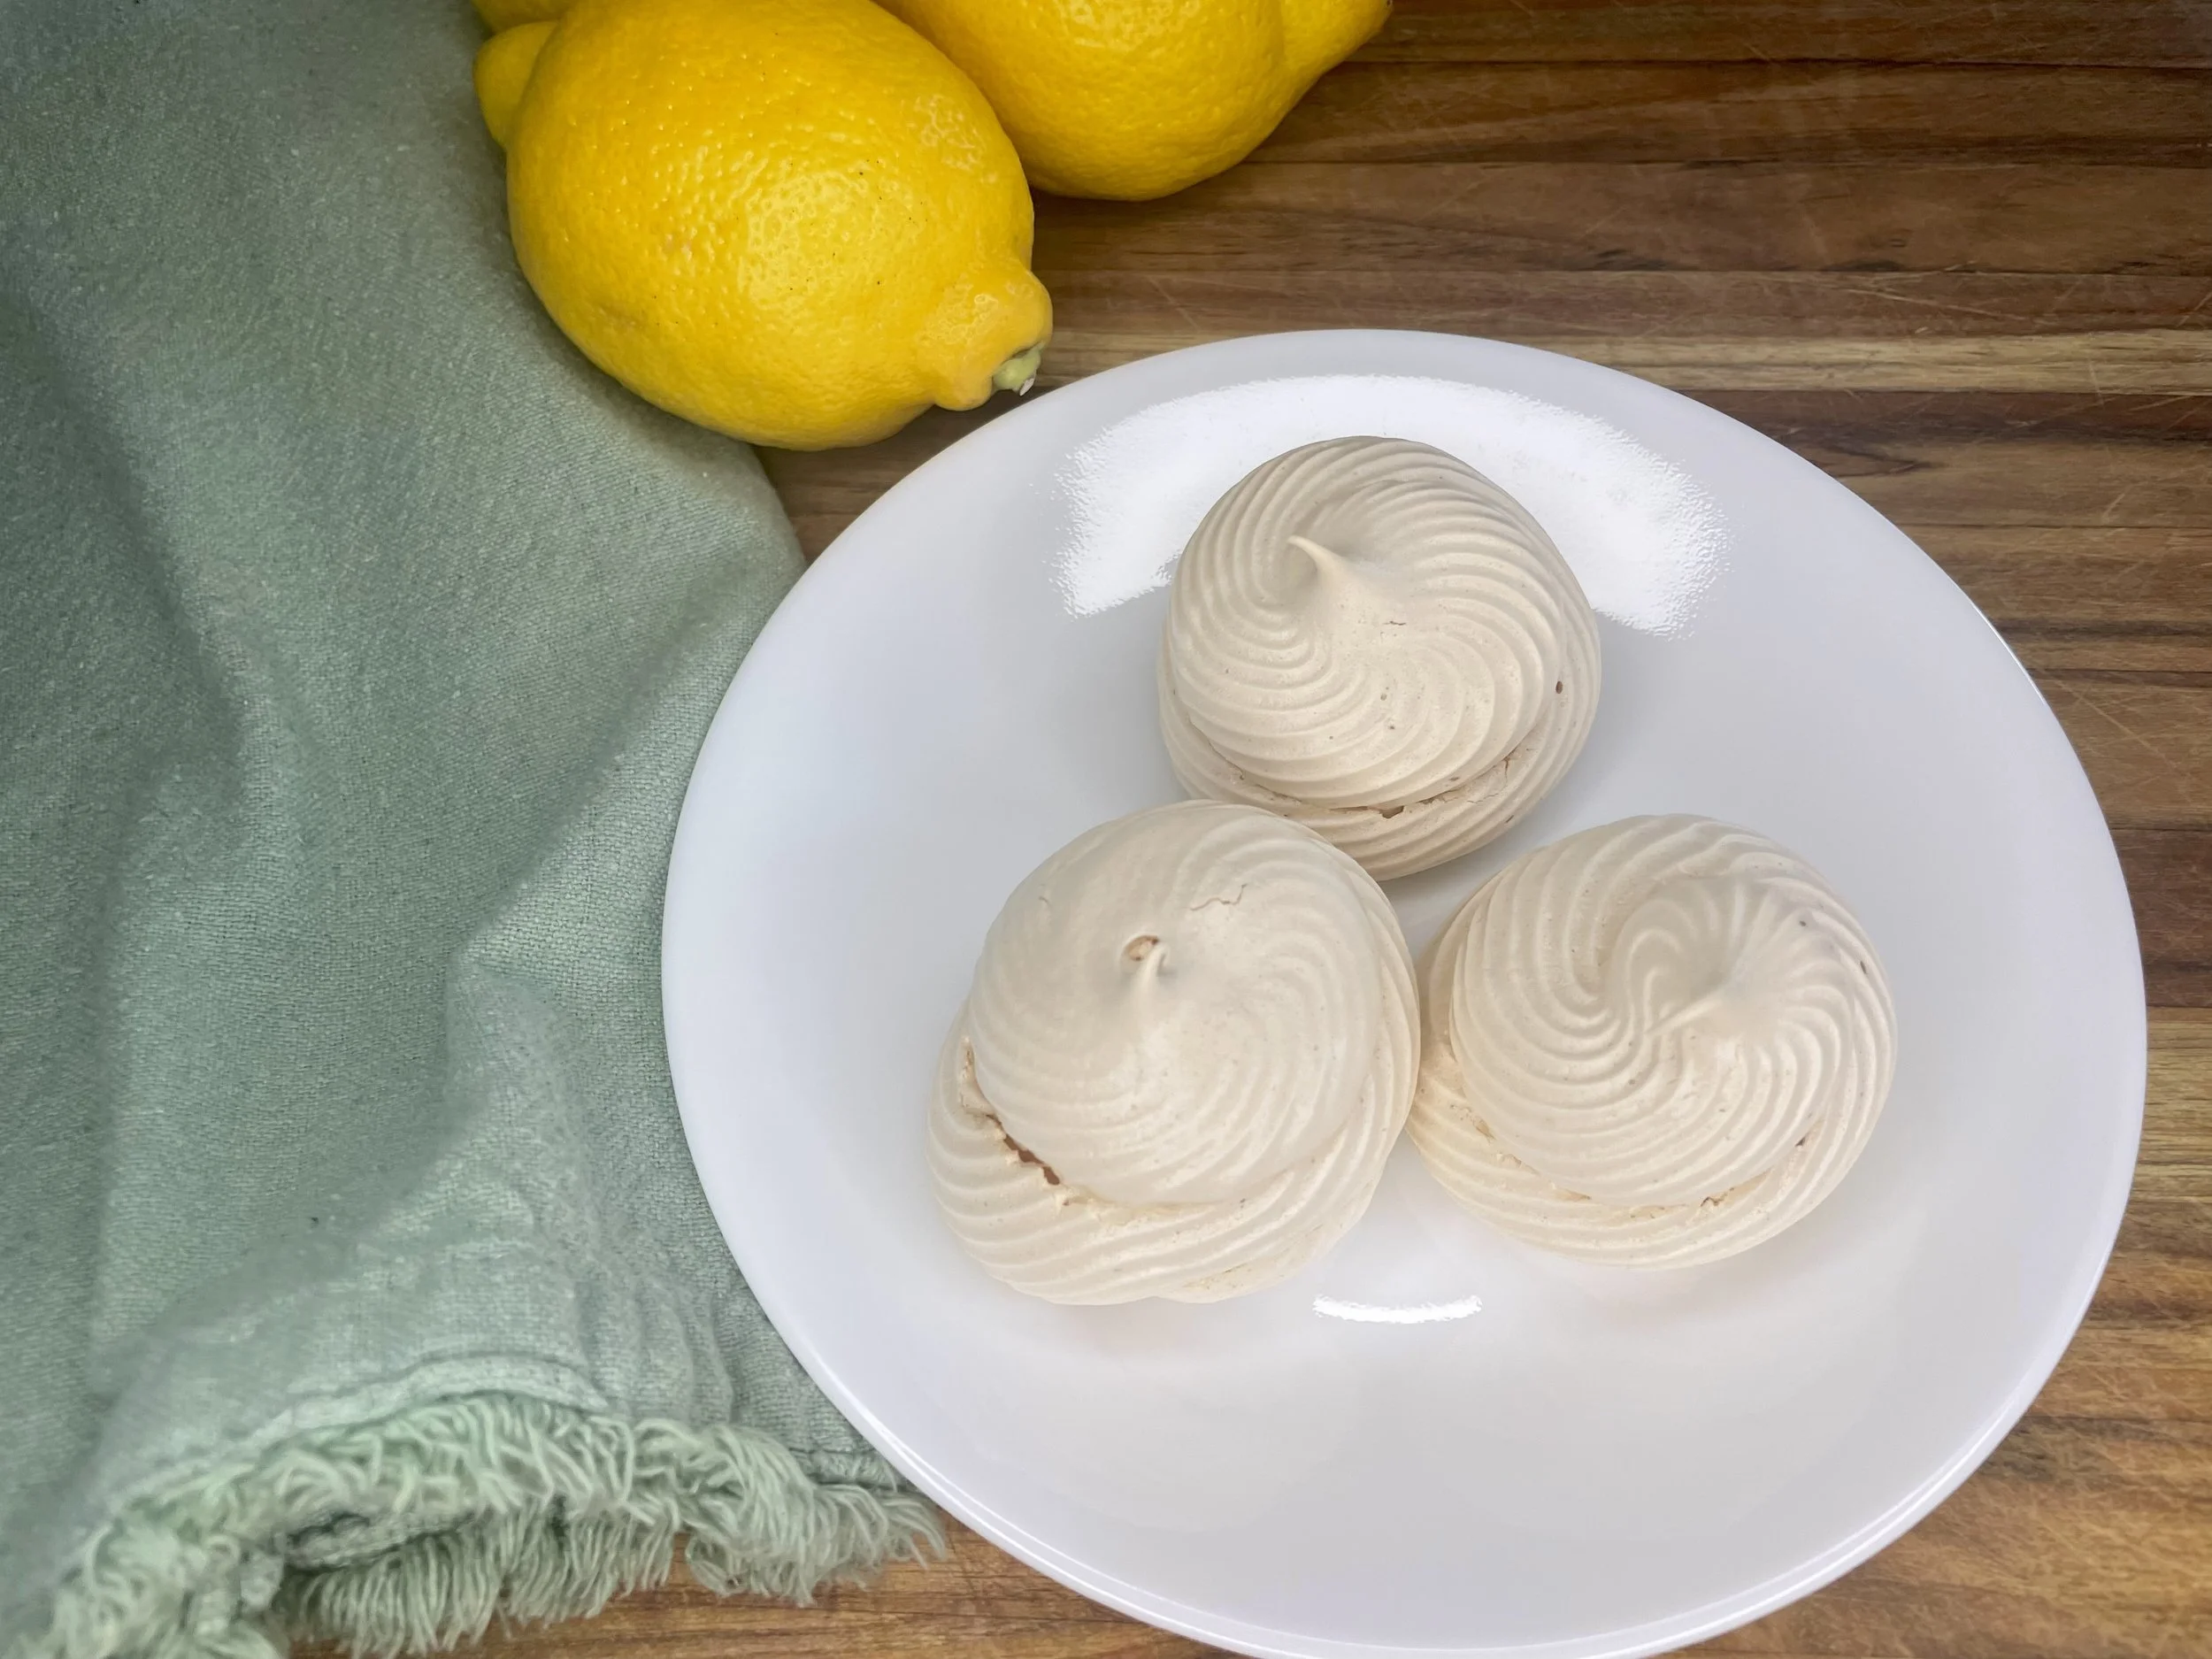
½ tsp vanilla extract — pure vanilla adds a warm, rounded flavour. The vanilla will impact the colour of the meringues, making them more of an ivory colour. If you’re looking for a crisp white meringue, skip the vanilla altogether, but if you’d rather have that blissful vanilla flavour, add it in.
Optional: You can swap in almond extract or a scrape of vanilla bean paste for a fancier finish.
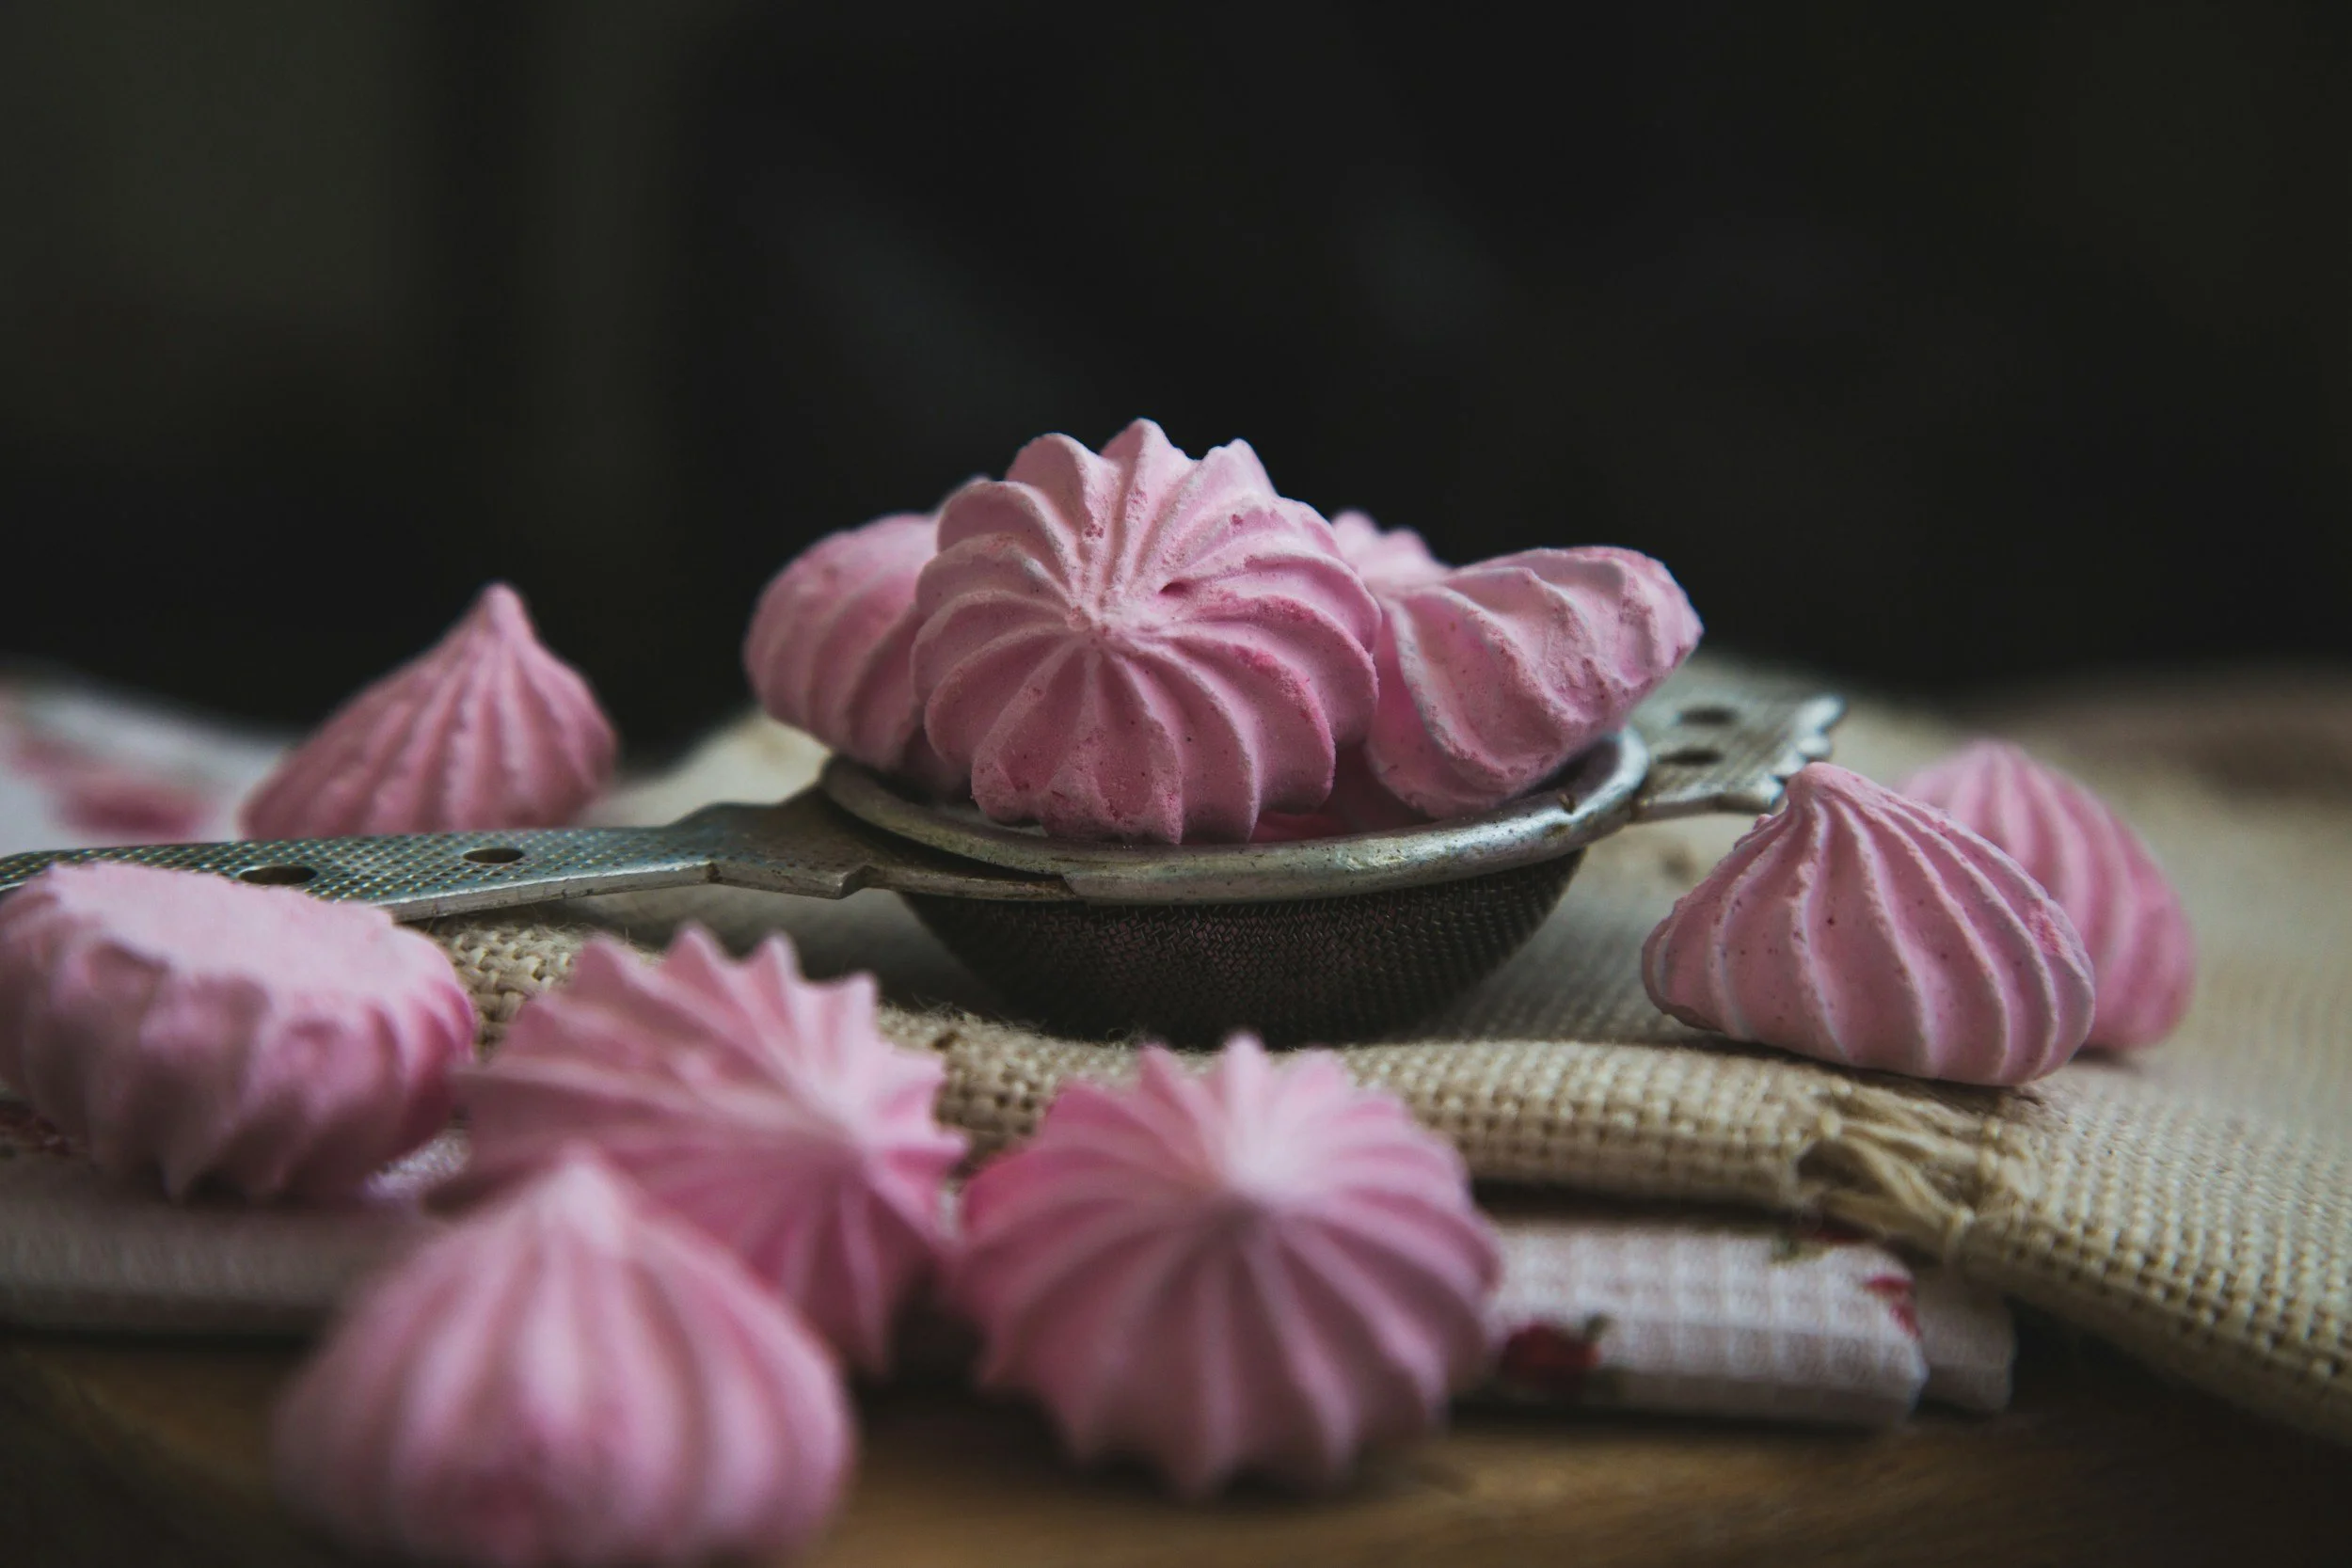
Optional: adding 4-6 drops of your favourite food colouring will change the colour of the meringues. My kids really like it when I add a few drops of red dye, making the meringues a soft pink colour.
Recipe Card
Equipment You'll Need
Mixer: either a standmixer (affiliate link). If you don’t own one, a hand mixer (affiliate link) and a large mixing bowl (affiliate link) will work for this recipe. Be sure to use the whisk attachment.
2 large baking sheets (affiliate link)
Parchment paper (affiliate link)
Piping bag with a star or round tip
Ingredients
4 large egg whites, room temperature
1 cup (200g) granulated sugar
½ tsp cream of tartar
½ tsp pure vanilla extract
Step by Step Instructions
MAKE SURE YOUR EQUIPMENT IS EXTRA CLEAN
Even a trace of fat will prevent the egg whites from whipping properly. This is not the time to rinse and re-use the same mixing bowl that you just used when batch baking.
PREHEAT THE OVEN WELL IN ADVANCE
I cannot stress this enough. Having a well pre-heated oven can make or break this recipe. Set your oven to 275°F. A low temperature is the key to drying out the meringues slowly without browning them, and to prevent undercooking.
PREP YOUR BAKING SHEETS
Line 2 large baking sheets with parchment paper (affiliate link). Do not grease the parchment — the meringues need a slightly grippy surface to hold their shape as they bake.
COMBINE ALL INGREDIENTS & WHIP
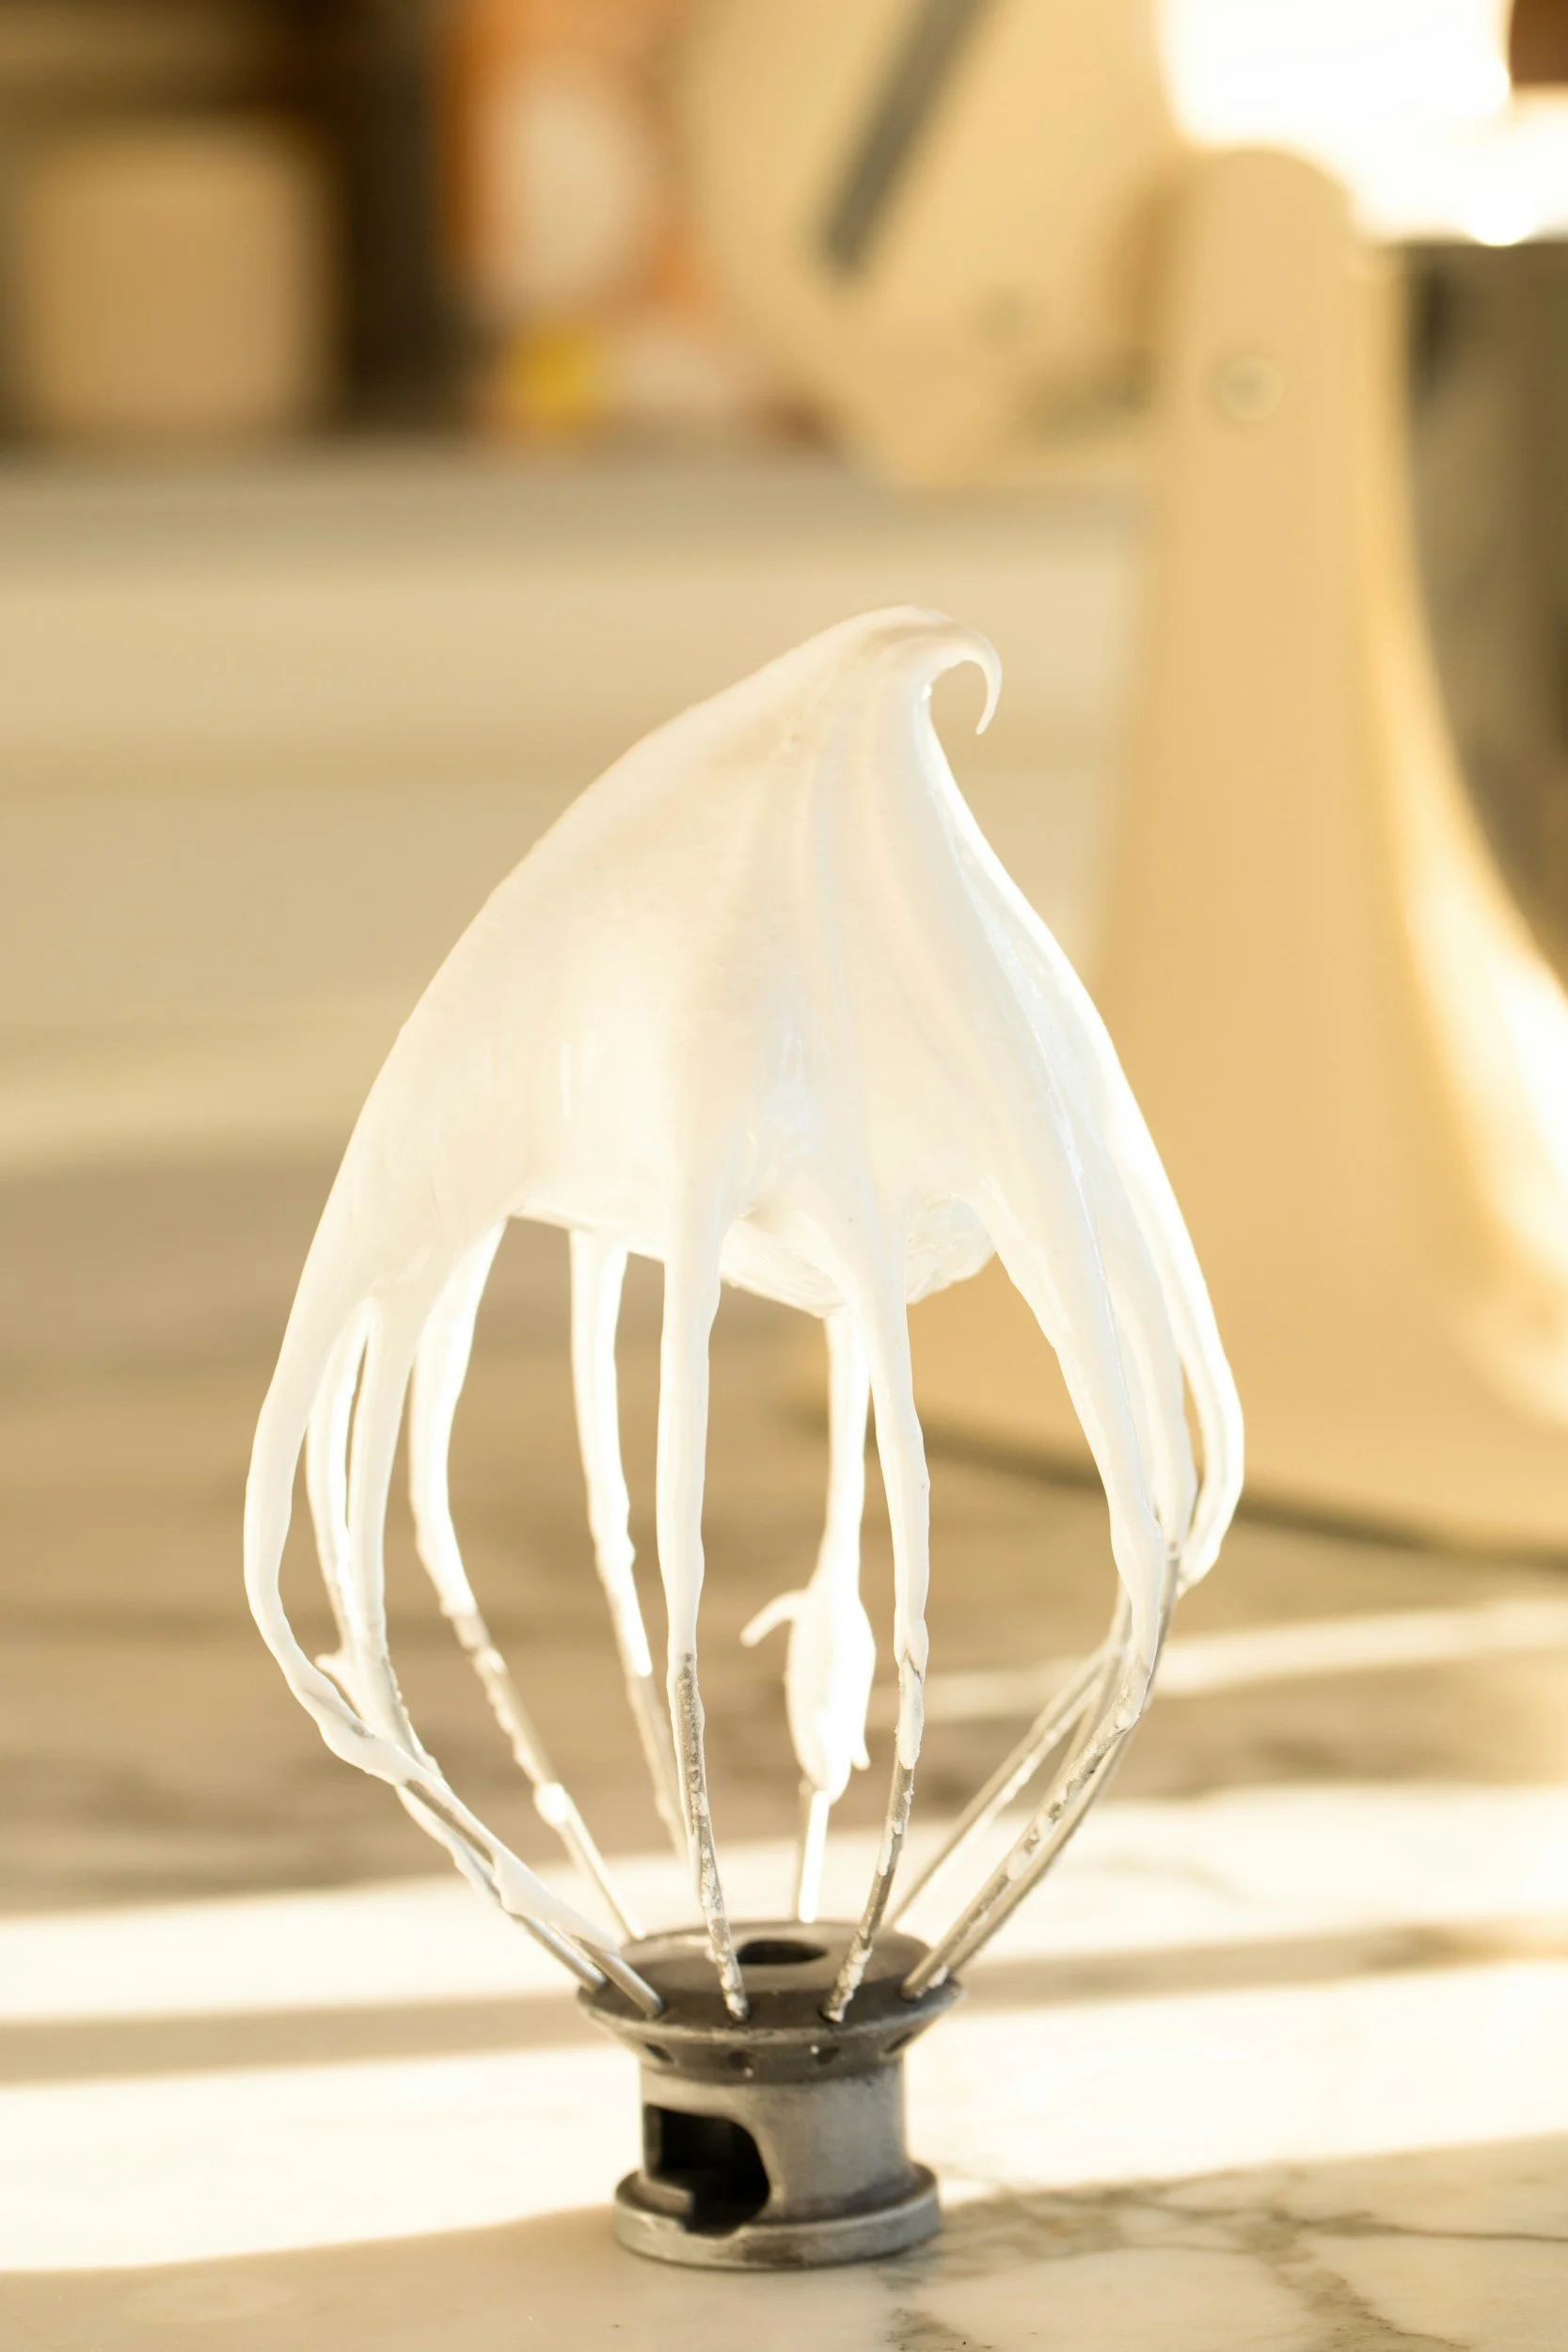
Add all of the ingredient except for the sugar, to the bowl of your mixer. That would be the egg whites (be sure that no egg yolks make their way in), cream of tartar, and vanilla extract (I like using pure vanilla extract) to the bowl of your mixer, making sure to use the whisk attachment. Start on low speed and gradually increase to full speed. Once the mixer is on full speed, add the sugar ¼ cup at a time. Whip on full speed for 6–8 minutes, until the meringue is thick, glossy, and holds stiff peaks when you stop the machine and lift the whisk. You need all three to meet the criteria to stop. If it’s thick and glossy, but its not holding its peaks, then it needs o whip up a little longer. Keep the machine going on full speed.
PIPE THE MERINGUES
Transfer the meringue to a piping bag fitted with your choice of tip, I recommend the star or round tip. Holding the bag perpendicular to the baking sheet, pipe bite-sized swirling mounds — about the size of a large walnut — spacing them roughly 1 inch apart.
BAKE LOW & SLOW
Bake at 275°F for roughly 45 minutes, until the meringues feel dry and lift cleanly off the parchment. Turn the oven off, prop the door open slightly, and let the meringues cool inside the oven for at least 1 hour. This slow cooling step prevents cracking.
Pro Tips for Perfect Meringues
Make sure your bowl and whisk are completely grease-free. Even a trace of fat will prevent the egg whites from whipping properly.
Wipe them with a paper towel dipped in white vinegar before starting.
Separate your eggs while they're cold (fat from the yolk breaks away cleanly), but whip at room temperature for maximum volume.
On humid days, meringues can turn sticky. Bake on the driest day you can, and store them in a paper bag.
Don't open the oven door during baking — sudden temperature changes cause cracks.
For flavoured meringues
fold in a pinch of espresso powder, matcha, or a few drops of food coloring at the very end of whipping. My kids love adding a few drops of food colouring to these meringues. Start by adding 4-5 drops at the end of the whipping to get a pastel colour and add more if you’d like a more vibrant colour.
other recipes I think you’ll love
How to Store Meringues
Once completely cooled, store meringues in an airtight container at room temperature for up to 2 weeks. Keep them away from moisture — do not refrigerate, as the humidity will make them sticky and soft. They can also be frozen in a zip-lock bag for up to 1 month; thaw at room temperature for 30 minutes before serving.
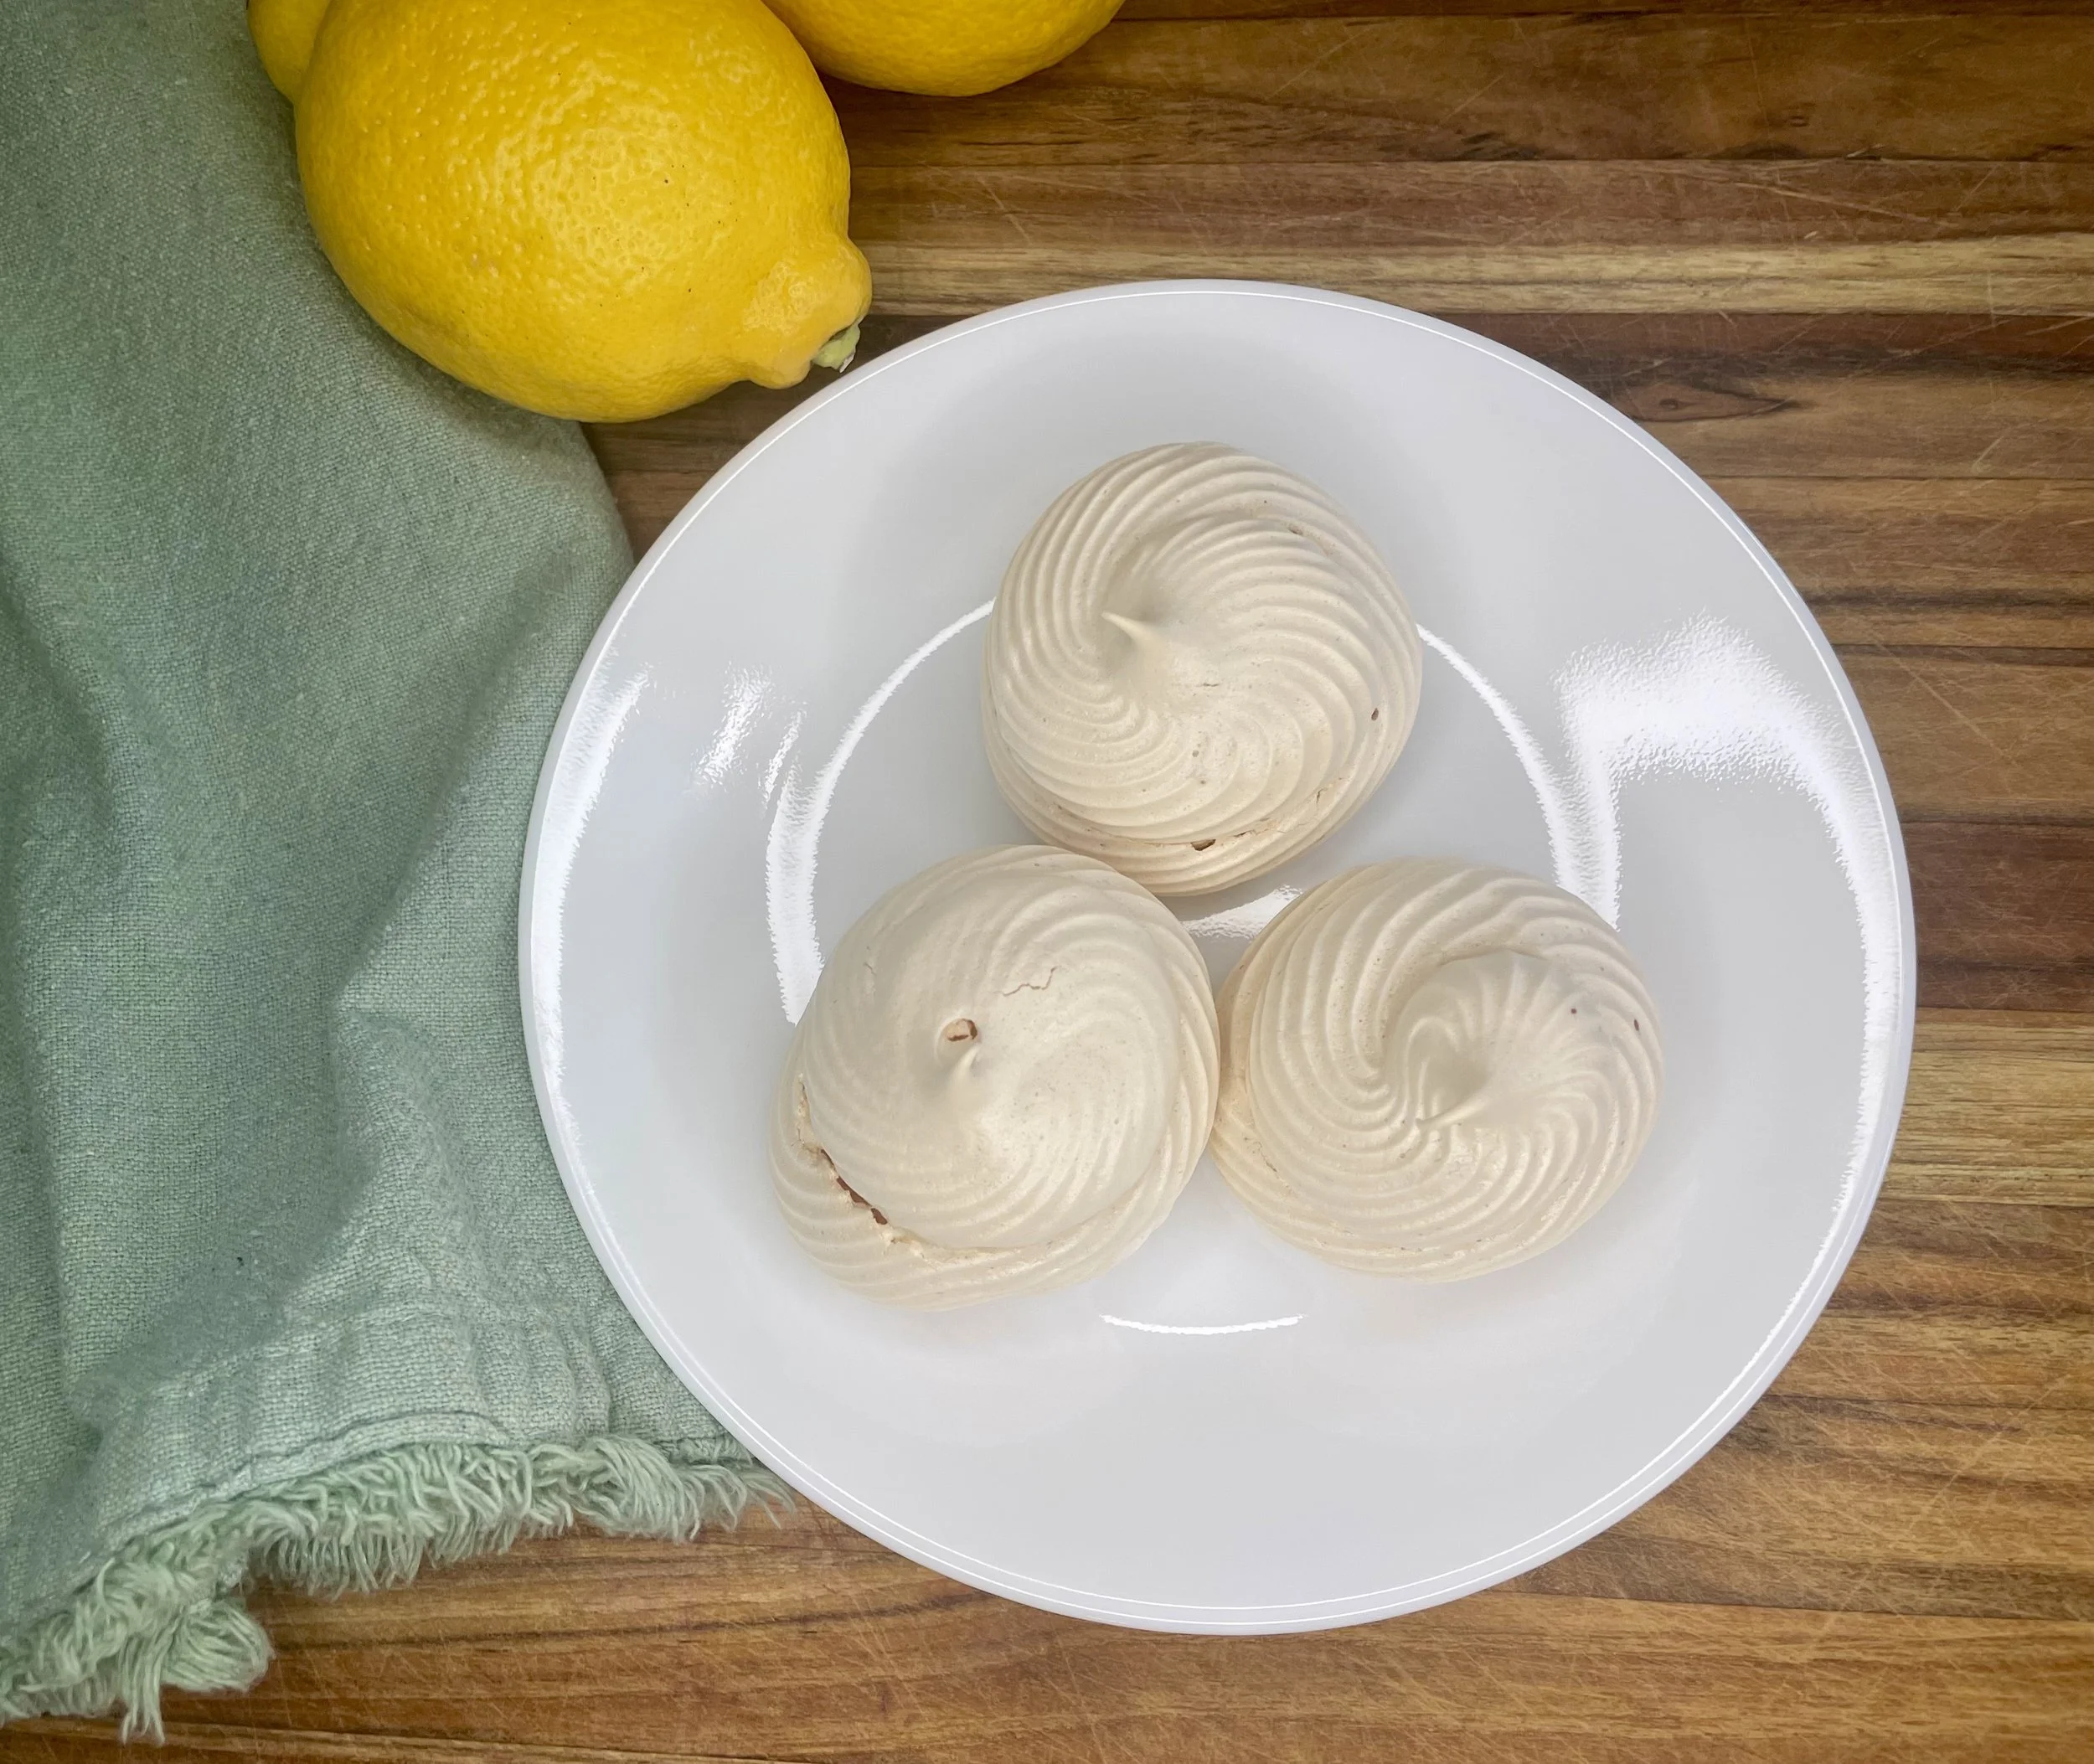
Ways to Serve Meringues
Meringue bites are delicious on their own, but here are a few ways to take them further. Here are a few ideas:
Sandwich cookies: Pipe a little whipped cream or buttercream between two meringues.
Dessert board: Pile them high alongside fresh berries, chocolate truffles, and macarons.
Eton Mess: Crush a handful into a bowl of whipped cream and strawberries for a quick, stunning dessert.
Ice cream topping: Crumble over a scoop of vanilla or lemon gelato.
Party favors: Package 6–8 bites in a small cellophane bag tied with ribbon.
Frequently Asked Questions
How do you make meringues step by step?
To make meringues, preheat your oven to 275°F and line two baking sheets with parchment paper. Add 4 egg whites, 1 cup of sugar, ½ tsp cream of tartar, and ½ tsp vanilla to a stand mixer bowl. Start on low speed and increase to full speed, whipping for 6–8 minutes until stiff, glossy peaks form. Pipe bite-sized swirls onto the baking sheets and bake for 1 to 1.5 hours until crisp. Turn off the oven and let them cool inside with the door slightly open.
What temperature do you bake meringues at?
Meringues are baked at a low temperature — 275°F. Low heat dries the meringues out slowly without browning or burning them, which is the secret to a crisp, white result.
Why is cream of tartar used in meringues?
Cream of tartar stabilizes the egg white foam, helping meringues hold their shape and preventing them from "weeping" (releasing liquid). It also gives the meringue a brighter white color and a slightly fluffier texture.
How long do homemade meringues last?
Homemade meringues last up to 2 weeks when stored in an airtight container at room temperature. Keep them away from moisture and do not refrigerate them, as humidity will make them sticky and soft.
Why are my meringues chewy instead of crispy?
Chewy meringues are usually caused by underbaking, high humidity, or not letting them cool in the oven. Make sure you bake them for the full time, cool them inside the turned-off oven, and bake on a dry day if possible.
Can I make meringues without a stand mixer?
Yes! You can make meringues with a handheld electric mixer (affiliate link). It may take 10–12 minutes instead of 6–8 to reach stiff peaks. Whipping by hand with a balloon whisk is possible but very tiring and less reliable.
I followed all of the steps, but my meringues are an ivory colour. Why did this happed?
This recipe calls for ½ tsp vanilla extract that has an ivory colour to it, instead of being a crisp white. If adding in the vanilla extract, the meringues will have the loveliest hint of vanilla, but adding it will cause the meringue to be more of an ivory colour. You can omit the vanilla if you’d rather have a crisp white meringue, instead of the hint of vanilla flavour.
Final Thoughts
This easy meringue recipe will earn you the most compliments with the least amount of effort. Delicate, sweet airy bites will satisfy the pickiest of eaters — all from a single bowl.
If you make this recipe, I'd love to hear from you! Leave a comment, rate the recipe, and share a photo. Don't forget to pin this for your next baking day! ❤️
DID YOU MAKE THIS RECIPE? I WANT TO SEE IT!
We'd love to hear from you! Please leave a ⭐ star rating and comment below to let us know how your muffins turned out. Did you make any substitutions or additions? Share your tips and photos!
Share this recipe: Help others discover this delicious recipe by sharing it on Pinterest, Facebook, or Instagram. Tag us @Sageandsimplicity so we can see your beautiful creations!
📌 Pin it for later: Save this recipe to your Pinterest boards for easy access.
Recipes We Think You’ll Love!
The Best Homemade Lemon Curd
5 ingredients. One saucepan. Twenty minutes. The brightest, silkiest lemon curd you'll ever taste — and shockingly easy to make from scratch.
Published: 14 May 2026 | Category: Dessert | Prep Time: 5 minutes | Cooking Time: 20 minutes | Total Time: 25 minutes
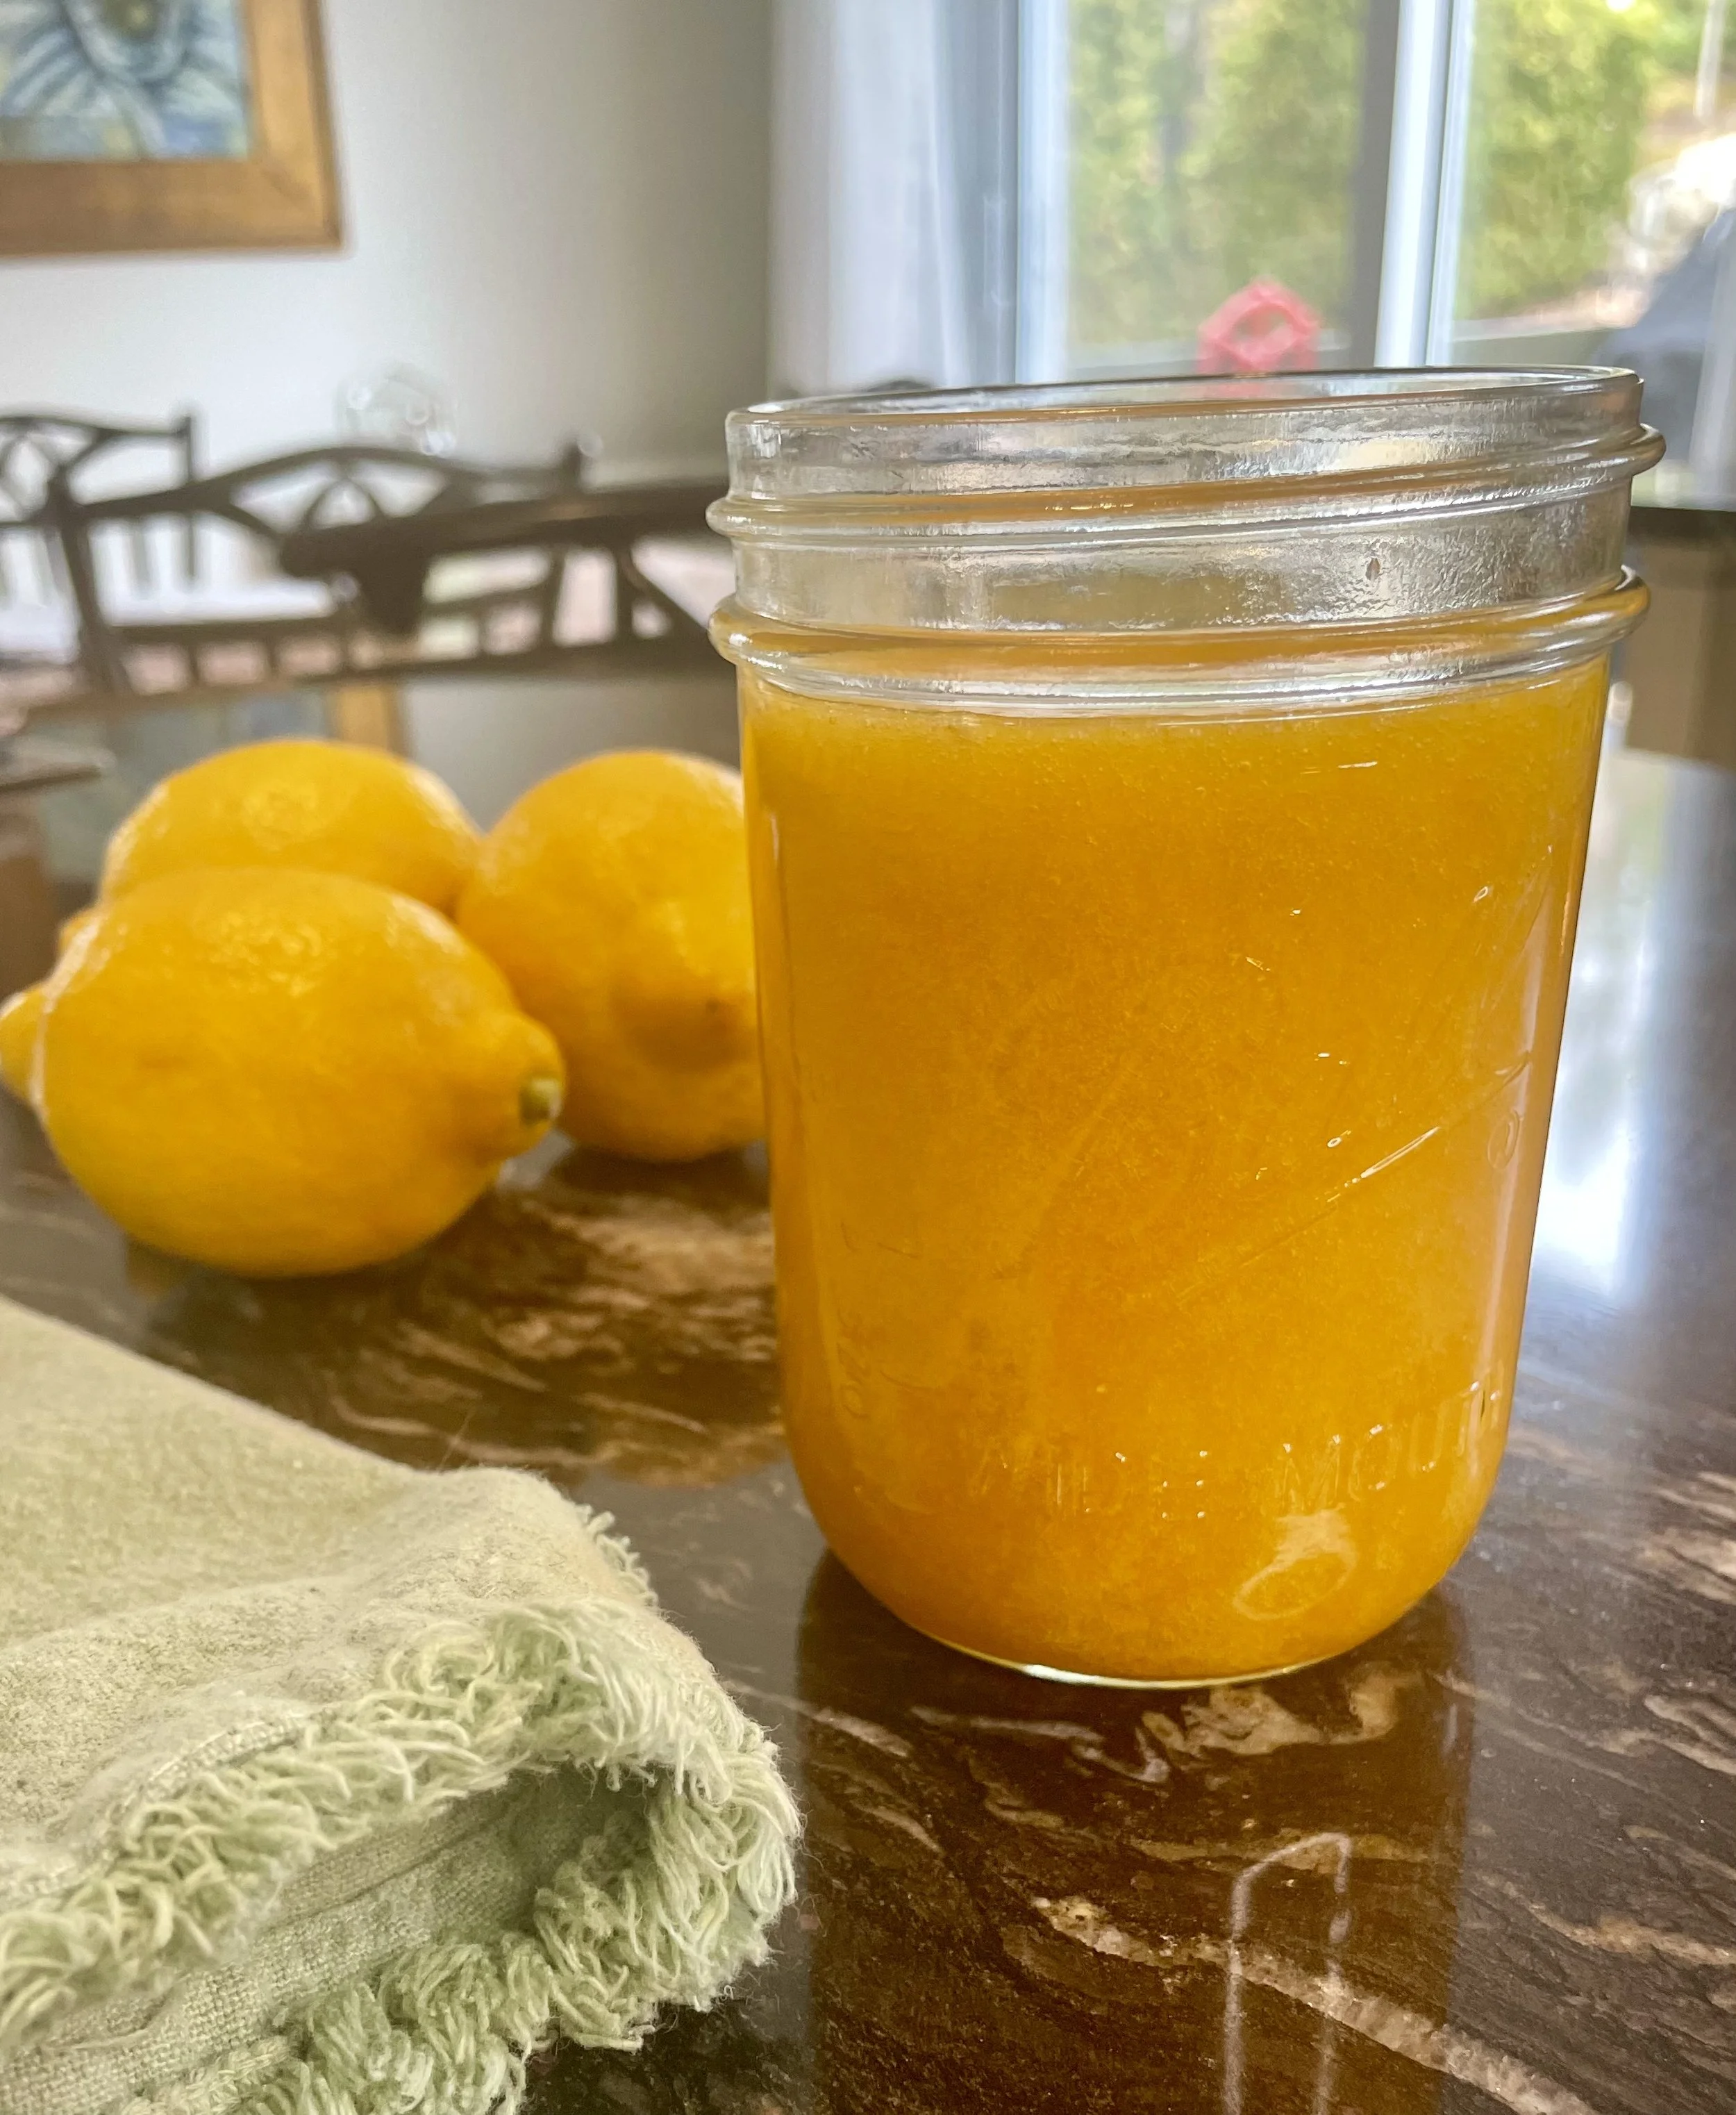
If you've never made lemon curd from scratch, prepare to be converted. This is not a "weekend project" recipe — it takes one saucepan, 20 minutes of gentle stirring, and five ingredients that are readily available at the store. The result? A glossy, sunshine-yellow spread that is so alive with citrus flavour it makes anything it touches taste ten times better.
I've tried double-boiler methods, constant-stirring methods, blender hacks. This stovetop approach is silky, most approachable, and optimized for less dishes that I’ve created. The key is cold butter added at the end — it emulsifies the curd into that signature creamy, pourable consistency.
Once you have a jar in the fridge, you'll find yourself reaching for it constantly: spooned onto scones at breakfast, swirled into yogurt, layered into cakes, or honestly just eaten off a spoon over the kitchen sink. No judgment. ;)
Ingredients
Makes approximately 1½ cups (enough to fill one standard jam jar)
4 egg yolks, room temperature
1 cup granulated sugar
⅔ cup fresh lemon juice — about 3–4 lemons (160ml)
zest from 1 lemon, use the same lemon that you're juicing
½ cup cold unsalted butter, cut into 1cm cubes (115g)
A note on ingredients
Egg yolks, not whole eggs. Yolks give a richer, more golden curd with a creamier mouthfeel.
Fresh lemon juice preferred. I’ve made this lemon curd with both bottled lemon juice and fresh lemon juice, and both work. Some people will say that bottled lemon juice lacks the volatile oils that make lemon curd sing, and to squeeze your own. Im here to say use what you have on hand because both work for this recipe.
Cold, unsalted butter, is essential. Adding cold butter at the end, not during cooking, is what creates that silky emulsified texture. Don't skip this step.
Instructions
Combine everything except the butter
Add the egg yolks, sugar, lemon juice, and lemon zest to a medium saucepan. Whisk together until the sugar begins to dissolve and everything looks uniform. Don't worry about it being perfect — it'll come together on the heat.
Cook over medium heat, stirring every few minutes
Place the pan over medium heat. You don't need to stir constantly — every 2 to 3 minutes is fine. You're looking for the mixture to gradually thicken and turn from a pale yellow liquid into a proper custard-like consistency. This takes about 20 minutes. The curd is ready when it coats the back of a spoon and a line drawn through it holds its shape.
Add the cold butter and stir well
Take the pan off the heat. Add all the cold butter cubes at once and stir continuously until every cube is melted and fully incorporated. The curd will turn glossy and noticeably silkier. This is the moment it goes from "good" to "extraordinary."
Jar, cool, and refrigerate
Pour the warm curd into a clean jar (a heatproof glass jar works perfectly - I like using mason jars). Let it cool at room temperature — it will thicken further as it cools — then seal and refrigerate. It keeps for up to 2 weeks in the fridge.

What to do with lemon curd
Honestly, the list is long. Here are the ways I use it most often:
Spread
Lemony Muffins filling
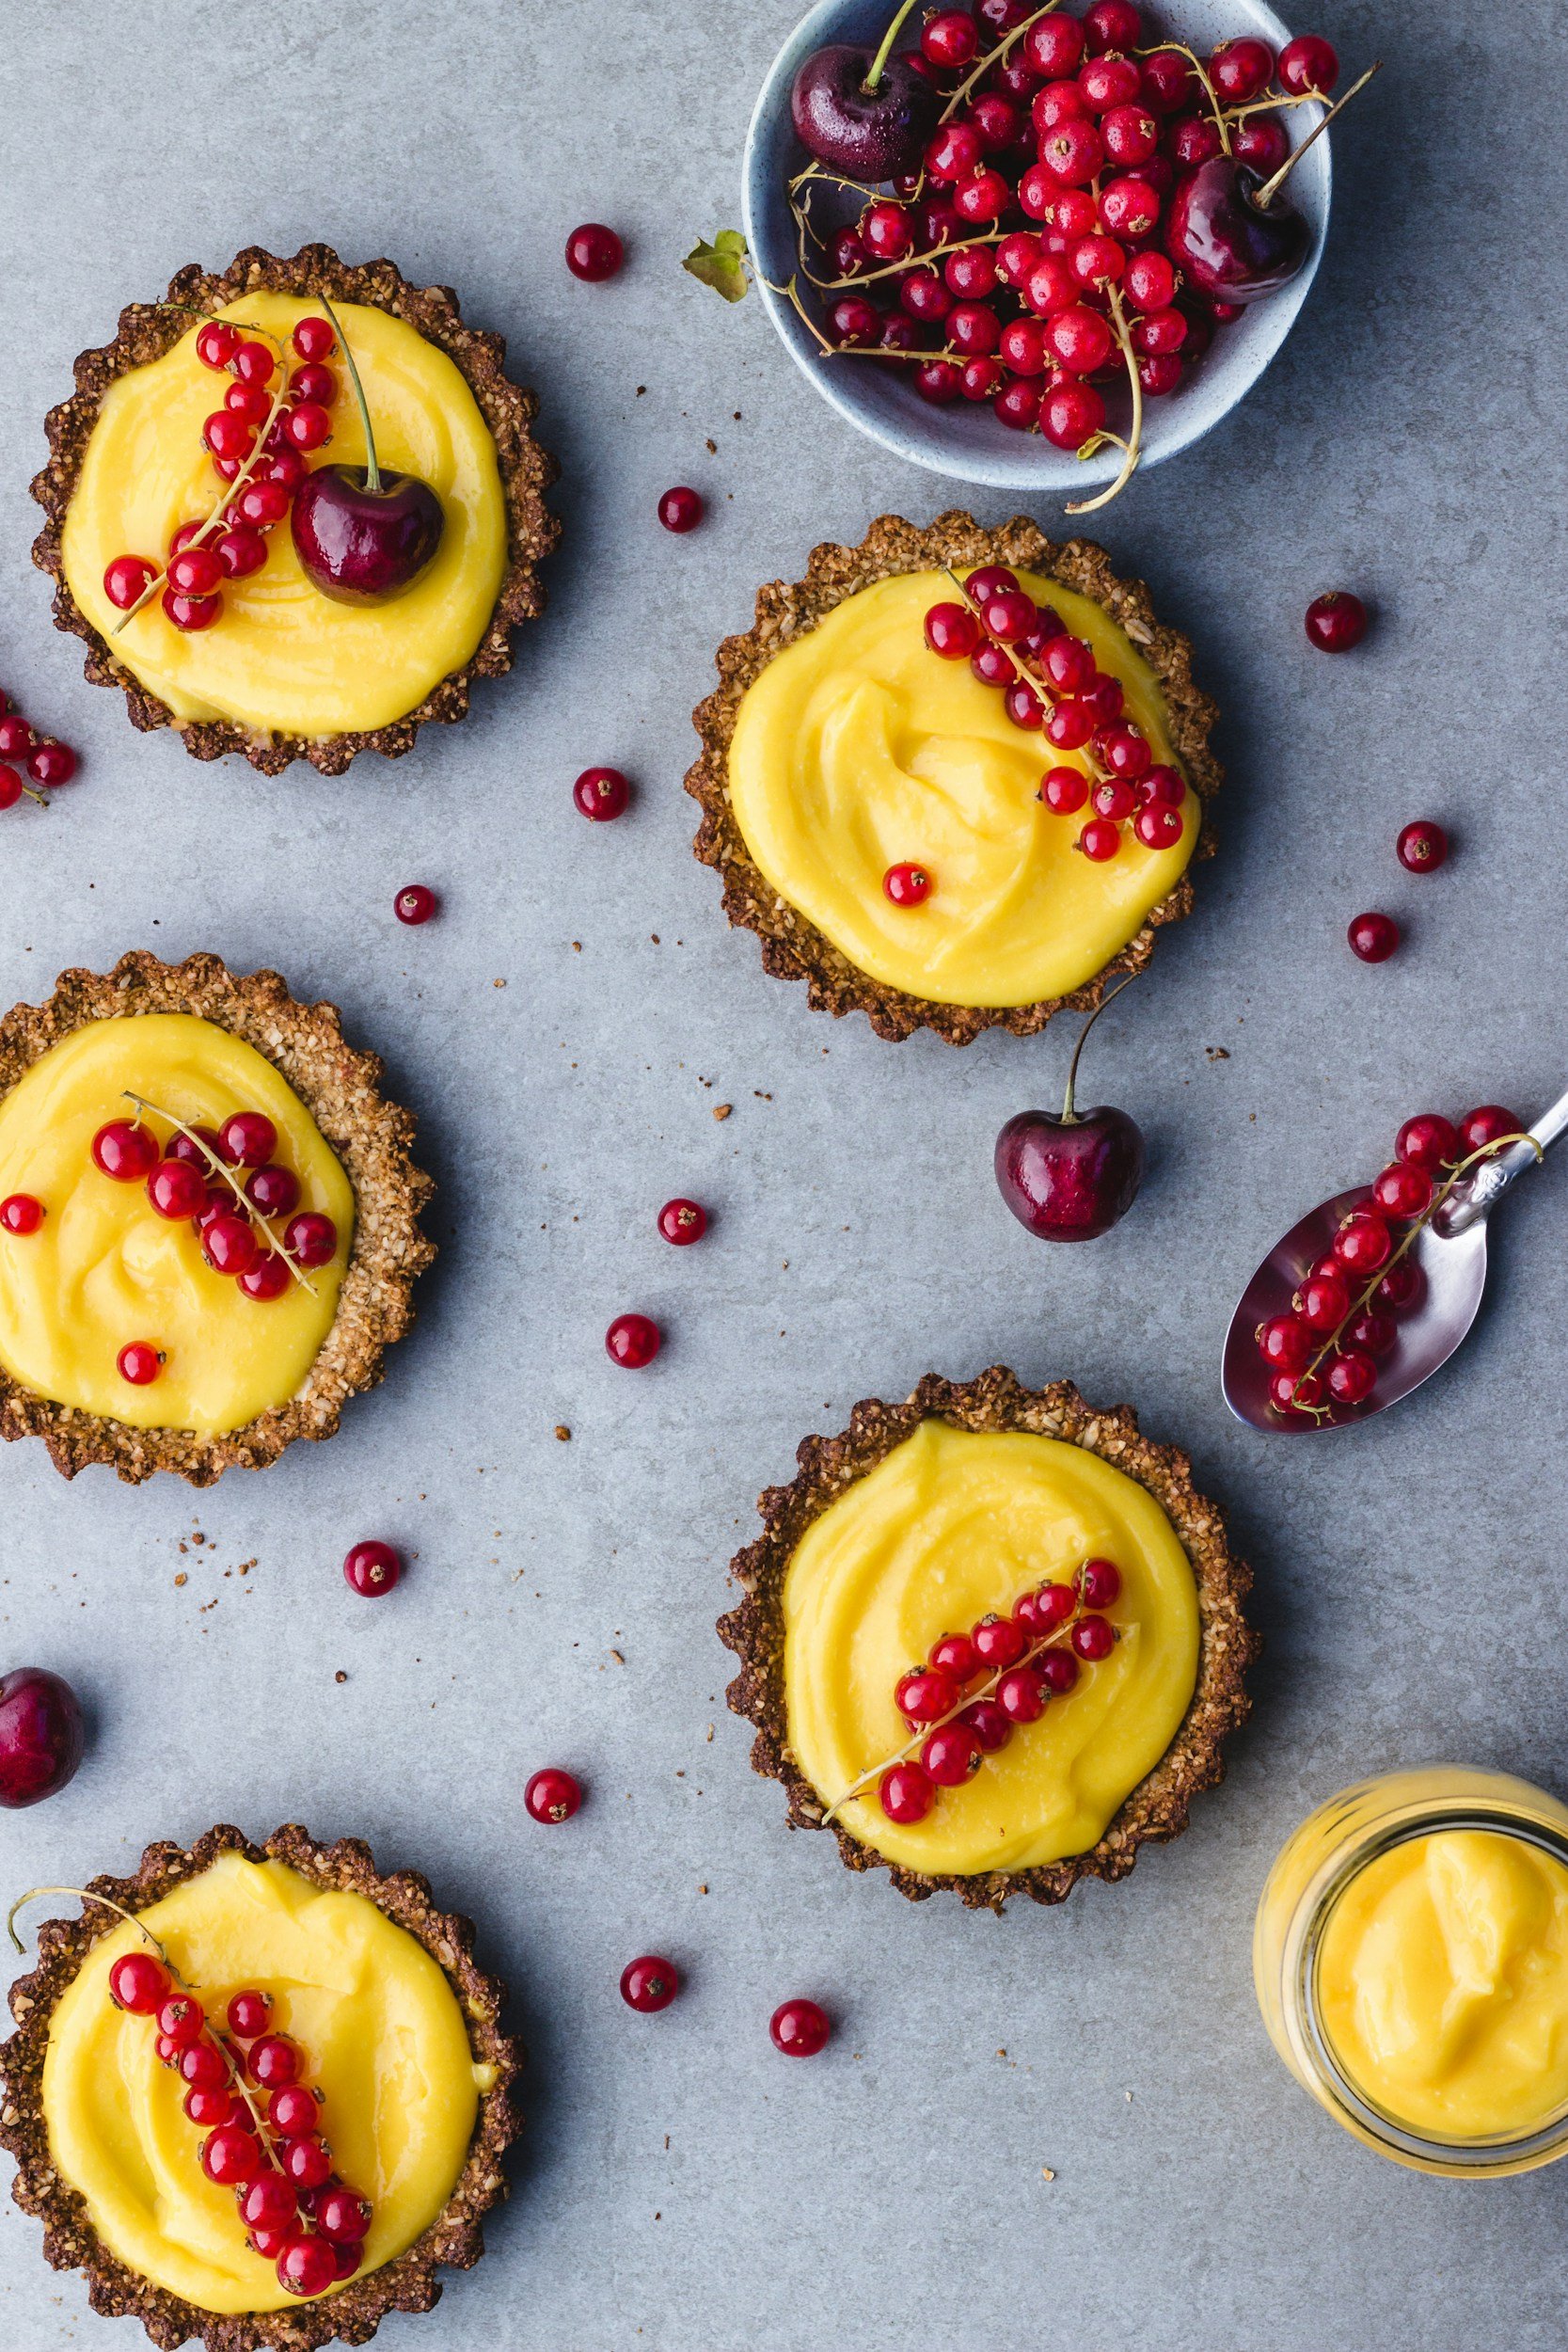
Lemon Tart filling
Swirled into yogurt
Pavlova topping
Thumbprint cookies
Drizzled on pancakes
Stirred into whipped cream
Swirled into a Cheesecake
It also makes a genuinely impressive homemade gift — a small jar wrapped with ribbon is the kind of thing people remember.
Tips for perfect lemon curd every time
Don't rush the heat. Medium is the right temperature. High heat risks scrambling the yolks and you'll end up with lemony scrambled eggs. Patience pays off here.
It will look too thin while it's cooking. Trust the process. The curd sets as it cools, so remove it from the heat when it coats the back of a spoon — not when it's already thick.
Strain for extra smoothness. If you want an ultra-silky curd with no zest bits, pour it through a fine-mesh sieve just before adding the butter. Totally optional but nice for tarts.
Want it tarter? Reduce the sugar to ¾ cup. Want it sweeter? Add an extra 2 tablespoons. The recipe is very forgiving.
Storage & freezing
Lemon curd keeps in a sealed jar in the refrigerator for up to 2 weeks. It also freezes beautifully — pour into a freezer-safe container and freeze for up to 3 months. Thaw overnight in the fridge before using. Give it a good stir once thawed to bring it back together.
Frequently asked questions
How long does homemade lemon curd last?
Stored in a sealed jar in the refrigerator, homemade lemon curd lasts up to 2 weeks. In the freezer, it keeps for up to 3 months.
Can I use whole eggs instead of just yolks?
Yes, though the texture and colour will differ. Yolks produce a richer, creamier, more golden curd. Whole eggs give a slightly lighter result. If substituting, use 2 whole eggs in place of the 4 yolks.
Why is my lemon curd not thickening?
Lemon curd continues to thicken significantly as it cools — it may look too thin in the pan and be perfect once chilled. If it's still very runny after refrigerating for a few hours, it was likely undercooked. It should coat the back of a spoon before you remove it from the heat.
Can I make lemon curd without a double boiler?
Absolutely — this entire recipe uses a regular saucepan directly on the stovetop over medium heat. No double boiler required. Just keep the heat at medium (not high) and stir regularly.
What can I use lemon curd for?
Lemon curd is incredible spread on scones, toast, muffins, and crumpets. It's a classic filling for tarts and layer cakes, a topping for pavlova and cheesecakes, a swirl-in for yogurt and whipped cream, and a beautiful filling for thumbprint cookies.
This easy lemon meringue pie recipe features a bright, tangy lemon filling topped with soft, fluffy meringue. A foolproof method for a pie that slices beautifully and never weeps.